


Improving her drive time
Mendy installs a new stereo in her 2001 Toyota 4Runner

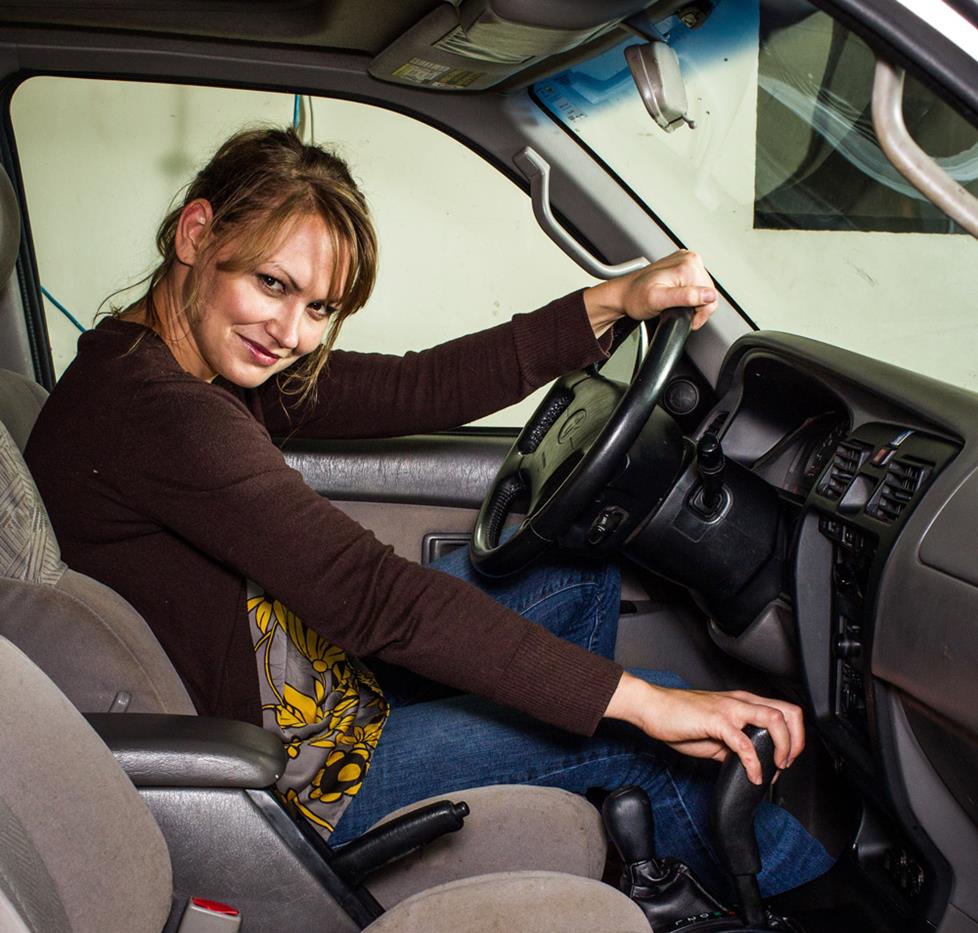
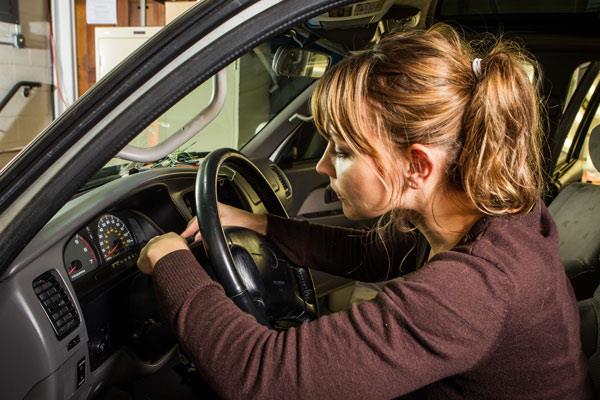
As a mom, artist, student, employee, and volunteer, Mendy’s only alone time is when she’s driving. When she'd had enough of the factory radio in her 2001 Toyota 4Runner, she turned to her boyfriend, Martyn, for advice. Martyn manages the Crutchfield photo studio, and he assured her that replacing her radio wasn’t as tough as she might think. So with the advice, gear, and support from Crutchfield, she installed a new Pioneer DVD receiver. In her own words, Mendy tells us how she did it.
Why I wanted a change
The only loyalty I had to my factory radio was that it was part of my truck, which I adore. I used a cassette adapter to play my iPod music and a 12-volt power adapter to charge it. So the clunky wires were everywhere. Being a basshead, this soccer mom sometimes likes old school rap and a lot of reggae, but the radio seemed to lose its power as I tried to jam. The entire setup was shameful. I was also on the verge of upgrading my smartphone, so I knew I wanted hands-free calling and Pandora® control included in the new radio.
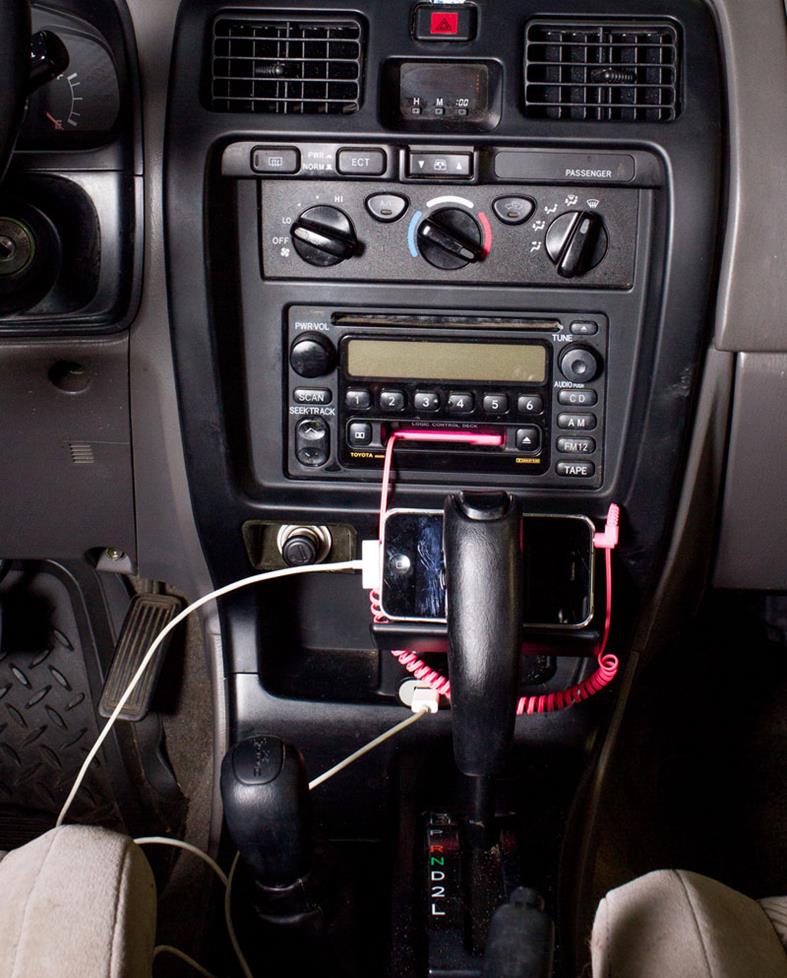
The factory radio and all my wires running everywhere
As far as installing a new radio, my concern was that I hoped my truck would be okay with me performing surgery on it, since it’s never let me down. With my schedule, my car time is my escape time. I wanted to simply indulge in some good music just for me. So if my new stereo made Bob Marley and every single Wailer sound like they’re closer, it was totally worth it!
The folks at Crutchfield recommended this cool Pioneer AVH-X5600BHS DVD receiver. Once I found out it fit my Toyota and I could listen to all my music without seeing a big glob of wires, I was excited.
Getting it done
I used to be a techno kind of gal when I was a teen. I knew what was up. But now
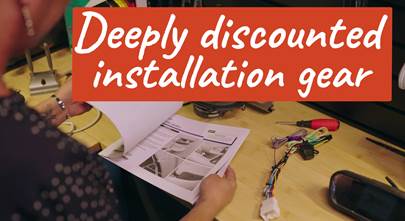
I’m the mom I swore I’d never be, fighting with the DVD remote until my boys just beg me to let them work it. So, while I had some apprehension, looking at Crutchfield’s MasterSheet and their available tech support gave me the confidence that I could do the job.
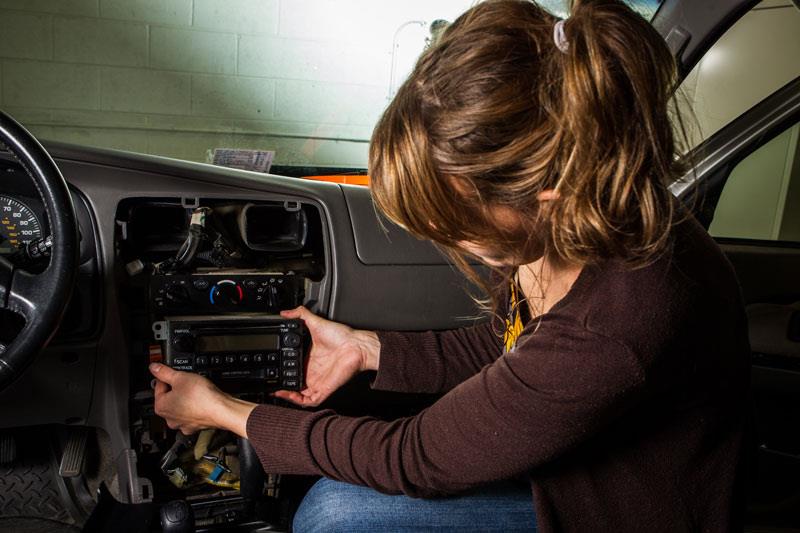
Stage 1: Removing the factory receiver
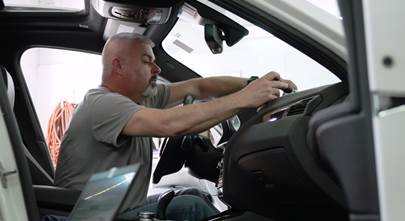
I had to pry out some of the center console trim around the emergency brake and the gear shift, which let me get to the trim around the radio. After a brief consultation with Crutchfield’s tech support, I removed the first panel.
Once all the panels were off and the wiring plugs were disconnnected, I was able to unscrew the bolts and remove the stock radio. I also found lots of lost items from over the years.
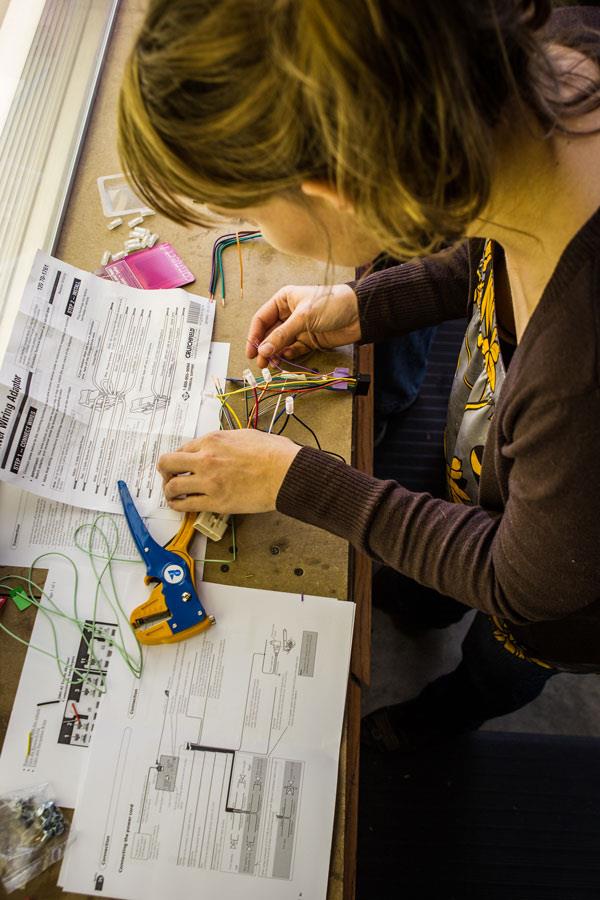
Stage 2: Connecting the wiring harnesses
I then moved to the wiring. I stripped the wires and referred to the included wiring instructions to match up colors between the adapter for my 4Runner and the Pioneer wiring harness. I used Posi-Product connectors, which worked really well. Once I got the hang of them, they made quick work of the connections.
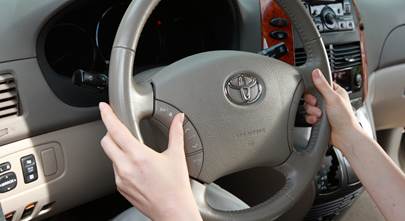
I installed the microphone for Bluetooth® hands-free calling on the fixed base of the steering wheel column.
Stage 3: Getting the new receiver up and running
After the wiring connections were complete, I removed the factory radio brackets from the factory radio. These brackets then screwed directly into the holes on the sides of the Pioneer receiver.
Since I wanted to avoid the clutter of wires and all the connections were on the back of the Pioneer, I fished the wires for the hands-free microphone, the USB cable, and auxiliary input cable for the boys’ portable DVD players to the dash opening. That way, I was able to connect all the wires to the rear of the Pioneer, so they wouldn’t be seen when I was done.
I then aligned the radio in the opening and screwed the brackets into place. After a brief sound test to make sure everything was working, the dash and console trim panels then snapped back in place.
The results
I figured out the receiver controls quickly, so Jimmy Cliff was playing in no time. I can’t believe how much better the Pioneer receiver makes my factory speakers sound. The sound, especially the bass, has much more impact. I was also able to adjust the EQ to enhance the sound I liked.
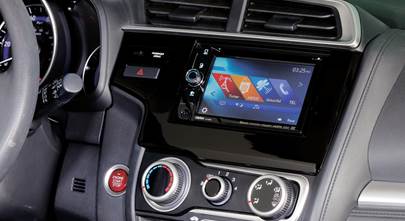
It also looks really good in the dash. I can access my iPod playlists directly from the touchscreen on the Pioneer. I can also check out the info about the song, including album art, right on the screen. My drive time just got much better.
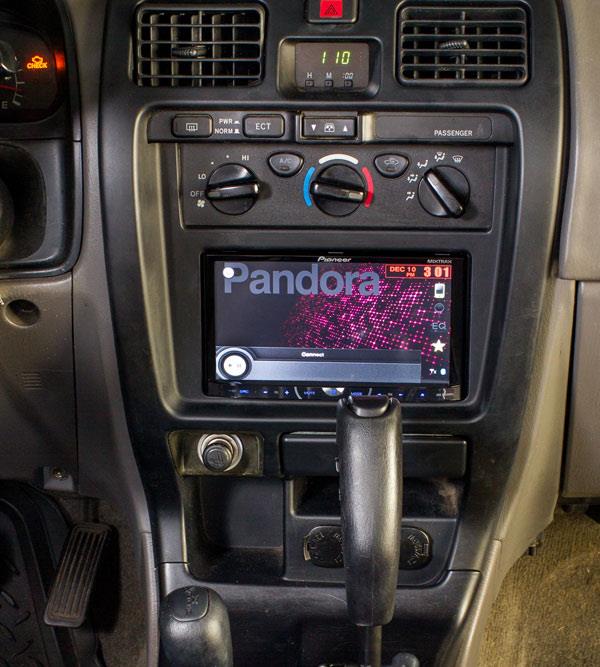
The "after" shot showing off Mendy's handiwork
Why Crutchfield?
Mendy actually enjoyed doing the work to get her new receiver installed, and it was far from the "surgery" she initially feared. Her confidence grew with each step she took.
You can upgrade your vehicle's audio and video too. With the installation hardware, MasterSheet installation guides, and legendary tech support that Crutchfield offers, you can improve your own drive time, just like Mendy did.
Vehicles in the Custom Car Showroom are submitted by customers and fans, and edited by Crutchfield writing staff. You can find more of these articles on the Showroom main page.
Comments (1)
Please share your thoughts below.


Antonio C Michael from Florence
Posted on 6/13/2017
looks great i have the New AVIC-8200Nex Bundle installed in my 2000 Toyota 4Runner Sport Edition 4x4 with some brand new Composite Pioneer Speakers with the new pioneer backup camera your setup is very nice