How to wall-mount your TV
A step-by-step guide

In this guide, you'll find step-by-step tips on how to mount your TV on a wall. Our video should help you decide whether you're up to the task of mounting a TV.
Preparations
Before you start your installation, you'll need to gather the needed tools and materials. You'll also need to pinpoint your mounting location. Think about how you want to deal with power cord and the HDMI cables.
What you'll need
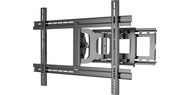
- Mount
- Power and HDMI cable concealment kit (optional)
- Power drill and bits
- Phillips head screwdriver
- Stud finder
- Tape measure
- Socket wrench
- Wallboard saw
How to choose the right mount
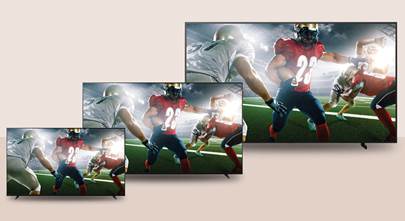
We carry a broad selection of wall-mounting brackets, to fit a wide range of TV screen sizes. Start by reading our TV wall mount buying guide.
Not all brackets are mountable on concrete or brick, and only some will include the appropriate hardware. You may need to order additional materials from the manufacturer or purchase some supplies from your local hardware store, such as concrete wall anchors. Be sure to follow the instructions in the owner's manual, which you can read on our site.
If you can’t avoid glare, get a tilting wall mount or a full-motion (aka articulating) mount. Small viewing angle adjustments can deflect the glare away from your field of view.
One more tip: Don't forget to check the maximum weight a bracket can hold to be sure it can support your TV.
Cable concealment options
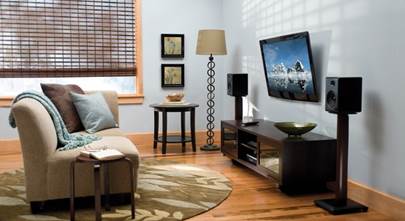
Part of what makes a wall-mounted TV so appealing is the neat, uncluttered look. There are a number of ways to conceal your power and A/V cables — from quick and simple cover-ups to more labor-intensive in-wall options.
It's a good idea to figure out how you'd like to manage your wires before deciding where to mount your TV, since some locations will be more install-friendly than others.
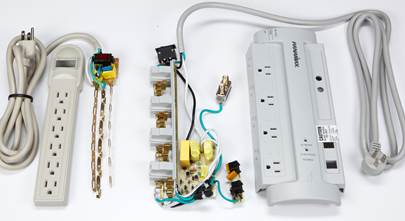
This power relocation kit comes with everything you need to place a power outlet behind your TV. No electrician required.
In the video, we use a power relocation kit. If you'd like to run your wires on the outside of your wall, you can use paintable cable raceways to hide your TV's A/V and power cables.
Select your mounting location
Do you have a choice of walls on which to mount your TV? Or is your TV location predetermined by your only feasible furniture arrangement or the location of the cable TV outlet?
If you have a choice, then look at how sunlight enters the room during the hours you’re most likely to watch TV. Try to avoid mounting your TV on a wall that is hit by a lot of direct sunlight or by glare from nearby windows or light fixtures.
If you have to mount your TV on an exterior wall, it won’t be easy to hide the cables inside the wall. That’s because exterior walls have extra bracing and insulation.
Calculate your mounting height
How high on the wall should you mount your TV?
For the best viewing experience, the middle of your TV screen should be at eye level when you're seated, typically about 42".
Why 42"? Because the picture is best when the screen is viewed head-on. And mounting your TV too high can cause neck strain.
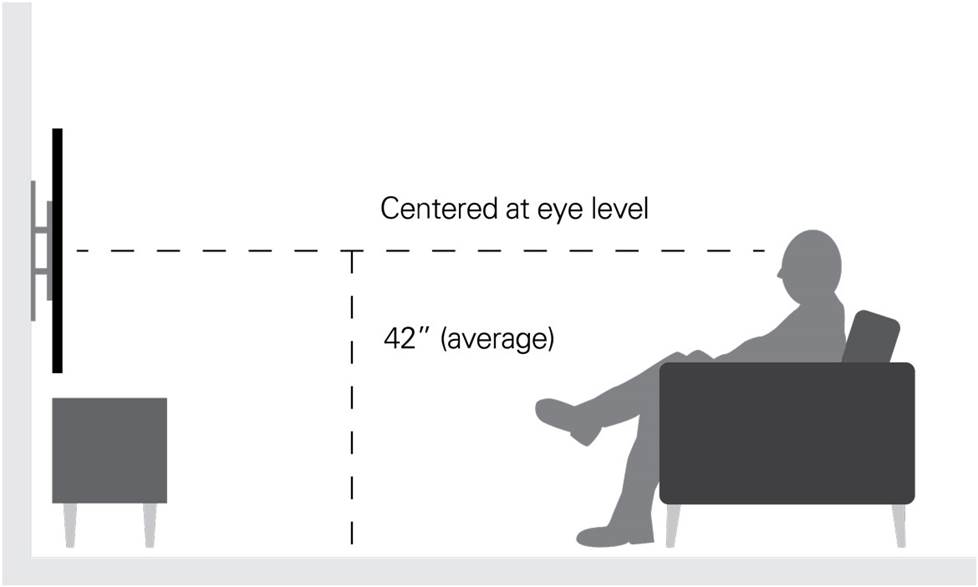
The ideal mounting height centers your TV at eye level. With larger TVs, you might have to go a little higher.
Will this rule of thumb work for you? Let’s consider some other numbers.
If you mount a 75" TV with the middle of the screen at 42", then the bottom of the screen is going to sit about 2 feet from the floor. If you planned to have a piece of furniture below the TV, the 42" rule is probably not going to work. If you find that you need to position the TV so that the middle of the screen is much higher than 42", get a tilting mount.
To run the numbers for your TV, check out the amazing Sanus HeightFinder. It lets you see how the top and bottom measurements change as you try different midpoints.
The popular above-the-fireplace location — not always the best choice
Flip open any home decor magazine, and you'll likely find an image of a sleek flat-panel TV mounted above a fireplace. Based strictly on appearance, it's a great choice. And home builders often run power and video cabling to that location, so it's easy, too. Even so, it's seldom the best option — and not just because it's too high on the wall. A wood fire generates heat and smoke, neither of which is good for the long-term health of your TV.
If you decide to go ahead and place your TV above the fireplace, consider a fireplace bracket. These cleverly designed brackets let you lower the TV down to a good viewing height and then raise it back up when you’re done watching.
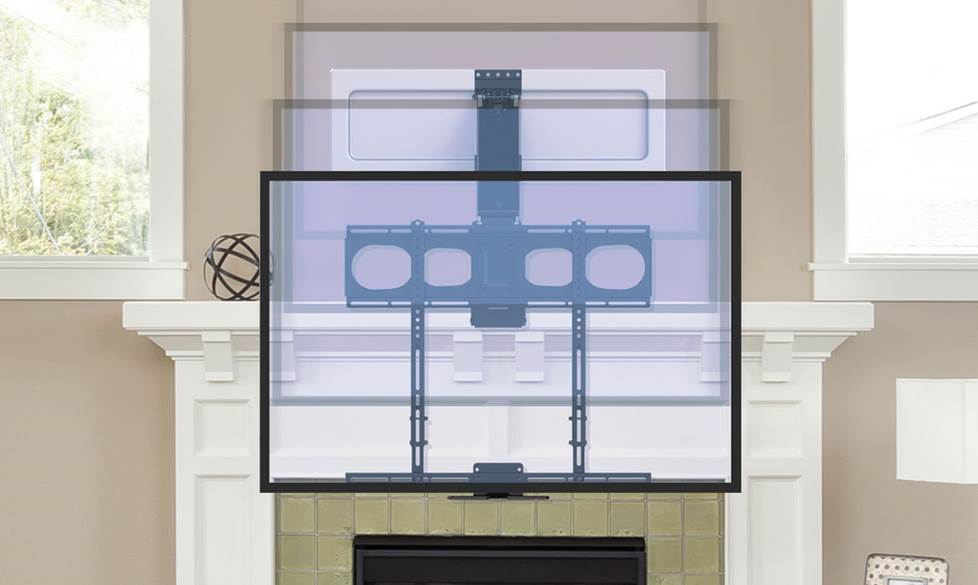
A fireplace bracket lets you lower the TV to a comfortable viewing height, then push it back above the mantel when you're done watching.
See our article on TV placement for more tips on placing your TV for optimum viewing.
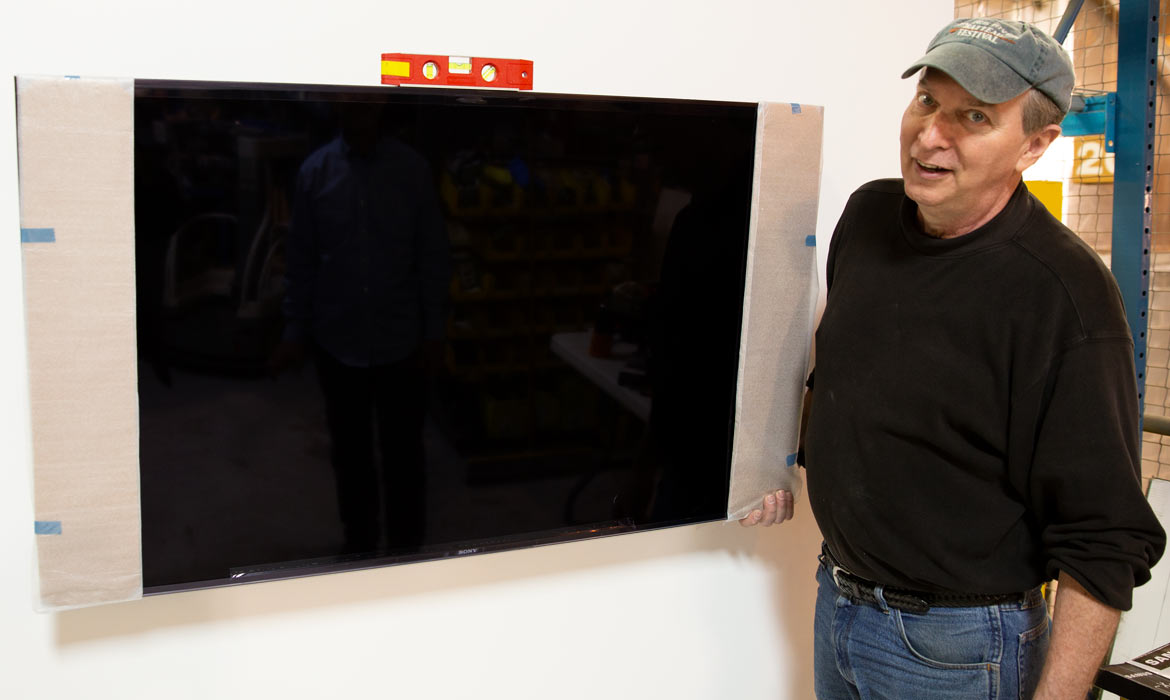
Try a mockup
To get a better idea of how a TV will look on your wall, experiment with a mockup made of paper or cardboard. Move it around to see whether it looks best centered on the wall or on the couch.
The mockup will also help you find the studs that are closest to the mark on which you want to center your screen. The studs probably won’t be in the perfect spots. That’s why many wall mounts give you leeway to slide the frame left to right before you bolt it down. This will help you hit your center mark right on the nose.
If you don't want to take the time to construct a mockup, you can have two people hold the TV up while a third person stands back to see how things look. This is how our expert Norm prefers to work.
Installation steps
Once you have your tools, parts and a helper on hand, follow these steps to complete the process of mounting a TV:
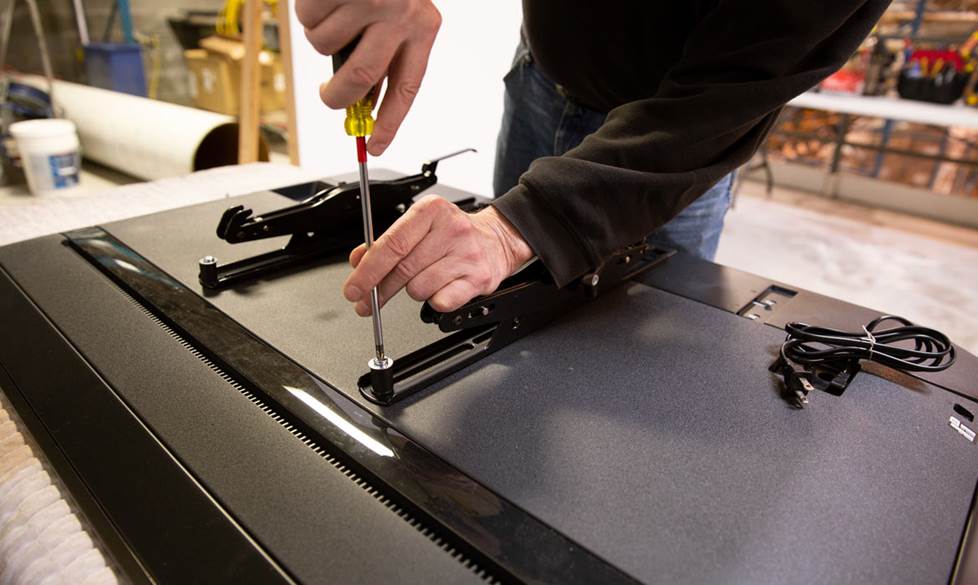
1. Attach the mounting bracket or arms to the TV
Wall mounts are generally composed of two pieces — a bracket or a set of arms that you'll attach to the TV, and a horizontal mounting frame that you'll mount to the wall.
The portion on the TV then attaches to the piece on the wall, and voilà, you've got a wall-mounted TV. Your first step will be to attach the TV portion of the mount to the back of your TV.
If you place the TV face down on the glass to attach the bracket, lay it on a soft blanket, and keep it well out of the way of foot traffic.
The TV portion of the bracket often comes in two pieces. Make sure that you line up the screw holes on each side, so that the mount is level.
If you're using a tilting or swiveling mount, make sure the screws attaching the mount to the TV won't impede the mount's movement. If they do, don't worry — wall mounts typically have multiple sets of screw holes to choose from, and you can simply use another set.
2. Mark the location for the horizontal mounting frame
If you've used the Height Finder application, you can measure up from the floor to mark the spot for the top of the mounting frame.
If your mount lets you shift the TV left to right after its hung, you don't have to be super precise with the horizontal placement of the frame. Use a tape measure to find the wall's midpoint or eyeball the spot that's centered with your sofa. Then find the two studs that are closest on either side of your mark. Or use Norm's method.
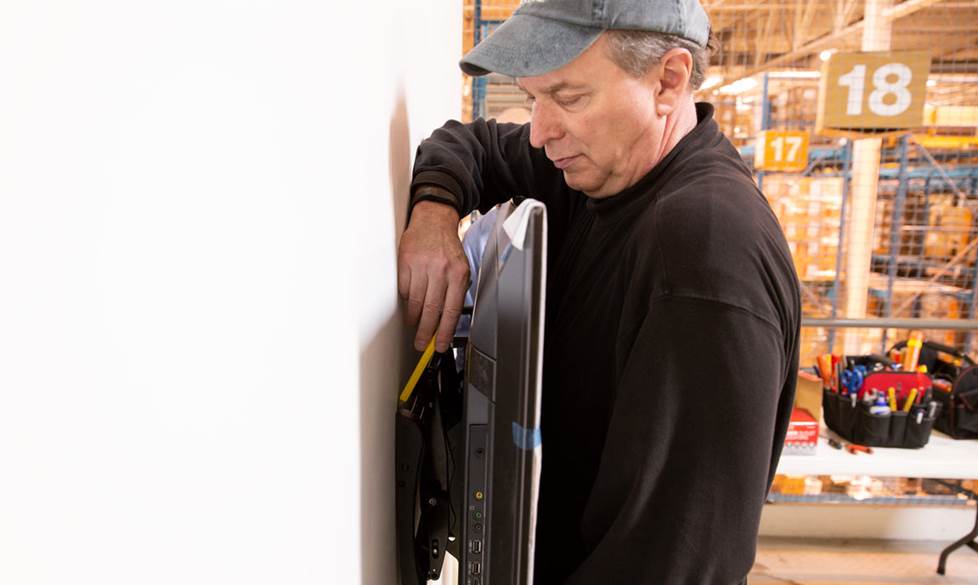
Norm uses wire ties to temporarily attach the mounting frame to the TV. Then he and a helper hold the TV against the wall, while a third person stands back to check the placement. Then Norm marks the spot for the corner of the frame.
3. Find the studs
Now that you know where the mounting frame goes, it's time to find the studs to which you'll anchor it. Use a stud finder to locate nearby studs. Mark each stud with a pencil or masking tape.
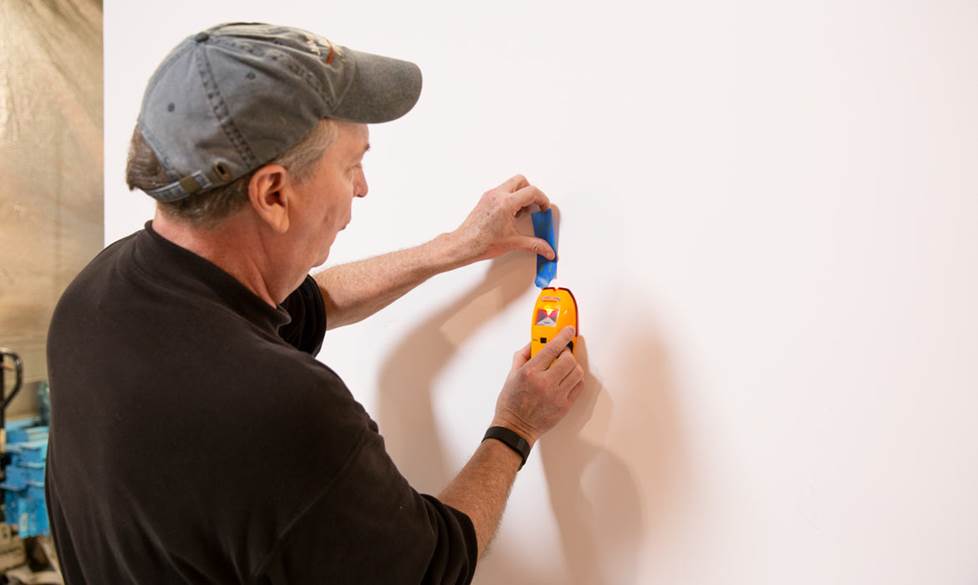
Use a stud finder and a piece of tape to mark your studs.
4. Secure the mounting frame to the wall
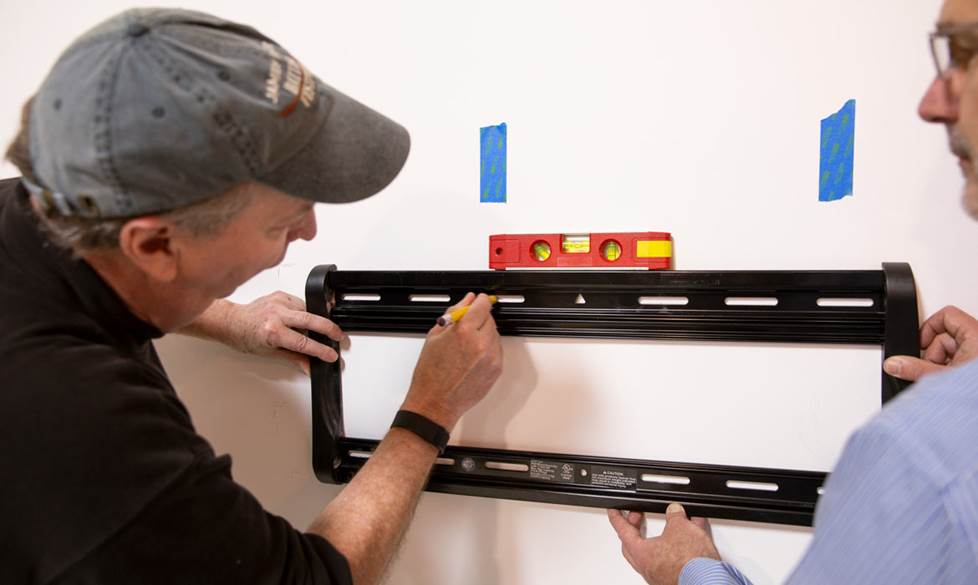
Step A
Ask your helper to hold the frame in position while you check its level and mark the spots for the pilot holes. Aim for the center of the studs.
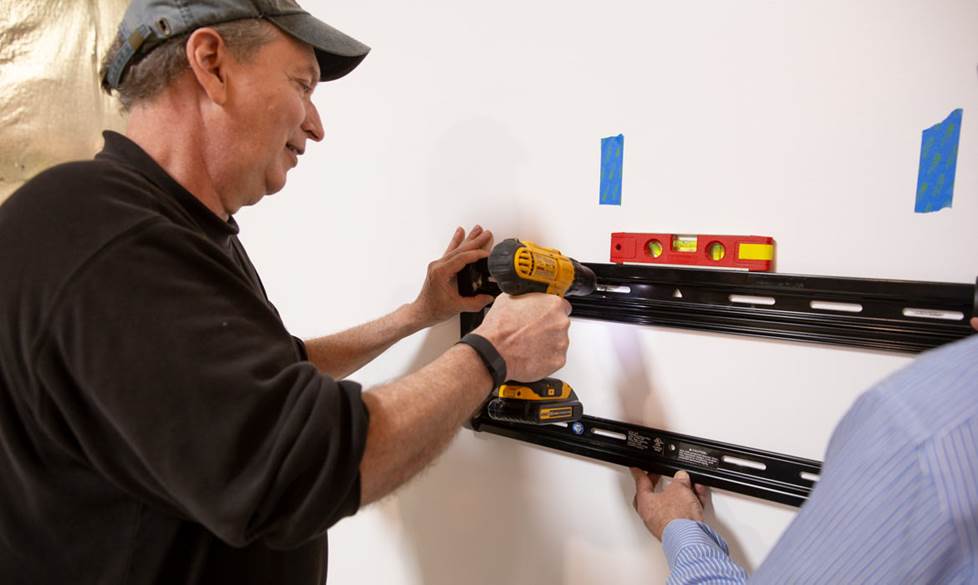
Step B
Drill the pilot holes for the mounting bolts.
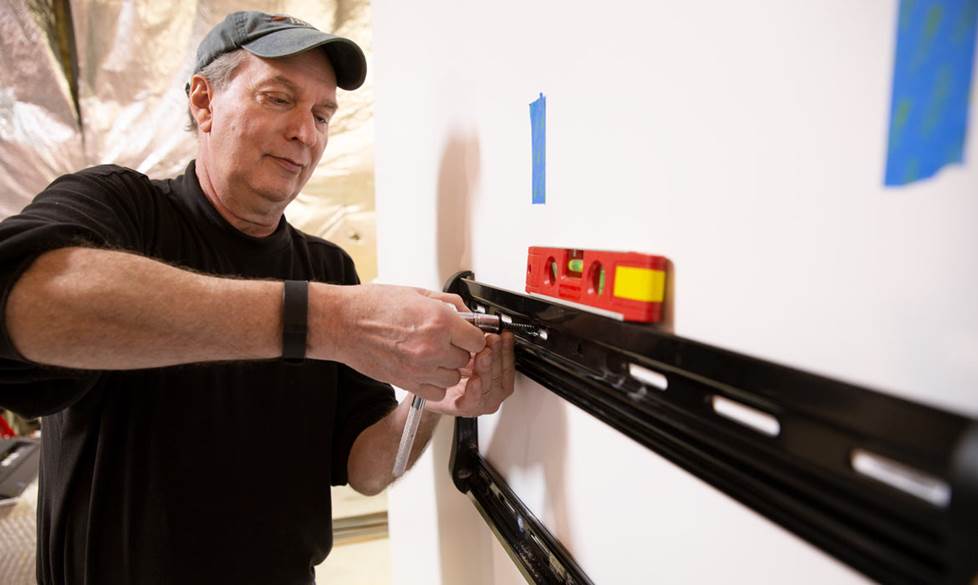
Step C
Then use your socket wrench to bolt the frame in place.
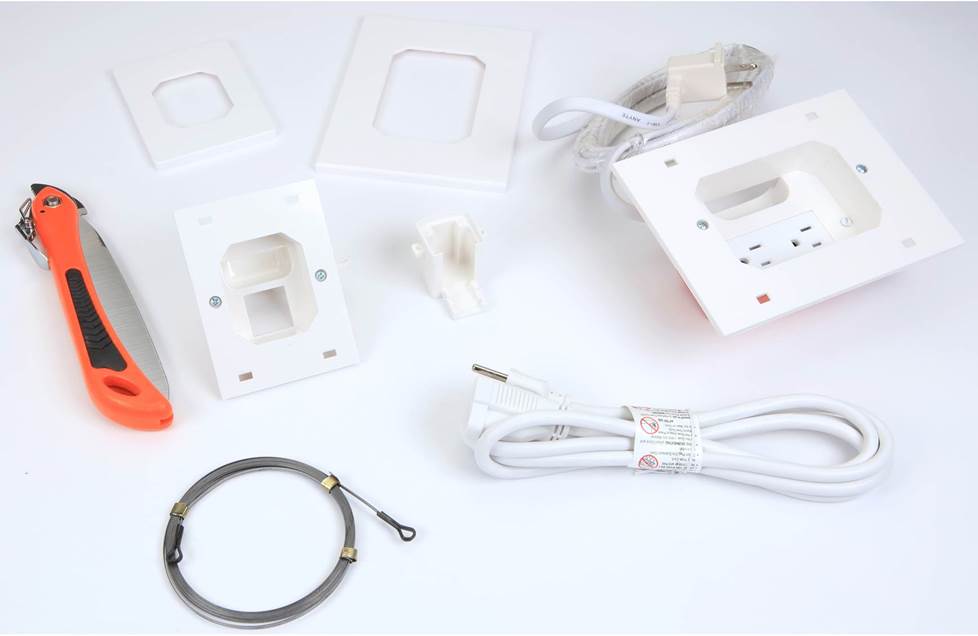
5. Install the cable concealment kit
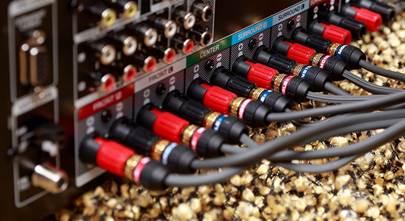
The Metra power relocation kit we used in our video lets you neatly run power and A/V cables behind your wall to a mounted TV. Both the "input" and "output" panels come pre-wired for easy snap-together power connections, and they include openings for your A/V cables. Use UL-rated A/V cables labeled CL2 or CL3.
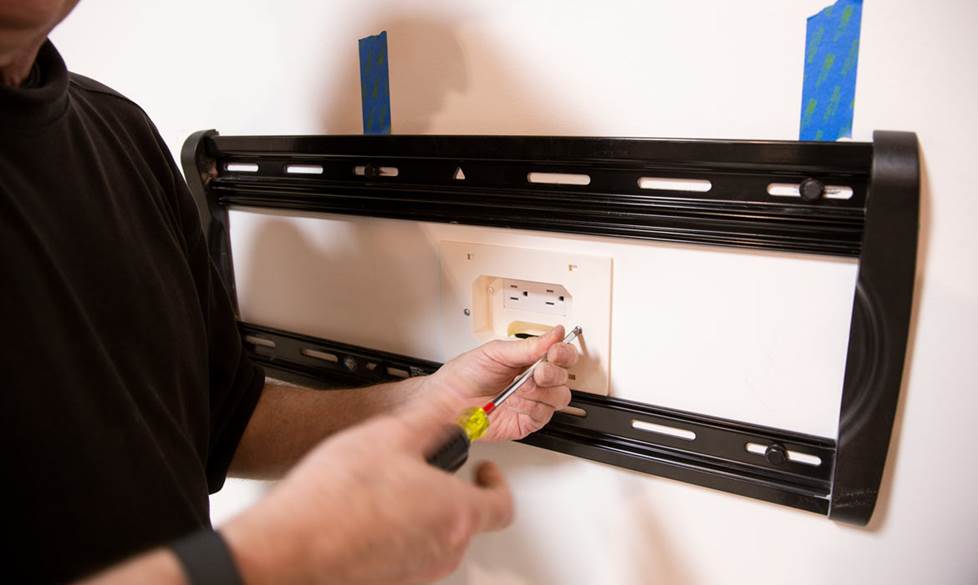
In this installation, the top section of the cable concealment kit goes between the top and bottom rails of the mounting frame.
Consider installing an extra HDMI cable if you’re hiding them in the walls. Just in case you decide to add a game console, Blu-ray player, or media player later on. If your network router is positioned near the TV, run an Ethernet cable, too.
6. Connect the cables
It might be easier to connect the cables before you hang the TV. This might require a second helper to plug them in while you and your first helper hold the TV up near the frame.
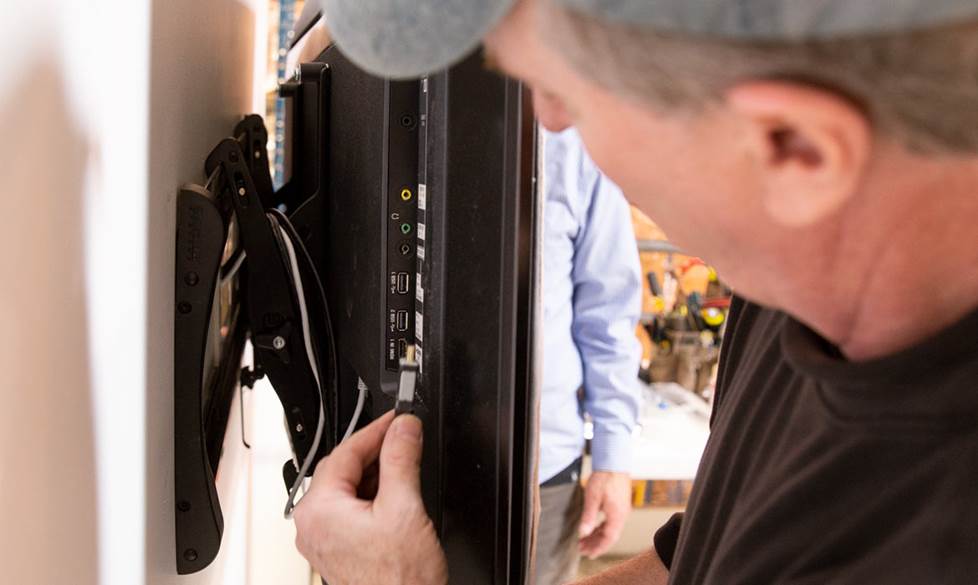
If you're hiding your cables behind your walls, make sure you use cables that are rated for in-wall installation.
7. Hang the TV
Now you're ready to place your TV on the frame. Make sure it’s level and adjust if necessary. If you have a tilting frame, fix the angle and tighten the screws to hold it steady. Secure the TV to the frame according the instructions that came with your mount.
Turn on your TV, follow the steps in the TV's setup menu, and enjoy!
Questions?
Need help choosing a mount or cable concealment kit? Have questions about any of the steps involved in mounting a TV? Our expert Advisors know the gear inside and out. Contact us today
Free lifetime tech support is included with every Crutchfield purchase.