How to install a car navigation system
Get wired properly so you don't get lost

In a nutshell: In this article, we'll cover some of the additional steps needed to install an in-dash navigation receiver beyond those required for a regular car stereo. We'll talk specifically about the GPS antenna and extra wire connections.
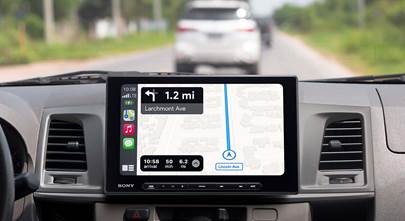
For the most part, installing an in-dash navigation receiver is quite similar to installing regular touchscreen stereos. But there are a couple of additional wrinkles: a GPS antenna and a reverse-direction sensor.
This article will focus on these extra steps for the navigation receiver's installation. After you've read this article, refer to our Car Stereo Installation Guide for full details about stereo installation.
At the end of the article we'll talk about add-on navigation modules.
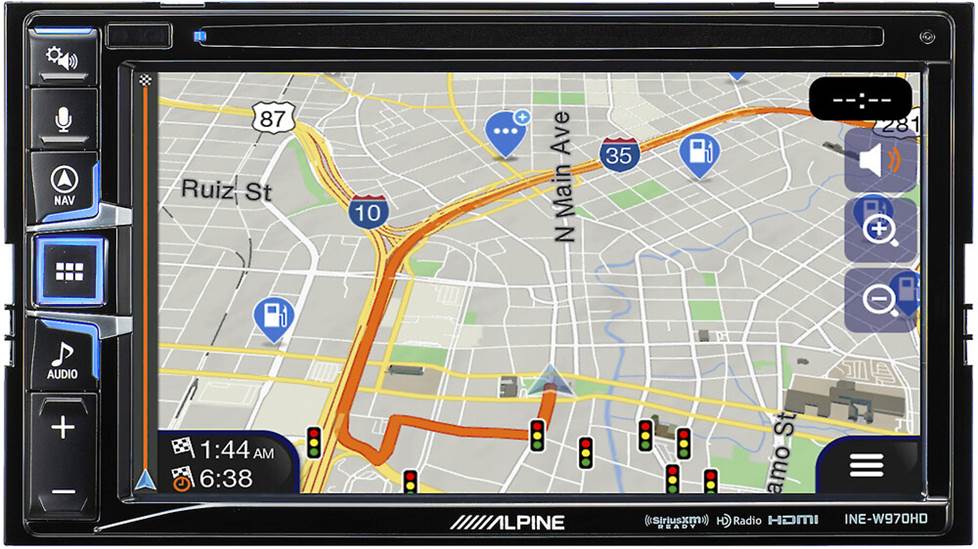
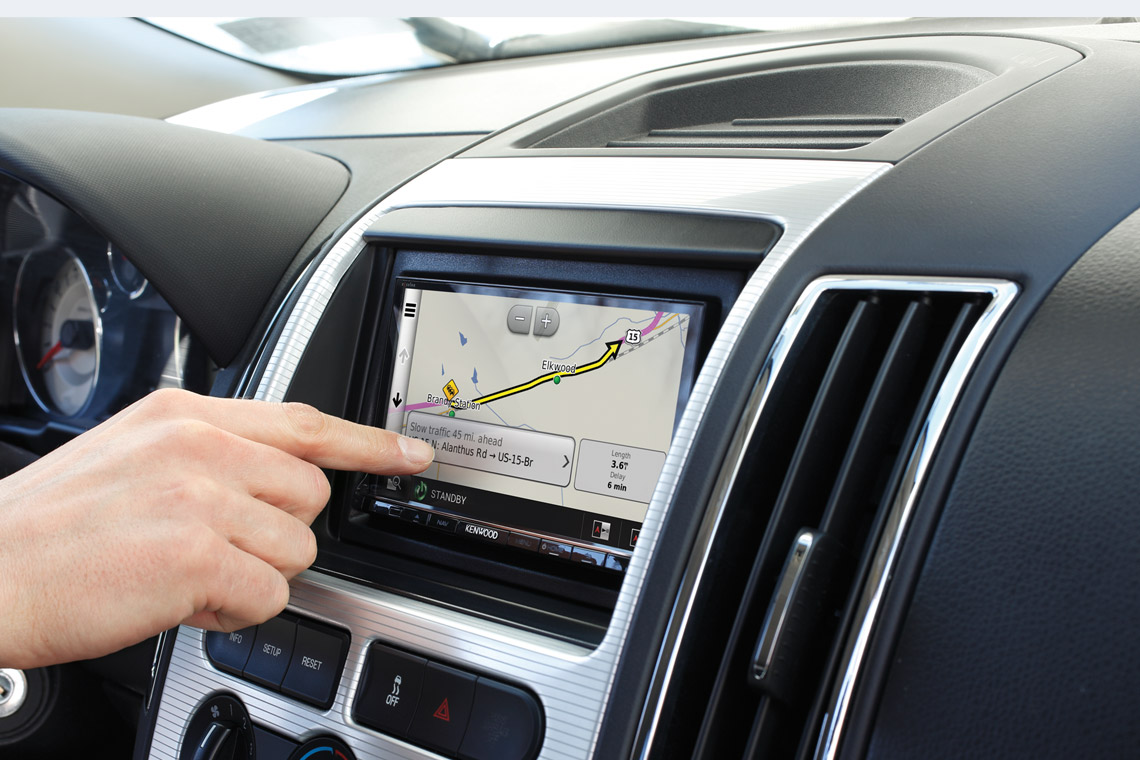
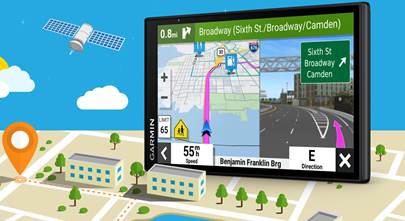
In-dash navigation systems, like the Alpine INE-W970HD, provide you with large displays and easy touchscreen controls.
GPS antenna installation
There are a couple of simple rules guiding the external GPS antenna that comes with in-dash navigation receivers. The first is that you shouldn't ever cut or otherwise modify the antenna in any way. The other is that it needs to be in constant contact with the GPS satellites which orbit the earth, so it should be mounted in a way that there won't be a lot of interference with its signal.
In most cases, you can mount the GPS antenna near the top of the underside of your dash (behind or above the receiver). Satellite signals are so strong and reliable these days that this should be sufficient to maintain reliable reception. It also serves to keep the antenna out of sight.
Alternatively, our tech support experts recommend mounting the GPS antenna either on the dash or along the rear deck. As long as it has a clear path to the sky and is not too close to A-pillars or a 2-way antenna, it should work.
However, you should consider mounting the antenna on the exterior of your vehicle if:
- you have a wired rear defroster
- you have metallic window tint
- you have a solar reflective window
- you have a windshield-mounted radio antenna
The GPS antenna should also be as level as possible and maintain a solid connection to its attached metal plate or sheet, if there is one. There will typically be some sort of adhesive involved to keep the antenna in place. You'll then need to route the antenna wire to the rear of the receiver along the dashboard or floorboard or through a window or door seal.
Wire connections
Receivers with a video screen require a couple of extra wire connections that aren't needed for non-touchscreen stereos. Let's take a look at each one.
Parking brake wire connection
For safety reasons, any video screen in the front of the car must be attached to the parking brake wire. This applies to GPS systems too. Some of the more advanced navigation functions are disabled while the vehicle is in motion. If you want to look up a phone number or change the default settings of the unit, you'll need to pull over first. In rare cases, a connection to the foot brake may also be required.
Reverse signal wire connection
Many navigation systems also connect to the vehicle's reverse (or back-up light) signal wire — this connection tells the navigation system when the vehicle is traveling in reverse. If this wire is not hooked up, then the vehicle direction will not track properly, and the navigation system won't be able to do its job.
The most common way to do this is to connect to the reverse light wire right at the tail light. You'll need to check each wire that goes into the tail light with a multimeter. Connect the multimeter to a wire, have someone put the car in reverse (while keeping the brake engaged, of course), then see if you get a 12-volt reading. Repeat this process with each wire until you find the right one. (Note: If you get a 12-volt reading, make sure it's because you've found the reverse wire, not the brake wire. You'll know it's the brake wire if you get a reading as soon as the brake is pressed.)
The reverse wire can sometimes be found under the dash or under the hood, but you'll have to consult your vehicle's wiring diagram carefully in order to identify it correctly. Tapping into it at the taillight tends to be much easier.
Crutchfield can help
Our highly trained Technical Support staff can provide parking brake and reverse wire information for most vehicles. They're available seven days a week (have your invoice handy when you contact us). Even if the information is not available for your vehicle, they can still help you figure out which wires are the ones you need.
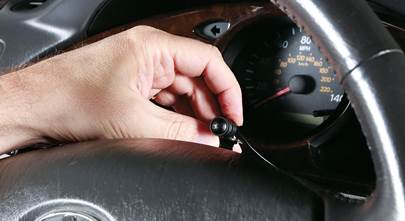
We recommend Posi connectors for wire connections
Posi-Product™ connectors offer a quick and secure twist-on connection for wires, and they can be re-used. For the connections we're talking about here, you'll want a package of Posi-Tap™ connectors. They let you tap into an existing wire without cutting it. This is our favorite way to get strong connections fast. You can also try soldering or crimping if you feel more comfortable with those methods.
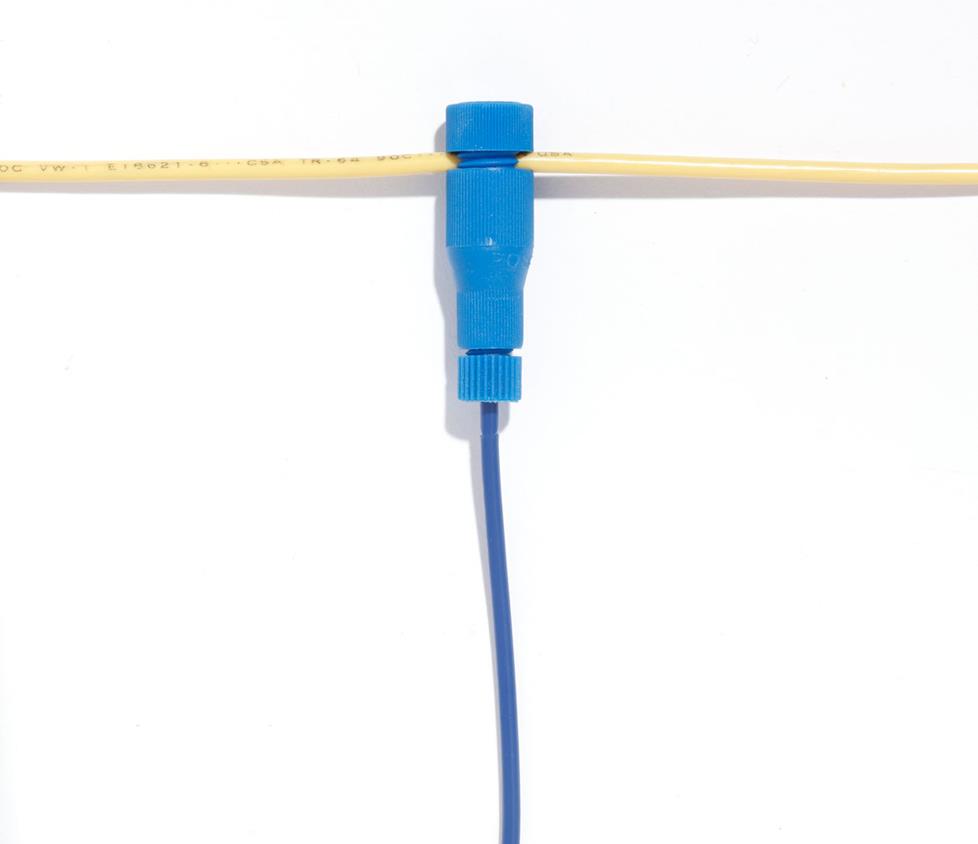
How to use Posi-Tap connectors
Here is our step-by-step guide to using Posi-Tap connectors when you need to tap into a wire in your vehicle.
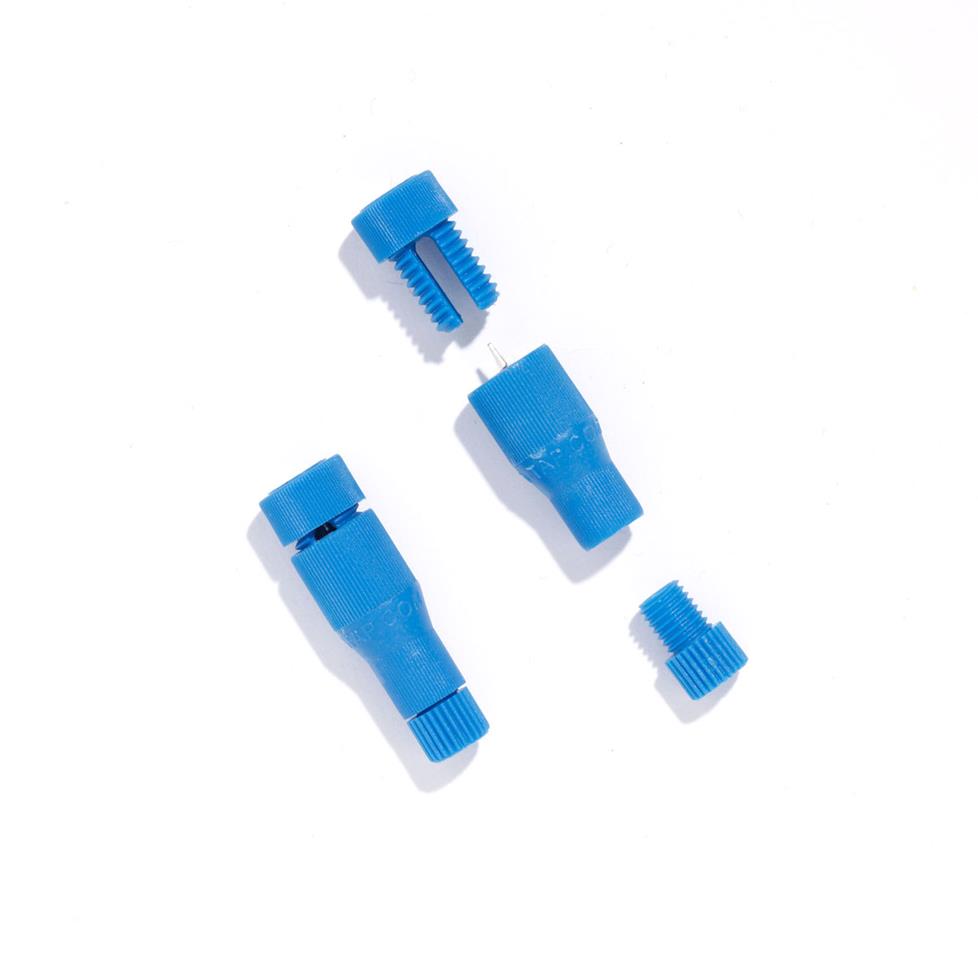
Step 1
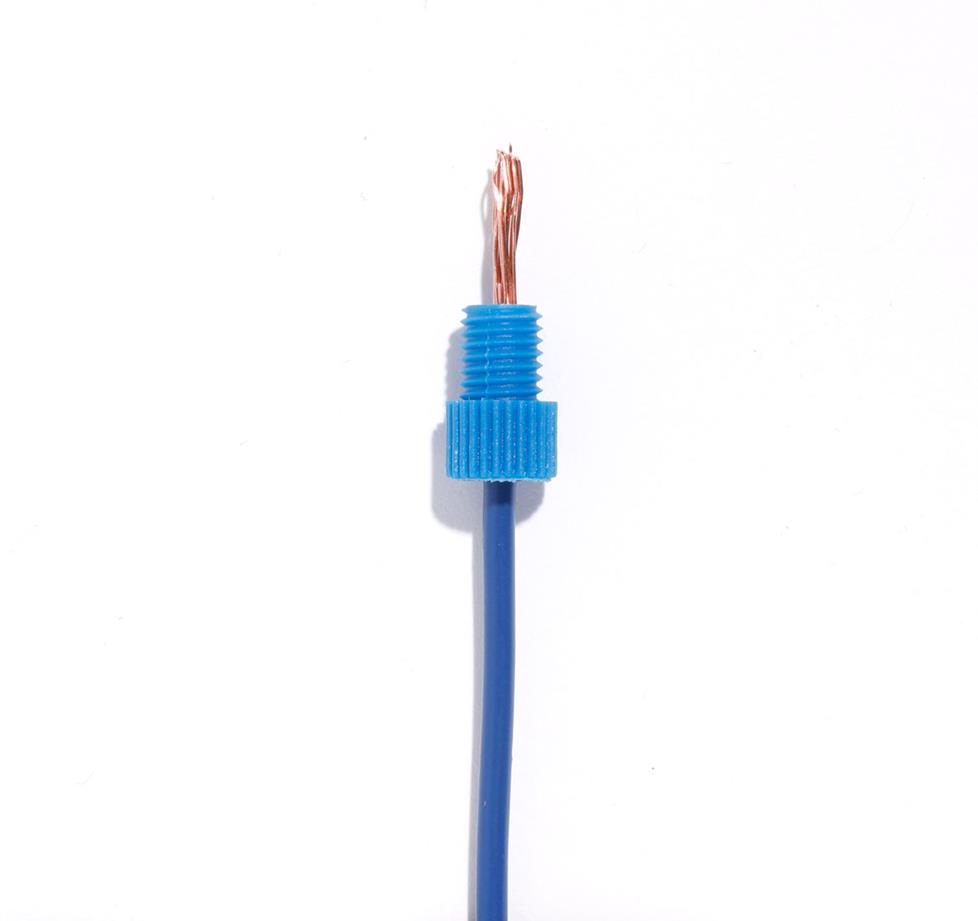
Each Posi-Tap wire connector splits into three separate pieces: large cap (tap end), barrel with conductor point, and small cap (accessory end).
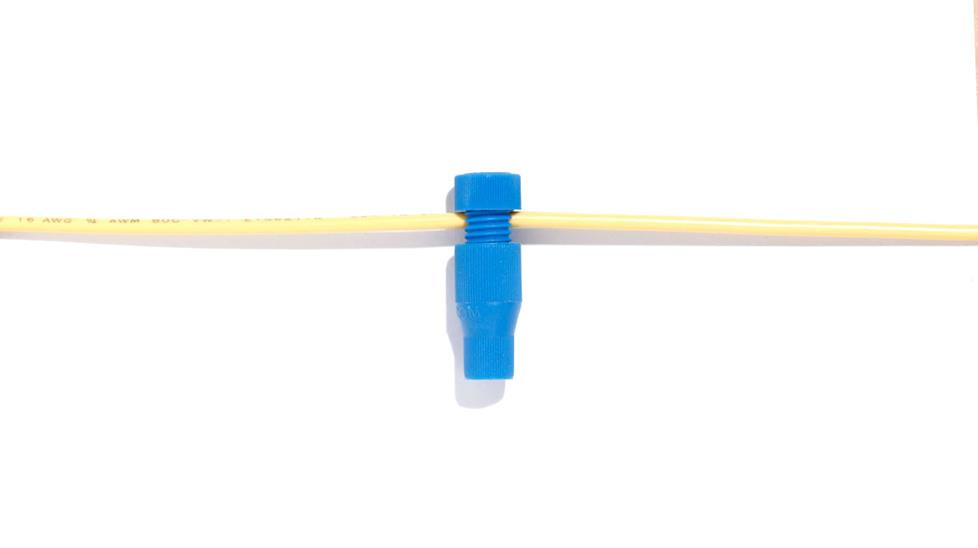
Step 2
Insert the tap wire into the large cap and hand tighten into the barrel. The conductor point pierces the tapped wire without compromising its conductive integrity.
Step 3
Slide the stripped end of the accessory wire through the small cap.
Step 4
Tighten the small cap into the end of the barrel, and you're ready to go.
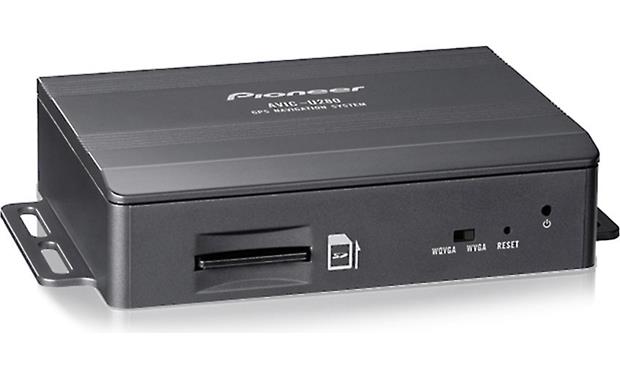
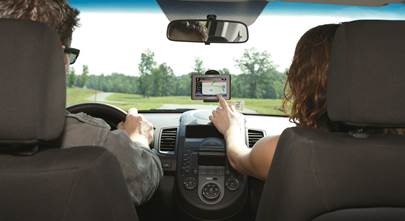
Remote-mount navigation systems
A remote-mount nav system consists of a separate navigation module (with an external antenna) that must be connected to a compatible touchscreen car stereo. Drivers interface with them the same way they would an in-dash system. These are not as common today, but they're just as effective as in-dash systems, provided their mapping data is up to date and they're properly connected.
The navigation module is basically a box that needs to be installed somewhere out of the way. Today's navigation modules are typically compact enough to be installed in the glove compartment, often with some sort of velcro fasteners to keep them in place. They usually have a memory card slot or USB input to receive map updates. The GPS antenna runs off the module, and can usually be mounted on the dash. The module requires battery and ground connections, just like the stereo.
Newer add-on navigation modules are compact enough to fit into the glove compartment of most vehicles.
Need help choosing a navigation receiver?
Installing an in-dash navigation stereo only requires a couple of extra steps beyond any other stereo installation. If you're ready to start shopping for your own navigation receiver, use our vehicle fit tool to see which models will work in your car.
If you have any questions, contact our advisors. They're always happy to help and will make sure you have everything you need for the installation.


Andy from San Mateo
Posted on 7/2/2020
I have navigation on my current OEM in dash unit. Is there any way to keep that GPS antenna with a new unit?
Dominic DeVito from Crutchfield
on 7/3/2020
TDUONG from Garden Grove
Posted on 1/12/2020
Hi, Can you tell me how to hook up the brake line from the navigation system to the car? Thank you
Dominic DeVito from Crutchfield
on 1/12/2020
Silvia Cubero from Miami
Posted on 1/26/2019
Where can i get a chip/usb to update the navigation system on this touchscreen system?
Dominic DeVito from Crutchfield
on 1/28/2019
Alexander Hrabe from Crutchfield
Posted on 6/22/2017
Kevin, if you bought your Boss stereo from us, you can call Tech Support for free help troubleshooting your system. If you purchased your equipment elsewhere, you can still get expert Crutchfield Tech Support - 90 days-worth for only $30. Check out our tech support page for details.
kevin from bismarck
Posted on 6/22/2017
Hi, I just installed a Boss BN965BLC and am not able to get any satellite reception. I have tried mounting the antenna o the dash as well as the outside of the car..still no reception . I wasnt able to hook up the BU camera, reverse wire, or the parking brake wire..could that be the problem?
Alexander Hrabe from Crutchfield
Posted on 3/6/2017
Joy, your manual should be point out where to plug in the antenna (which, I'm assuming was included?). If you don't see reference to GPS in the manual and you bought your gear from Crutchfield, you can call Tech Support for free help troubleshooting your system. If you purchased your equipment elsewhere, you can call the manufacturer's tech support or you can still get expert Crutchfield Tech Support - 90 days-worth for only $30. Check out our tech support page for details.
joy from fairchild
Posted on 3/2/2017
i installd a in dash radio it has everything even gps gps cant find satillite i got a gps antenna to hook up will this help and where do i plug it into the radio
Alexander Hrabe from Crutchfield
Posted on 2/20/2017
Joy, your radio antenna is not the same as your GPS antenna, which should have been included with your new stereo. Your manual instruct you on which input on your stereo to plug into. Also, keep in mind that if you bought your gear from Crutchfield, you can call Tech Support for free help troubleshooting your system. If you purchased your equipment elsewhere, you can still get expert Crutchfield Tech Support - 90 days-worth for only $30. Check out our tech support page for details.
Joy from Fairchild
Posted on 2/19/2017
I just installed a GPS in dash stereo the GPS says no sattilite detected where do I hook up external antenna does this replace radio antenna also there is a slot for as card do I need one
Alexander Hrabe from Crutchfield
Posted on 8/31/2015
Steve, you can try searching our online Knowledge Base.