Direct Replacement stereo upgrade for a 2017 Ford Explorer
Factory looks, big upgrade from Kenwood and iDatalink

A 2017 Ford Explorer gets a big stereo upgrade. A new Kenwood Direct Replacement receiver takes this system to the next level. Read more below.
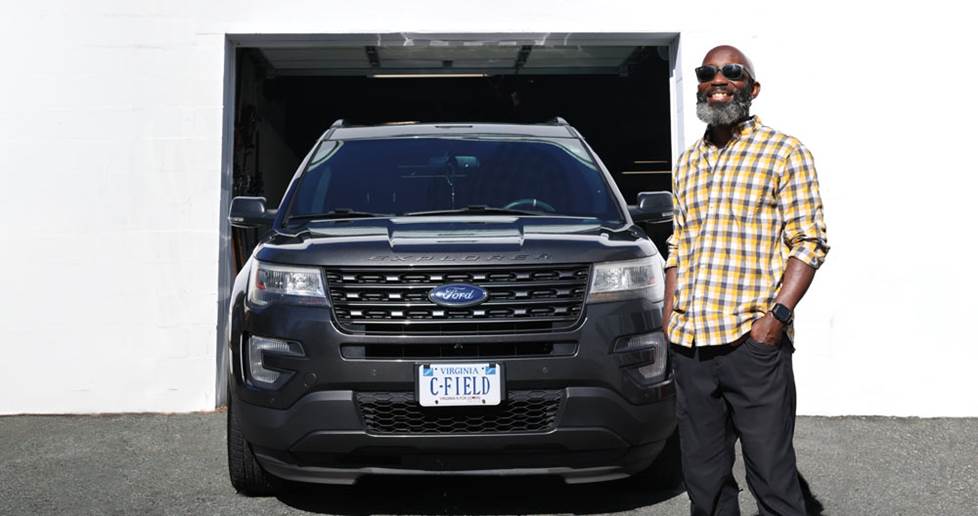
Lou is on the road a ton, and he loves listening to music while cruising in his 2017 Ford Explorer. He’d previously installed a subwoofer and amp, but was unhappy with the sound quality and the laggy factory touchscreen. This was the perfect vehicle for a Kenwood Direct Replacement receiver — a subtle looking upgrade that will massively improve the sound.
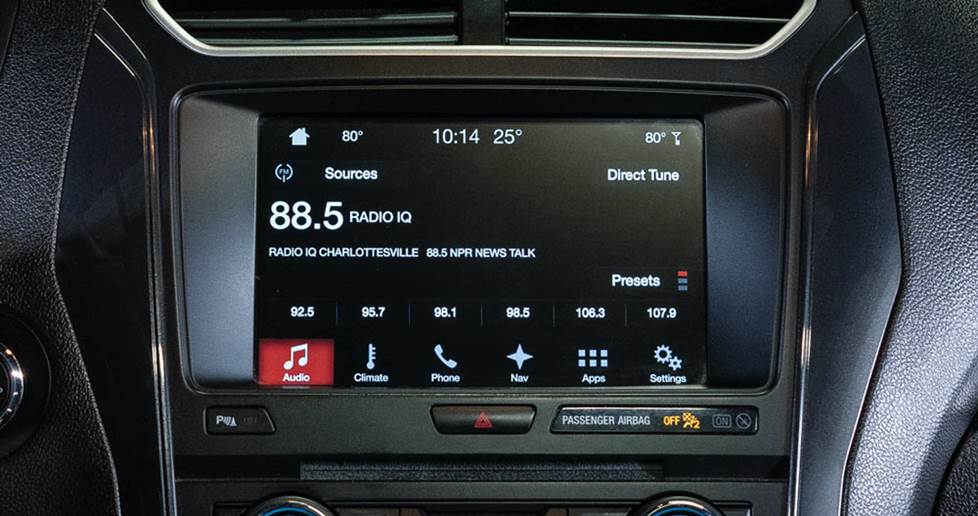
The finished install looks like it came from the factory.
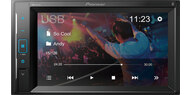
The Kenwood stereo we chose for the upgrade
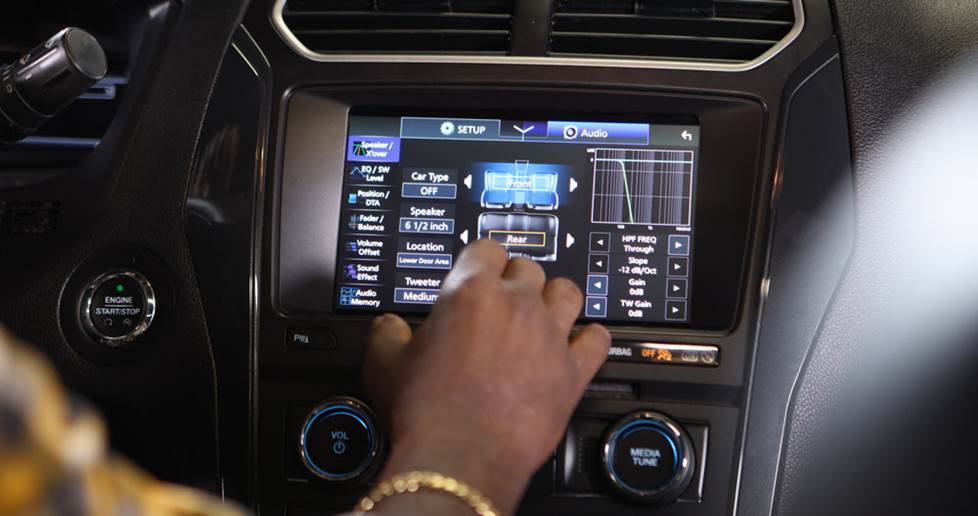
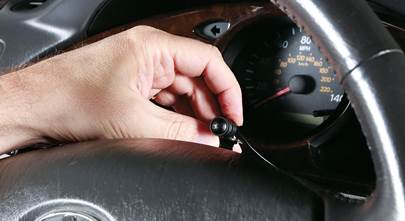
With a sharp screen and responsive interface, you can control Carplay and Android Auto on the Kenwood Excelon DAX800XR receiver with ease. The 13-band parametric EQ makes it easy to shape your sound however you’d like, and Kenwood includes audiophile-grade internal components for excellent sound quality. The iDatalink Maestro RR2 kit and vehicle specific wiring harness maintains your steering wheel controls lets you access vehicle specific functions on the receiver. Additional modules like the iDatalink ADS-MIC1 and ACC-VID1 let you connect your factory Bluetooth® mic and backup camera to the Kenwood.
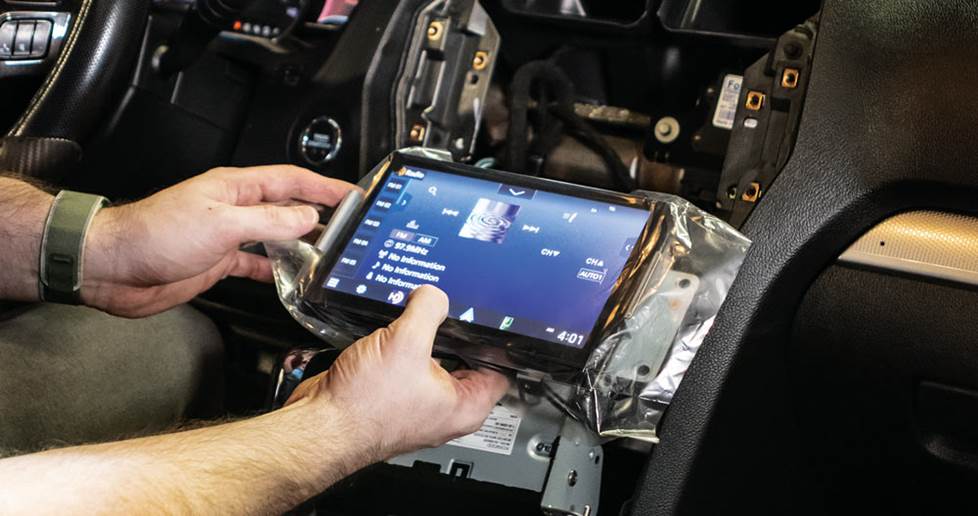
Testing the radio before buttoning everything up.
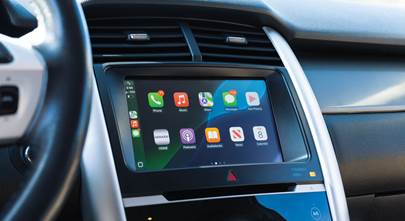
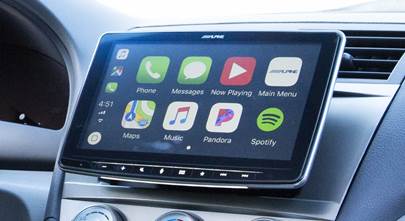
Our favorite aspect: the big, responsive screen
The 8” touchscreen on the Kenwood is the star of the show. It’s sharp and easy to use, yet at a glance it looks integrated with the dash exactly like the factory model it replaced. Menus load faster, and the resolution is higher, which makes it easier to read. It really is such a joy to use, which is excellent as a receiver’s interface makes up a large part of the experience— from making tweaks to the EQ to navigating Carplay.

A nest of wires for the radio, Maestro, and adapters.
The most challenging aspect: so many wires
While this entire installation doesn’t require any cutting, soldering, or crimping, there’s still a plethora of wires involved. Between the Maestro and the add-on modules to retain the factory Bluetooth mic and backup camera, Lou had a spiderweb of wires and boxes. The instructions from iDatalink, while thorough, were spread over several sets of guides for each of the adapters. We always recommend that any installer take plenty of time and start with the wiring first while at the kitchen table, then moving to the car.
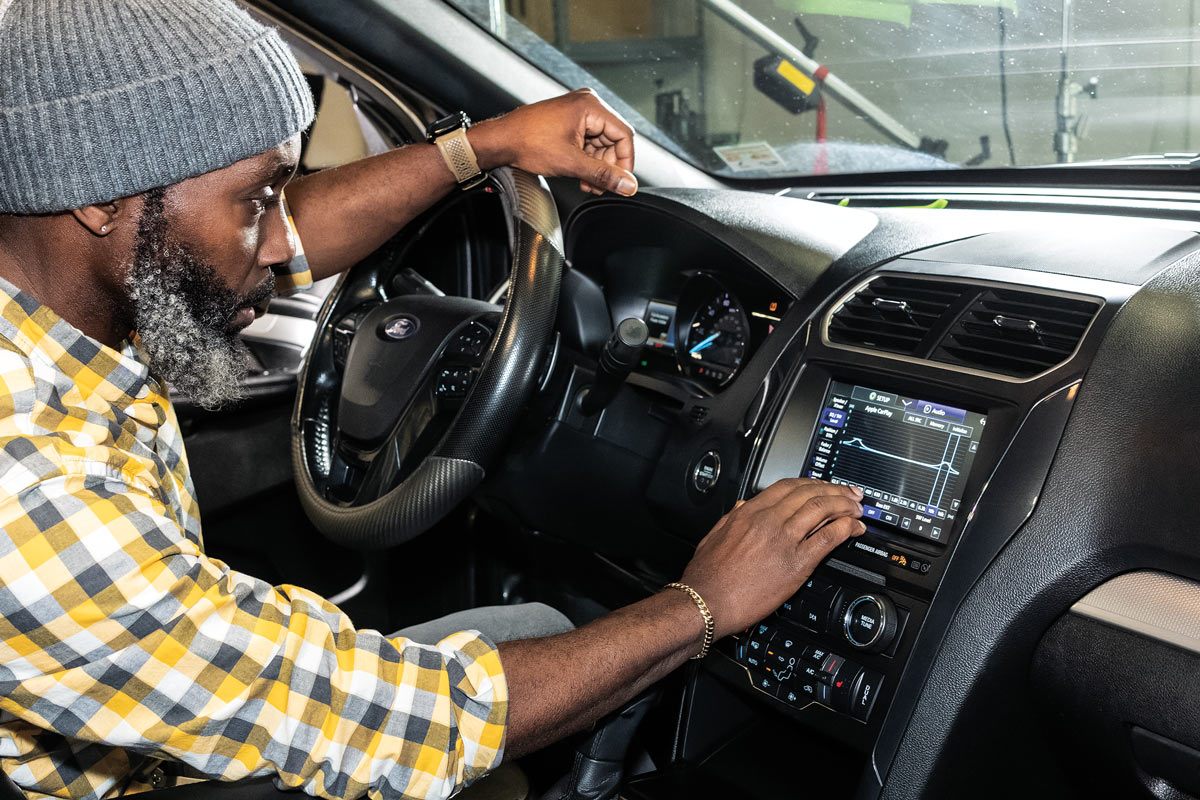
Lou adjusts the sound settings in the Kenwood.
The results: huge sound quality improvements
Lou was blown away by the end result. Not only did all of his factory Ford features still function, but his previously installed subwoofer sounded cleaner and more punchy. The factory speakers sound way better, and he can pick out details in tracks that he couldn’t hear before. After the three hour install he hit the road excited to listen to more.
What you'll need for this installation:
- Time: Give yourself an afternoon
- Number of installers: 1
- Tools to know how to use: Panel tools, ratchet, screwdriver
Your turn for an upgrade
When you’re ready, load your vehicle info into our powerful vehicle selector to see what works in your ride. Then reach out to our friendly Advisors online or by phone, to answer any questions you have. They’ve gone through in-house and hands-on training, so they can help you pick out the right gear. All purchases from Crutchfield also get free lifetime Tech Support, so we can help you with any questions you have during your installation, too.


Comments (0)