


A dentist learns the joys of car stereo DIY
Brian installs a car stereo for family road trips


Brian with his Camry.
As a prominent dentist, Brian knows bicuspids, molars, and incisors. But by his own admission, he knew nothing about putting a new car stereo in his 2003 Toyota Camry.
After a 16-hour road trip with his wife and three kids listening to music from his iPhone® with a cassette adapter that only played out of one channel of his factory radio, Brian realized that he desperately needed to look into a car stereo upgrade. He just hoped the installation wouldn’t require novocaine.
Finding the right stereo
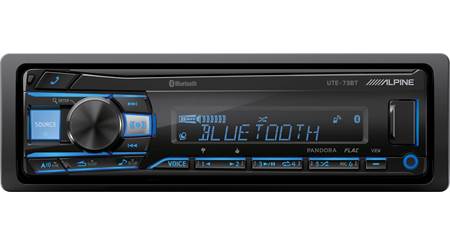
To get started, Brian got in touch with Duke, a veteran Crutchfield Advisor. They discussed Brian's current setup, and talked about what he wanted in an affordable stereo — mainly, a way to play music from his iPhone. Duke also talked about about features that could be helpful to Brian and his family, including Bluetooth® music streaming and hands-free calling. In the end, Brian and Duke decided that the Alpine CDE-143BT would be a great option for Brian’s current car audio woes.
Getting it installed
Duke addressed Brian's concerns about the installation. He let Brian know about our exclusive, vehicle-specific MasterSheet™ installation instructions that we provide with every receiver order. They provide step-by-step guidance, along with detailed illustrations and photos of the installation process. He also talked about the installation accessories we have available for his Camry: the intallation kit, which would allow Brian to mount the new stereo in the dash, and the wiring harness, which would let Brian plug his new stereo's power, ground, and speaker wires directly into his Camry's factory wiring harness.
Duke made sure to mention our free lifetime tech support, which Brian would be able to take advantage of should he have any questions during the installation. And Duke encouraged Brian to consider some of the useful tools we offer at a discount with all receiver purchases: Posi-Products™ wire connectors, Bojo trim panel removal tools, a Pro.Fit wire worm for running cables in cramped areas, and an S&G wire stripper. This all helped Brian feel ready for the job.
Getting to work
With his new stereo, free installation kit and wiring harness, and his MasterSheet instructions, Brian quite literally rolled up his sleeves and got to work.

Brian used Posi-Products connectors to secure the wires.
Step 1: Using his trunk lid as a workbench, Brian connected the wires from the harness we provided to his new stereo’s wiring harness. He matched up the colors of each wire using the Alpine installation guide and the instructions that come with the wiring harness. He used the S&G wire stripper to cleanly remove the wire jacket, twisted the wires together, and used Posi-Products connectors to firmly secure the wires. (See our Posi-Products video for a quick demo on how they work.)

With the help of a Bojo tool, Brian carefully pried the dash trim out.
Step 2: After disconnecting the negative battery cable to protect his car's electrical system, Brian used the Bojo tools to pry out the trim around the factory radio, so he could unbolt the radio and remove it. With the radio out, he was able to detach the factory wiring plug from the radio.

Brian then used a ratchet to remove the bolts securing the factory stereo.
Step 3: Brian's new stereo came with an external microphone that helps make it easier for his callers to hear him when he's using the stereo in conjunction with his phone to make or take calls in the car. With the stereo removed and the dash opening exposed, Brian used the Pro.Fit wire worm to run the microphone cable behind the dash. He installed the microphone near the instrument cluster on his dash, so it was out of the way but could still pick up his voice clearly during hands-free calls.

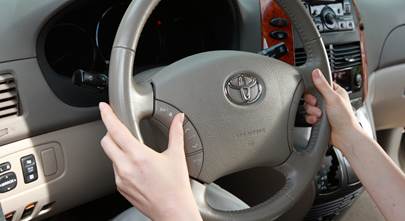
Brian mounted his Bluetooth microphone on the steering column.
Step 4: With the Alpine stereo's power, ground, speaker wires connected to the wiring harness, Brian secured the new stereo to the installation kit designed for the Camry. This kit holds the stereo in place, while the trim bezel of the kit makes sure it doesn’t look out of place in the factory opening.

With the stereo in the kit, Brian slid everything back in place.
Step 5: With everything assembled, Brian was ready to install his new stereo into his dash. He plugged the microphone cable into the input on the Alpine stereo, secured the antenna cable to the back of the radio, and snapped the factory wiring plug to the harness on his new stereo. He then bolted the mounting kit in place.
Brian connected the negative power lead, switched on his Camry’s 12-volt accessory power, and turned on the new radio before installing the dash trim. This gave him a chance to make sure everything was working properly by adjusting the balance and fader to test the speaker connections. Once he confirmed everything was working properly, Brian then carefully snapped the factory dash trim back into place around the new stereo.

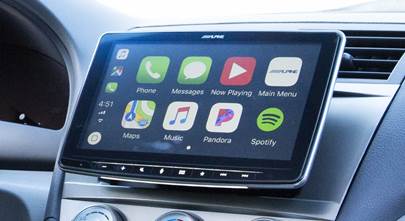
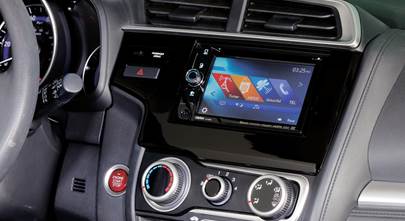
Brian's new stereo looks like it was installed by a professional.
The result: happiness
The first thing Brian wanted to try out was the Bluetooth audio streaming. As Daft Punk played, Brian marveled at how Alpine’s built-in amplifier brought new life to his factory speakers. When he heard the improved volume and upgraded clarity, not to mention witnessing the versatility of playing his music wirelessly, Brian showed off his pearly whites and exclaimed, “the kids are gonna love this! And it was easier than I thought.”
Great job, Doctor!

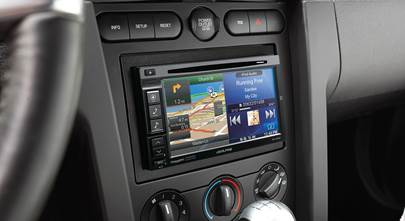
Flashback: Brian's dash before his upgrade project.


Comments (0)
Please share your thoughts below.