


2012-2018 Toyota Yaris
How to upgrade the stereo system in your Yaris

In brief: This Crutchfield Research Garage article gives you an overview of your car's stock stereo system and your aftermarket upgrade options. We'll tell you all about:
- The factory stereo system
- Removing the factory radio
- Removing the factory speakers
- Adding more bass
- Other options for your Yaris
Then, use our vehicle selector to find the gear that will fit your Yaris.
Overview of the Toyota Yaris
Years ago (ask your parents), a small, gas-sipping car like the Toyota Yaris was, well, not at all like the Toyota Yaris. Despite the best efforts of advertising copywriters around the world, "economical" and "small" actually kinda did mean "cheap" and "dangerous," at least for most of the tiny little cars wheezing around back then.
Change takes time, and while today's econocars are far from luxurious, cars like the Yaris are almost indescribably better than their cramped, crummy cousins. They're decently roomy, surprisingly comfortable, and very economical – in the good way. That's why it's not at all rare to see people who could drive whatever they want driving a small economy car instead.
The second-gen Yaris is an excellent example of where small car tech is in the early 21st Century. It's a smart, peppy car that's a great choice for city or suburban driving. With an upgraded car stereo, you'll enjoy your driving wherever it takes you.
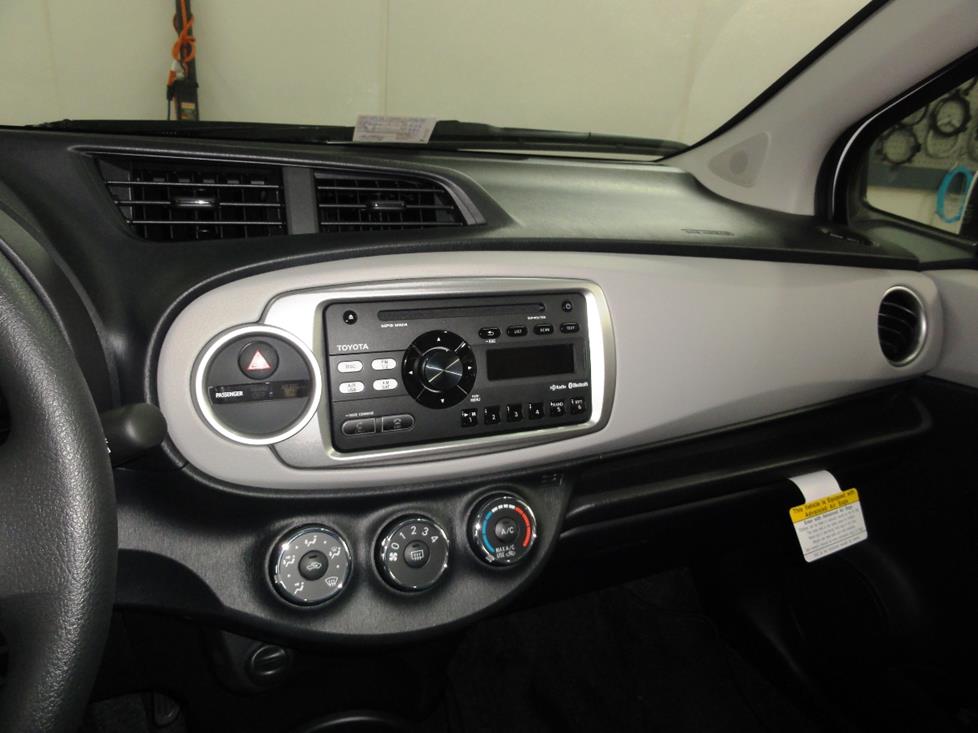
The stock radios are easy to remove from the Yaris. (Crutchfield Research Photo)
The factory stereo system
The Yaris was available with some decent-enough factory stereo choices. The base unit was an AM/FM/CD/MP3 with six speakers, and the slightly better option was an AM/FM/HD/CD/MP3/WMA receiver, also with six speakers. In 2015, a nav receiver with a 6.1" color touchscreen joined the party. The AUX and USB inputs were located inside the glove box.
None of these systems sound terrific, mind you, but compared to what you'd find in a small economy car just, say, 20 years ago, this isn't awful. "Econobox" doesn't mean "penalty box" anymore, and kudos to Toyota for making the effort. And now, let's get back to pulling the old gear out and installing something that rocks.
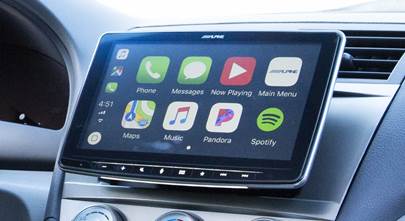
When you replace the stock receiver, you'll lose those AUX and USB inputs, along with (if present to begin with) the factory nav and the factory satellite radio capability. This sounds worse than it is, because it's pretty easy to find an aftermarket stereo that will give you all these functions and more. A wide variety of single-DIN (2" tall) or double-DIN (4" tall) receivers will fit, so you have plenty of great options to choose from.
The Yaris was offered as a two- or four-door hatchback and as a four-door sedan, and we'll cover all of them here. Unless otherwise noted, these instructions apply to all cars.
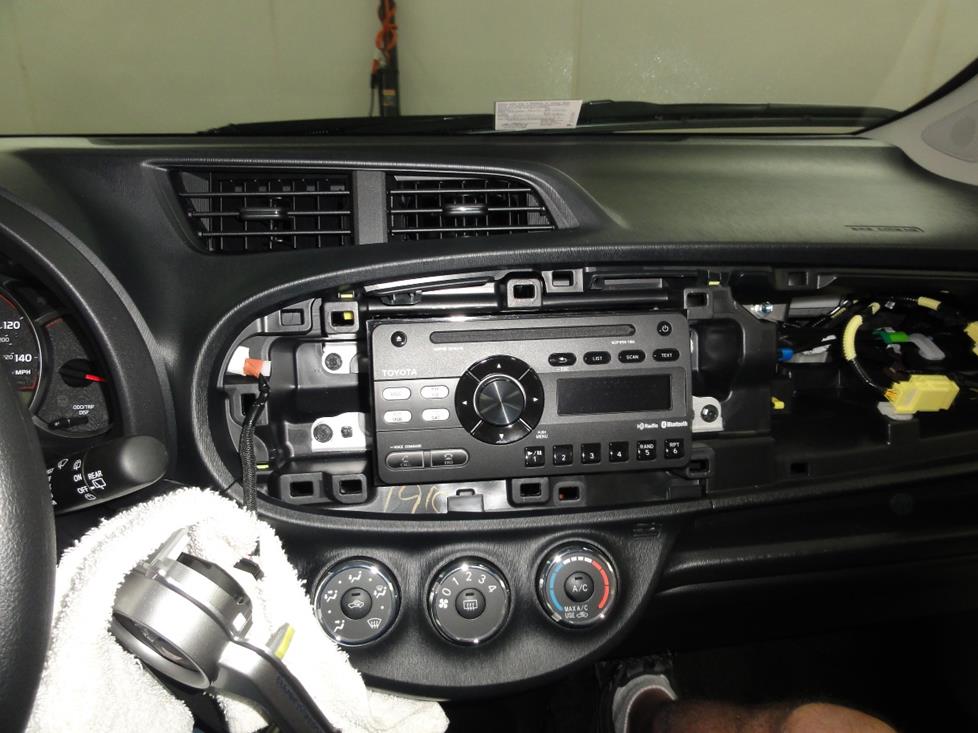
Note the towel protecting the dash from the dangling panel. It's a smart idea. (Crutchfield Research Photo)
Removing the factory radio
The beauty of small, inexpensive cars is that they're usually uncomplicated and easy to work on. This is certainly true when it comes to replacing the Yaris' factory radio.
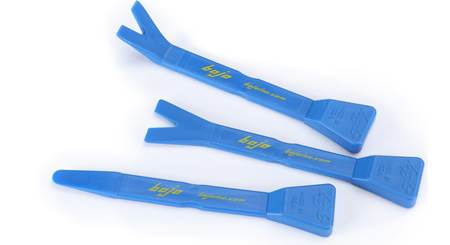
You'll start by using a panel tool to pry out the dash trim panel. There are ten clips here, so think of it like unbuttoning a dress shirt – if you do it all at once, it won't go well and you'll mess up the shirt. Clips aren't buttons and you can't sew them back on, so be patient and work carefully.
Once you've removed that panel, carefully pull out the receiver trim panel to release seven more clips. Instead of disconnecting the harness and removing the panel, you can just let it dangle by its harness while you're working. Be sure to use a thick towel to keep the trim panel from scratching the dash.
Detailed stereo and speaker removal instructions

Next, remove the four Phillips screws that hold the factory radio in place, disconnect the harness, and remove the radio. With that out of the way, you'll be ready to install your new receiver, which basically involves doing all this stuff in reverse, but with a new stereo.
When you order your receiver from Crutchfield, you'll get a big discount on the mounting bracket and wiring harness adapter you'll need to install it. And if you run into any difficulties, you can call our Tech Support team seven days a week and get free help for the life of your gear.
Tools needed: Panel tool, Phillips screwdriver
Read our Car Stereo Buying Guide for shopping tips and advice.
Shop for car stereos that fit your Toyota Yaris
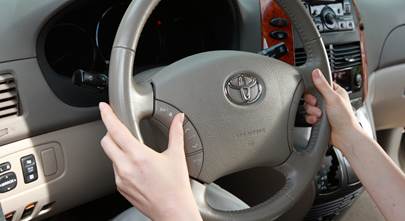
Steering wheel audio controls
It's relatively easy to retain the steering wheel audio controls when you install a new stereo in your Yaris. When you enter your vehicle information, our database will choose the adapter you need to make your factory steering wheel controls work with your new receiver.
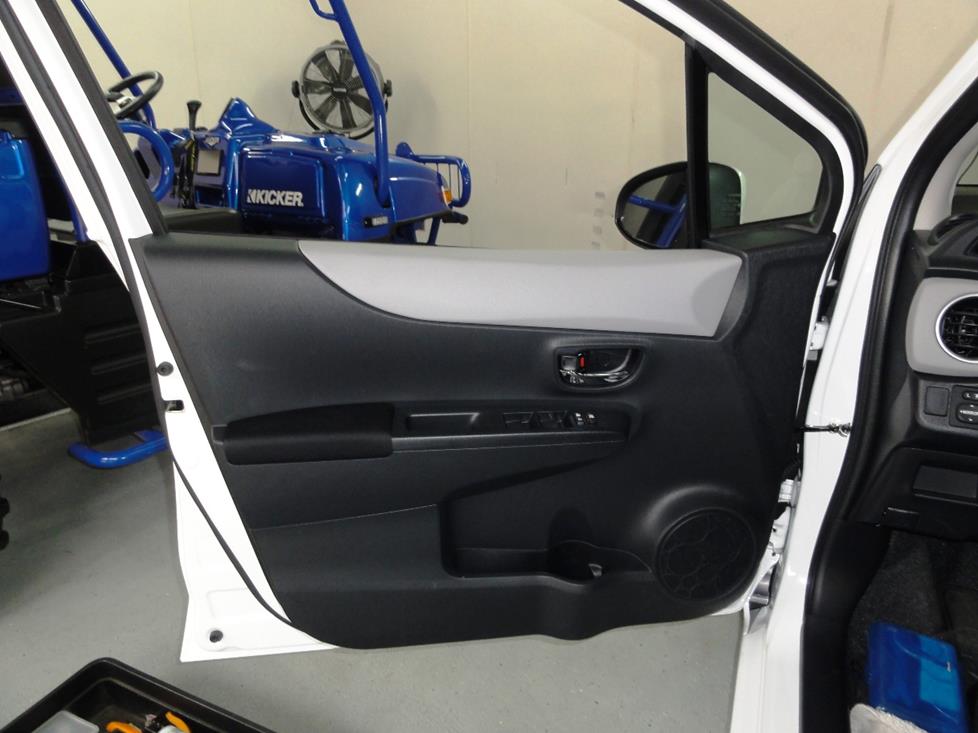
You'll need to remove the door panels to replace these speakers (Crutchfield Research Photo)
Removing the factory speakers
Depending on body style, the Yaris has speakers in the A-pillars, front doors, and rear doors or rear side panels. They're all pretty easy to deal with, but you will have to drill out some rivets. We'll talk more about that below.
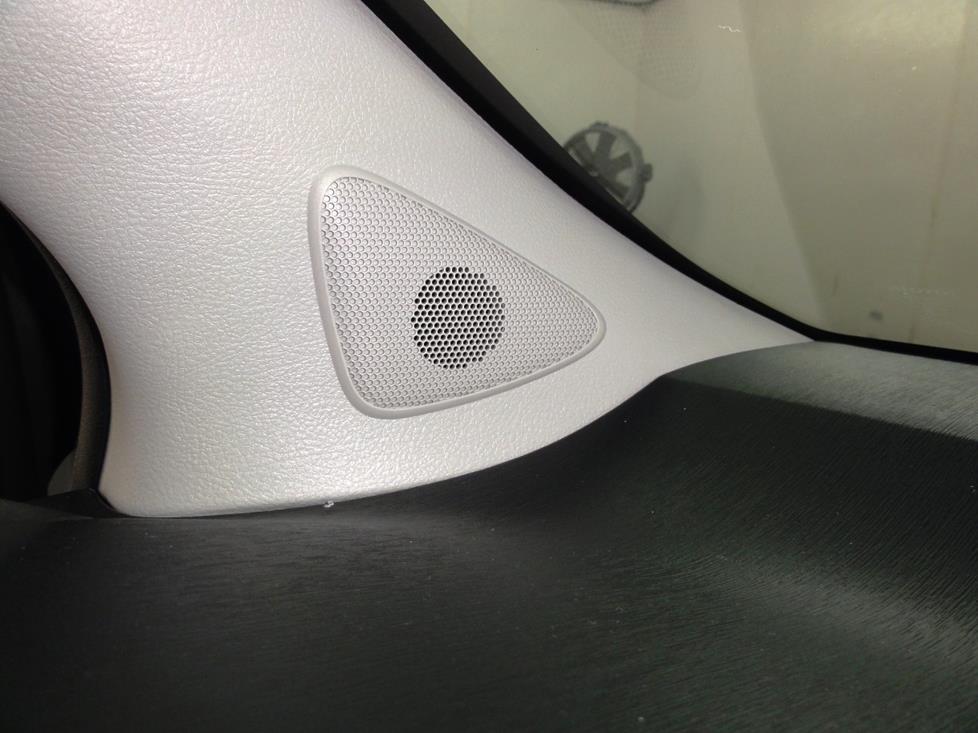
The A-pillar speakers are easy to deal with, mostly (Crutchfield Research Photo)
Front pillar tweeters
The tweeters, which are located in the base of the A-pillars, aren't necessarily hard to remove or replace, but there's a bit more to it than there was with the receiver. The good thing is that we can help you with all the iffy bits.
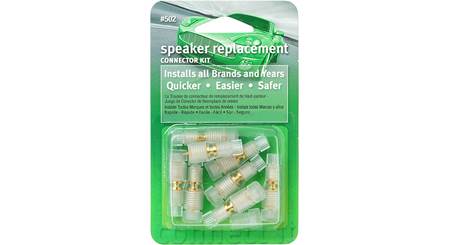
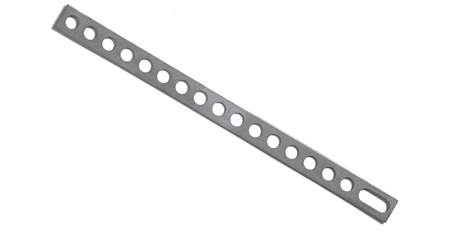
For example, there's no speaker wiring adapter available for these speakers, but you can make the necessary connections with Posi-Products speaker connectors. No mounting brackets are available, either, but our Universal Back Straps will do a great job holding your new tweeters in place. Hot glue or silicone can work there, too, by the way.
Removing the tweeters themselves isn't tough at all. Just (carefully) pry off the A-pillar panel to release one retaining clip. Use a pair of needle-nose pliers to twist the retention tether 90 degrees, which will release it. Lift the trim panel, disconnect the tweeter's wiring harness, and remove the panel, then pry out the old tweeter and start installing the new one. This is a lot less awkward than it sounds.
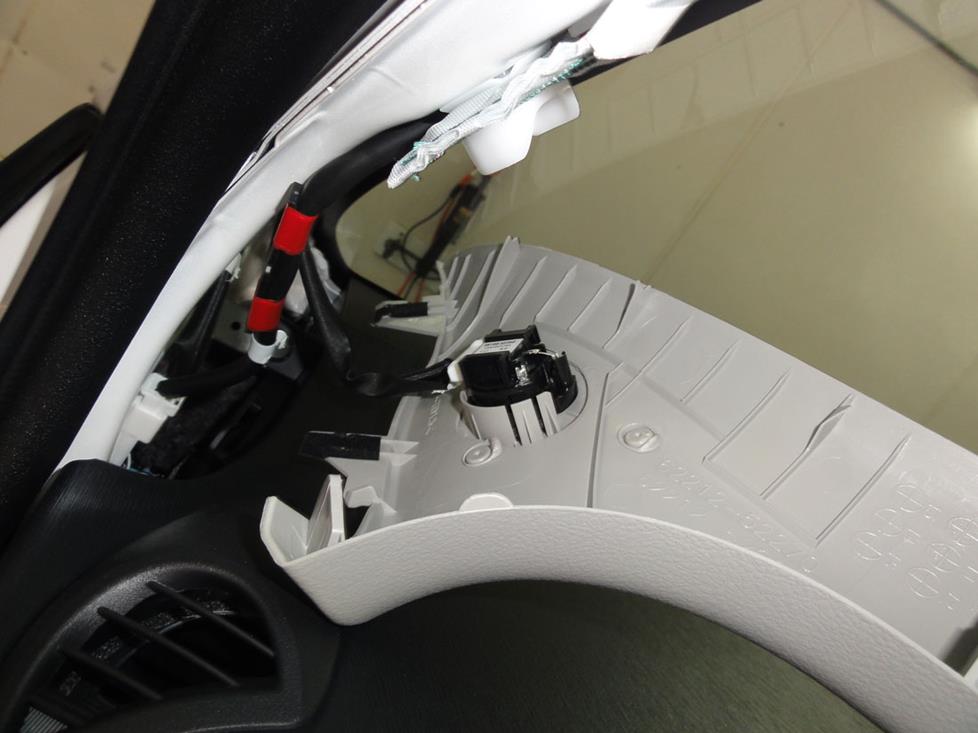
Disconnect the harness and pry out the tweeter (Crutchfield Research Photo)
The front tweeters and the door woofers are wired together at each tweeter location, so if you remove or replace the tweeters, you'll need to splice the input and output wires together to keep the woofers working. Since you're probably going to replace them, too, a set of component car audio speakers would be a great choice for the Yaris.
Note: Your new speakers might not include the screws you need to install them, so check the package before you start working and head to the hardware store if you need to.
Tools needed: Panel tool, needle-nose pliers, flat blade screwdriver
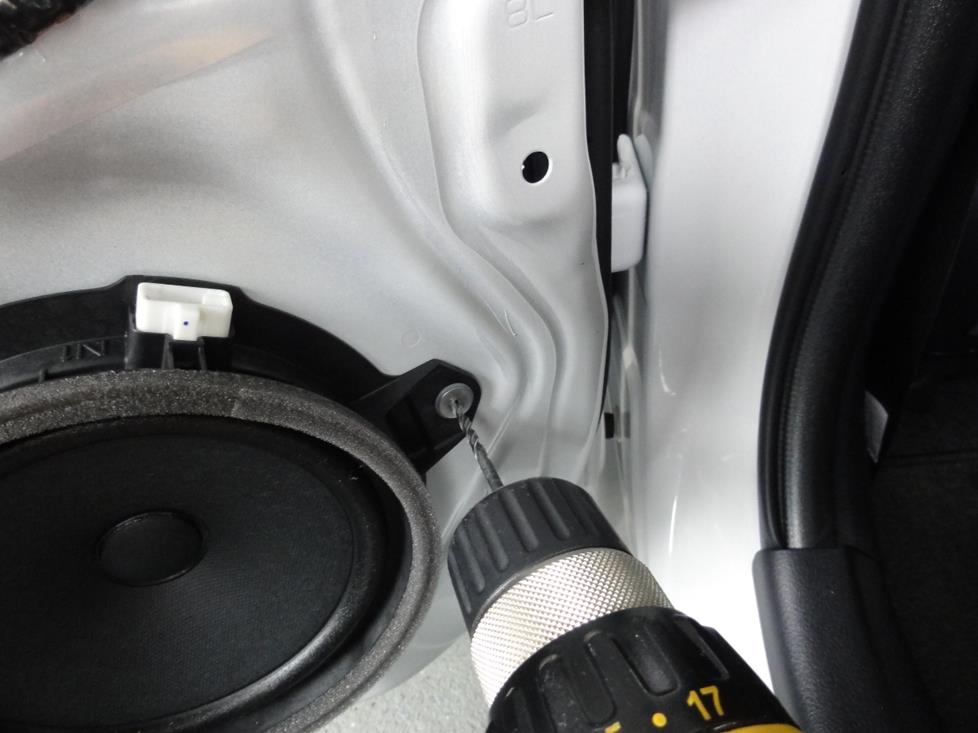
You'll need to drill out the rivets to remove the stock speakers. It's easier than you think. (Crutchfield Research Photo)
Front door speakers
Replacing the front door (or just "door," if we're talking about the 2-door hatchback) speakers is reasonably doable for the average DIY-er. In all three models, you can replace the factory speakers with 6-1/2" or 6-3/4" aftermarket speakers, and if mounting brackets are required, we'll let you know and save you some money on them.
The tricky part (which really isn''t all that tricky, really…) is drilling out the rivets that hold the factory speakers in place. You'll need a 9/64" bit for this and while it's no big deal for anyone who's ever used a cordless drill, it's smart to be safe. Work in a well-lighted place, wear eye protection, and be aware of what's around and behind the drilling area before you start. Again, this isn’t hard, but it's all fun and games until someone loses an eye, right? Just be careful down there.
You'll need to pry off the door panel, so be sure to work carefully and all will be well. Beyond that, the job is pretty simple and illustrated instructions can be found in your Crutchfield MasterSheet.
Tools needed: Panel tool, Phillips screwdriver, drill with 9/64" bit, small flat blade screwdriver
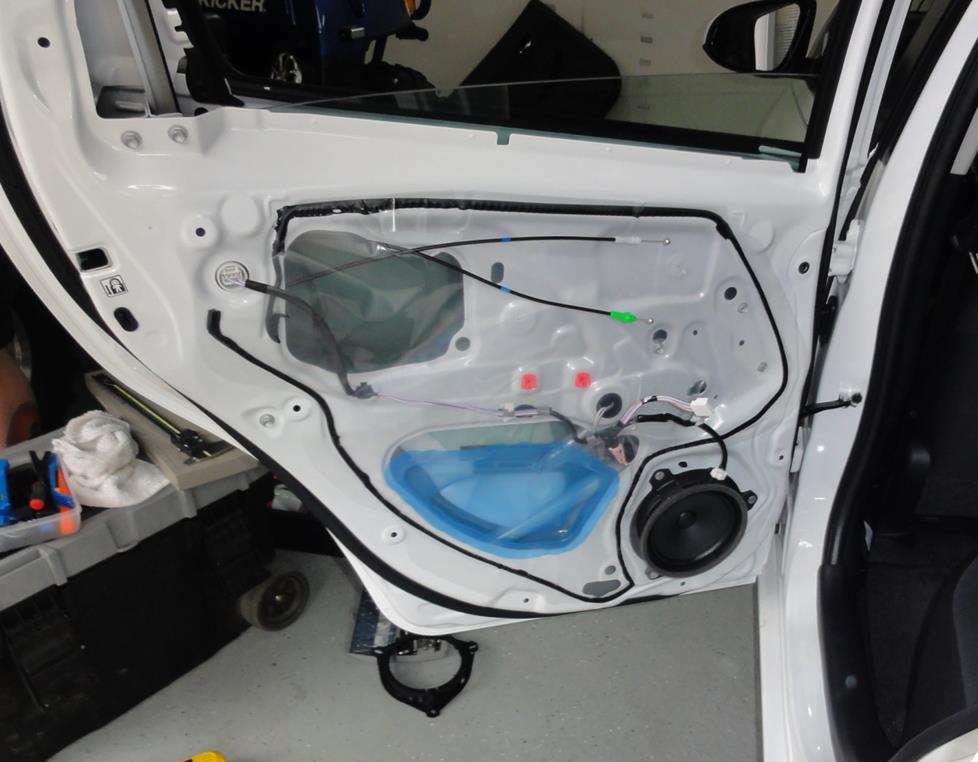
Dealing with the rear door speakers is pretty much the same as up front (Crutchfield Research Photo)
Rear door speakers (4-door hatch and sedan)
Pretty much everything we said about the front door speakers applies to the rear door speakers. So, rather than saying it again, we'll point out that a truly vast selection of 6-1/2" or 6-3/4" speakers will fit in the Yaris, so you can make this car sound really awesome if you want to. Hey, you're not spending much on gas for your Yaris, so you might as well spend some on speakers, right?
Oh, and one other thing: Test your speakers to make sure everything's working properly before you go to the trouble of buttoning up the doors. Check your speaker connections, make sure sound's coming out, and also check to be sure the windows are working properly.
Tools needed: Panel tool, Phillips screwdriver, drill with 9/64" bit, small flat blade screwdriver
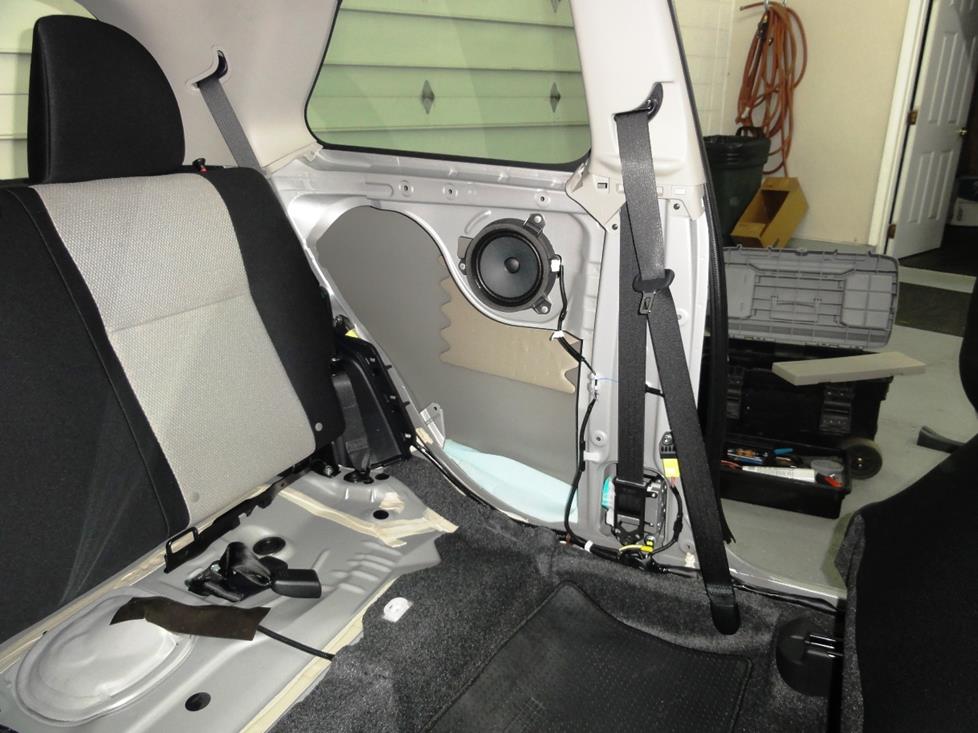
The 3-door Yaris has speakers behind the rear side panels (Crutchfield Research Photo)
Rear side speakers (2-door hatch)
In the 2-door hatchback, the rear speakers are located in the rear side panels. The usual variety of 6-1/2" or 6-3/4" speakers will work just fine back here, too, though the speaker removal process is obviously going to be a bit different. Still not hard, mind you, just different.
You'll start by prying up and removing the door scuff plate. Next, pull up on the front edge of the rear seat bottom cushion to release two retaining clips. Once the clips are loose, lift and pull the cushion forward, and remove it from the car. Depending on where you're doing the installation, it's probably a good idea to have an old sheet or blanket to protect the seat while it's out of the car.
Pull the door gasket away from the vehicle along the rear side panel, then fold down the seat backs to get a clear path to the side panels. Starting at the front edge, pry out the rear side panel and carefully release the retaining clips until you can remove the panel.
You'll need to drill out the rivets here, too, so keep your drill and eye protection handy. If you need brackets for these speakers, we'll make sure you get them when you order your speakers.
Tools needed: Phillips screwdriver, panel tool, drill with 9/64" bit
Read our Car Speakers Buying Guide for more information.
Shop for speakers that fit your Toyota Yaris
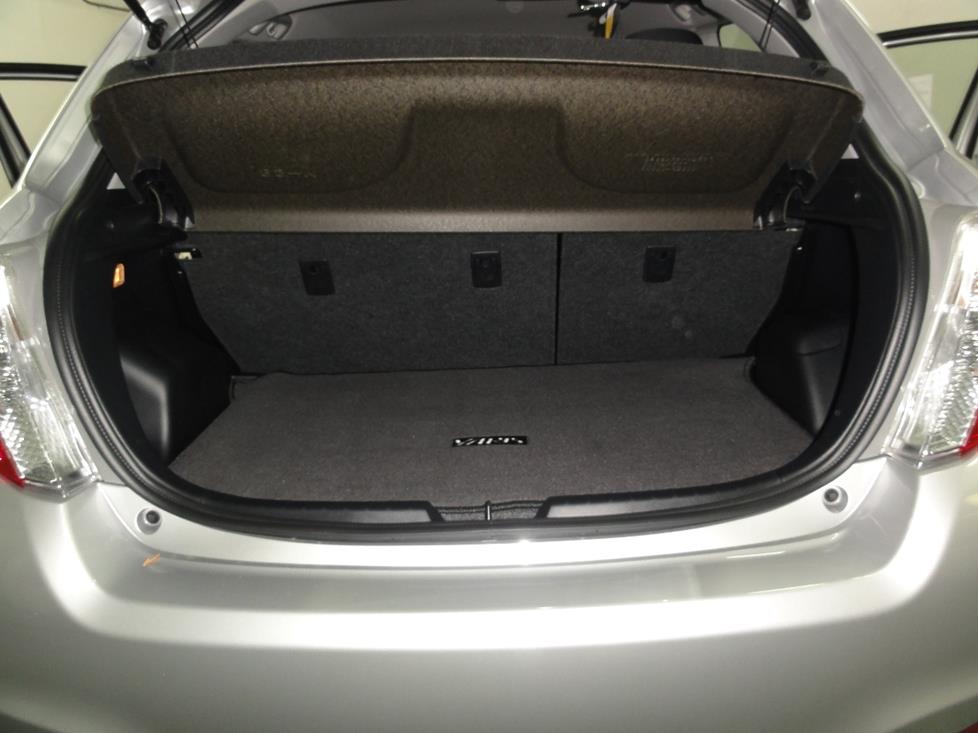
The trunk's dimensions are the same in the hatchbacks and the sedan (Crutchfield Research Photo)
Bass in your Toyota Yaris
The Yaris sedan is a bit longer than the hatchback models, but they're all small cars. Spacious and well-thought-out, of course, but still small. So if you're into big, booming bass, the Yaris might cramp your style a bit.
Both models offer a 13" H x 39"W x 22" D1/14"D2 space for a sub enclosure (measurements taken below the cargo cover), so you're going to have to get pretty creative if you want to start wedging 15" subs in there.
Most people don't, though, so in that case, you'll be in pretty good shape with this car. A number of powered subwoofers will fit nicely and leave you some room for your weekly groceries and weekend luggage.
Learn more about building a bass system in our Car Subwoofer Buying Guide.
Other options for your Yaris
There are plenty of other ways to improve your Yaris. Here are some of the ways Crutchfield can help.
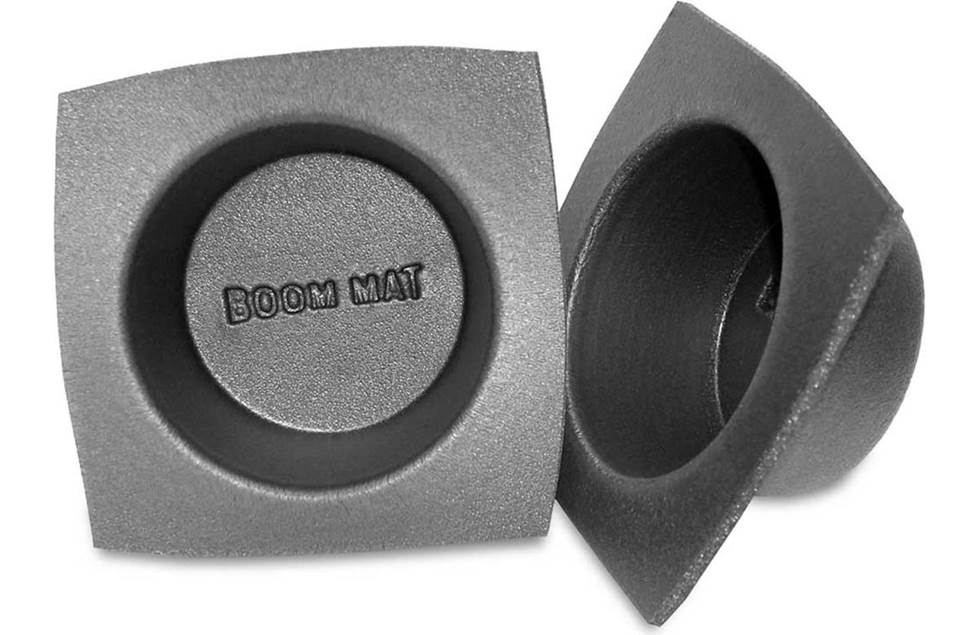
Boom Mat 6-1/2" speaker baffles
Speaker baffles
Adding a set of foam speaker baffles to the somewhat exposed rear speakers is an inexpensive way to make a big difference in sound quality.
iPod® and satellite radio adapters
Better sound is a wonderful thing, but not everyone is up for replacing the factory receiver. Not a problem. You can still add versatility and great sound to your Yaris, especially if you’re okay with the idea of going CD-free. We offer several adapters that will allow you to use an iPod, MP3 player, or satellite radio with the factory system. You can upgrade the speakers later for even better sound.
Security
Installing a security system in the Yaris isn't easy (security systems rarely are), but it's definitely a good idea. Our Crutchfield Advisors can help figure out what you need to get the job done, but we usually recommend taking your car and new gear to a professional installer.
Let's get started!
Ready to shop? Use our vehicle selector to find the gear that will fit your car or truck. If you have questions, give us a shout via phone, chat, or email
Comments (2)
Please share your thoughts below.


Jon Paulette from Crutchfield
Posted on 4/18/2016
Thanks Tom!
Tom scuderi
Posted on 4/17/2016
Great article!!!!!! I actually like that no brands of electronics were part of it. Highlights the CF advantage for the dyi's.....