2011-2016 Hyundai Elantra sedan and coupe
How to upgrade the stereo system in your Elantra


In brief: This Crutchfield Research Garage article gives you an overview of your Elantra's stock stereo system and your aftermarket upgrade options. We'll tell you all about:
- The factory stereo system
- Removing the factory radio
- Removing the factory speakers
- Adding more bass
- Other options for your Elantra
Then, use our vehicle selector to find the gear that will fit your Hyundai.
Overview of the Hyundai Elantra
Economy cars aren’t supposed to look like this. They’re supposed to be boring little boxes with minimal power, sloppy handling, and comfort and convenience features only slightly more advanced than what you’d find in a moving van. And yet, here’s the Elantra, a sleek well-equipped car that’s less of an old-fashioned economy car and more of a plain old value. It might be inexpensive, but it’s definitely not cheap.
There’s a lot to like in this Elantra. The styling is dramatic, the interior is comfortable, and Hyundai worked hard to stuff as many features as possible into it. The 2011-2016 sedan is an efficient and entertaining people-mover, while the 2013-2014 coupe adds some sportiness to the mix inside and out.
The stock stereos aren't all that sporty (though the Premium system does try), but that’s fixable. And fix it you should. This is a very quiet car at anything other than full acceleration, so you’ll really hear the difference when you install a new stereo system. This article will tell you more about what you can do and how it gets done.
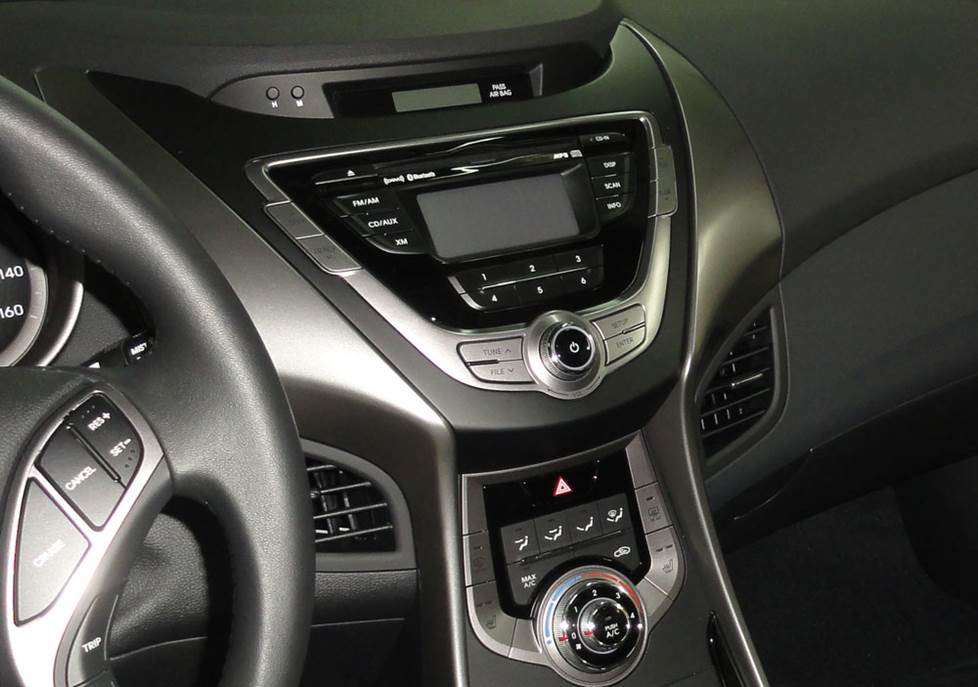
The base radio blends nicely into the dash in this Elantra coupe, but it's not much of a performer (Crutchfield Research Photo)
The factory stereo system
The Elantra’s base system includes an AM/FM/XM/CD/MP3 receiver and 6 speakers, while the step-up gives you an AM/FM/XM/CD/MP3 receiver with Hyundai Navigation and a 6-speaker Premium audio system.
You can replace either of the stock receivers with a single-DIN (2" tall) or double-DIN (4" tall) aftermarket stereo. The removal/replacement process is pretty much the same for either one, but the cutout in the receiver trim panel differs between nav and non-nav receivers.
When you replace the factory radio, you'll lose the factory satellite radio capability, the factory AUX and USB input connections, and (unsurprisingly) the factory navigation system. All of these things are easy enough to regain (and probably improve) with the right aftermarket receiver or installation package.
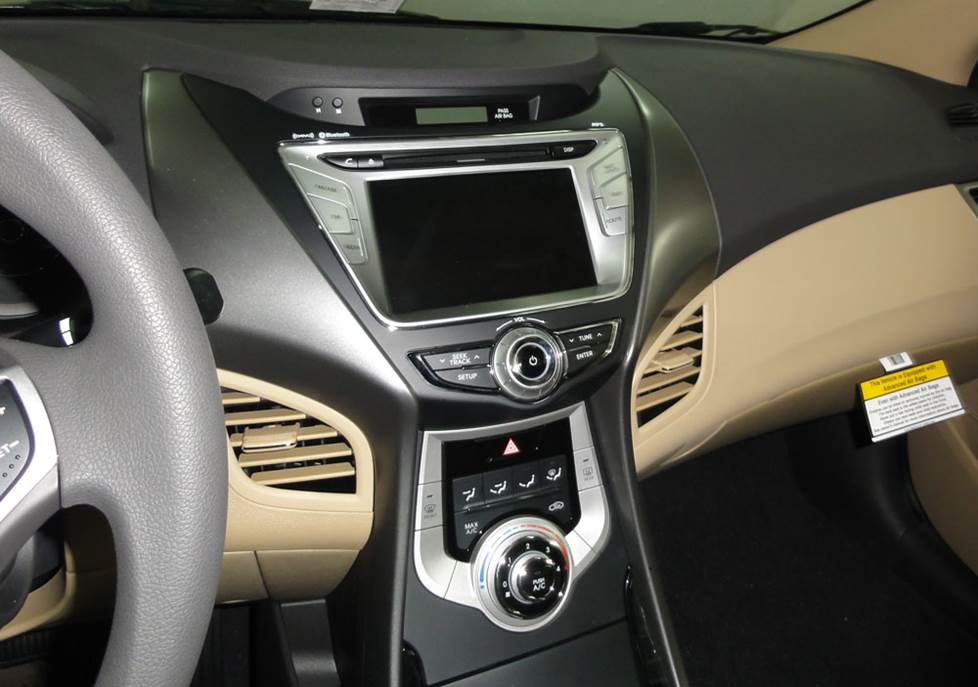
The optional navigation receiver can be upgraded with a variety of aftermarket stereos (Crutchfield Research Photo)
If you’re keeping the stock amplifier, replacing the low-impedance factory speakers with standard 4-ohm aftermarket models will result in lower volume levels. Pay close attention to impedance specs when you’re choosing your new speakers.
On the other hand, if you decide to bypass the factory amp, our experts recommend replacing the factory speakers with 4-ohm aftermarket models to prevent overheating and other damage to your new radio. You can also add an aftermarket amplifier.
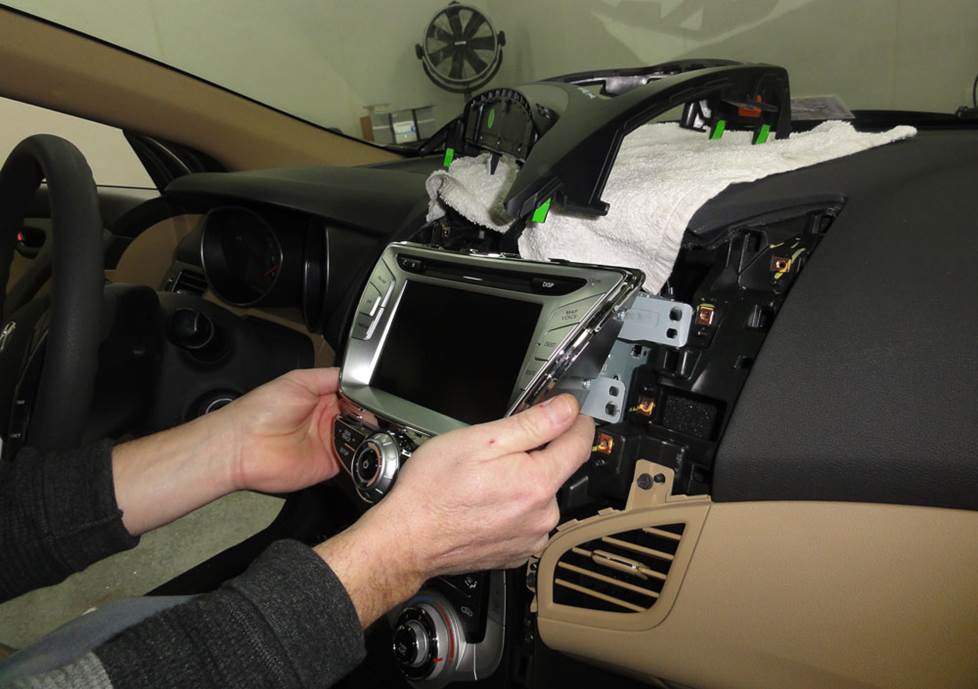
Both stock radios are reasonably easy to remove and replace (Crutchfield Research Photo)
Removing the factory radio
Before you do anything else, pop the eject button to make sure you didn’t forget the last disc you played. Once that’s done, set the parking brake and disconnect the negative battery cable to prevent any electrical short.
The removal process is pretty simple in the Elantra. Starting at the lower edges, use a panel tool to pry out each receiver side trim panel to release nine clips, then remove both panels. Remove the six Phillips screws securing the receiver center trim to the dash, then pry out that trim piece to release eight clips.
Detailed stereo and speaker removal instructions

Using a cloth to protect the dash, place the center trim on top of the dash while keeping the wiring harnesses connected. Next, remove the four Phillips screws securing the radio, pull it out, disconnect the harness and remove it.
When you buy your new receiver from us, you’ll get a nice discount on the wiring harness adapter and mounting bracket you’ll need to install your new stereo. Each will include the instructions you need to install your new stereo.
Once everything is connected and secure, test the stereo to make sure it’s working. If it is, start putting the dash back together by reversing the disassembly instructions.
Tools needed: Panel tool, Phillips screwdriver
Read our Car Stereo Buying Guide for shopping tips and advice.
Steering wheel audio controls
In most cases, it's relatively easy to retain your Elantra's steering wheel audio controls when you install a new stereo. When you enter your vehicle information, our database will choose the adapter you need to make your factory steering wheel controls work with your new receiver.
The factory speakers are kind of "meh," so an upgrade will really make a difference in your car's audio quality (Crutchfield Research Photo)
Removing the factory speakers
Upgrading the speakers will bring out the best in your new stereo, but even if you stick with the stock radio, you can still get better sound. The upgrade process isn't all that difficult (for the most part), so it's a fine project for the car audio DIY-er.
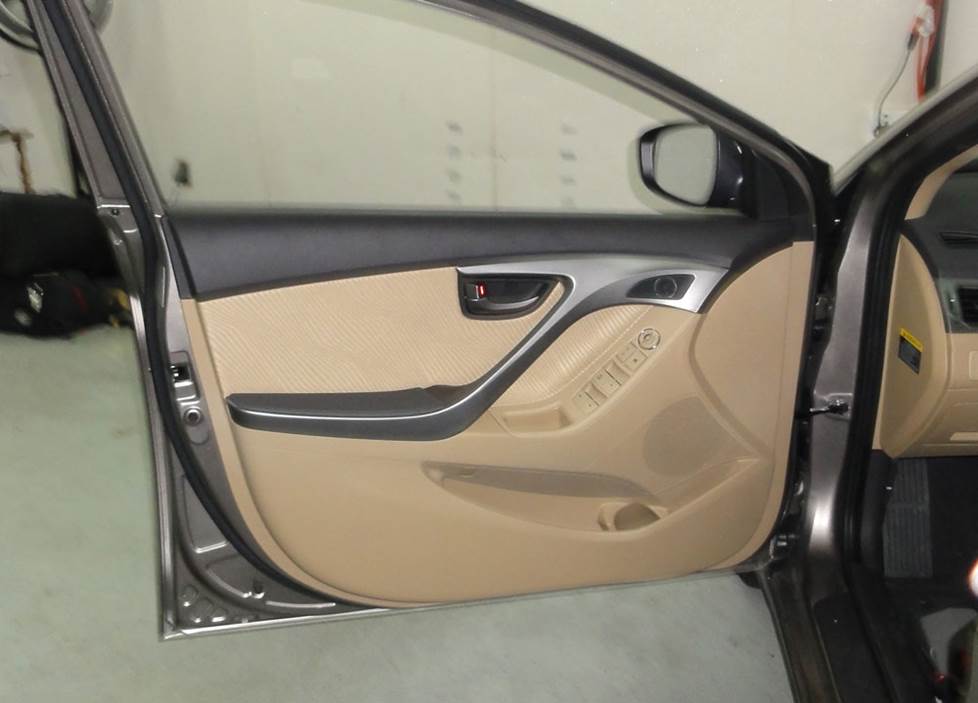
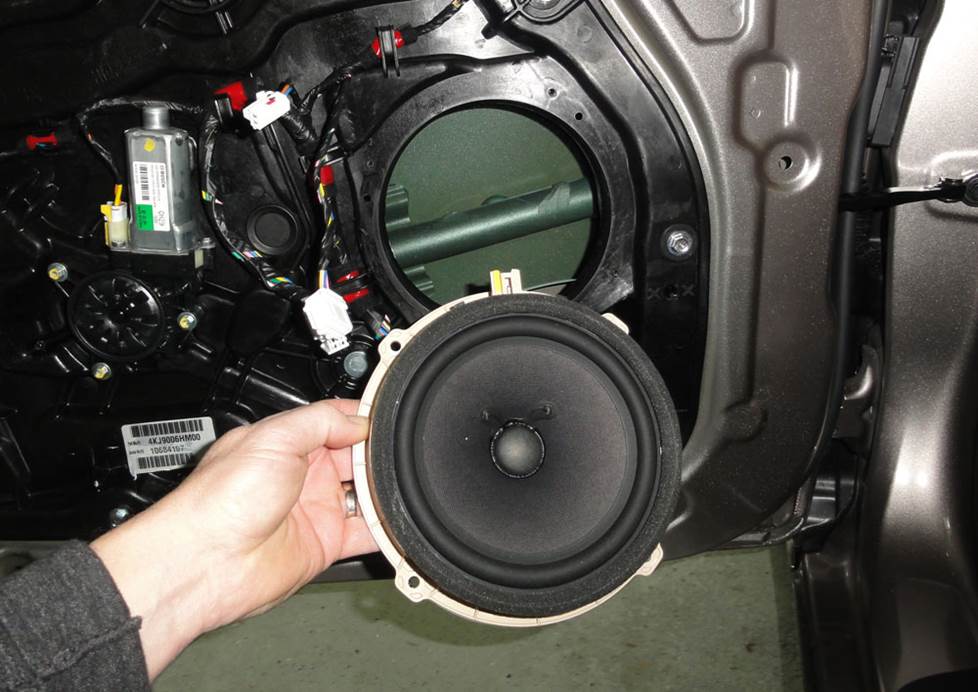
You'll need to remove the door panels to access the Elantra's stock speakers (Crutchfield Research Photo)
Removing the door speakers (Sedan)
The Elantra’s front doors house both woofers and tweeters. The tweeters measure 1.577" in diameter, while the woofers are 6-3/4" models. They’re reasonably easy to reach and replace, and you’ll find a nice selection of aftermarket speakers when you enter your vehicle information.
To access these speakers, you’ll need to remove the door panels. This isn’t hard, but you’ll want to work carefully when you’re prying them off with your panel tool. Be sure to store them in a clean, dry place while you keep working.
The tweeters are mounted to the door panels, and while there are plenty of tweeters that’ll fit here, you'll need to use a weather-resistant glue or our universal backstraps to secure them.
The factory woofers are low-impedance models, so pay close attention to the specs when you’re choosing your new woofers. Replacing the stock speakers with standard 4-ohm aftermarket models will result in lower volume levels.
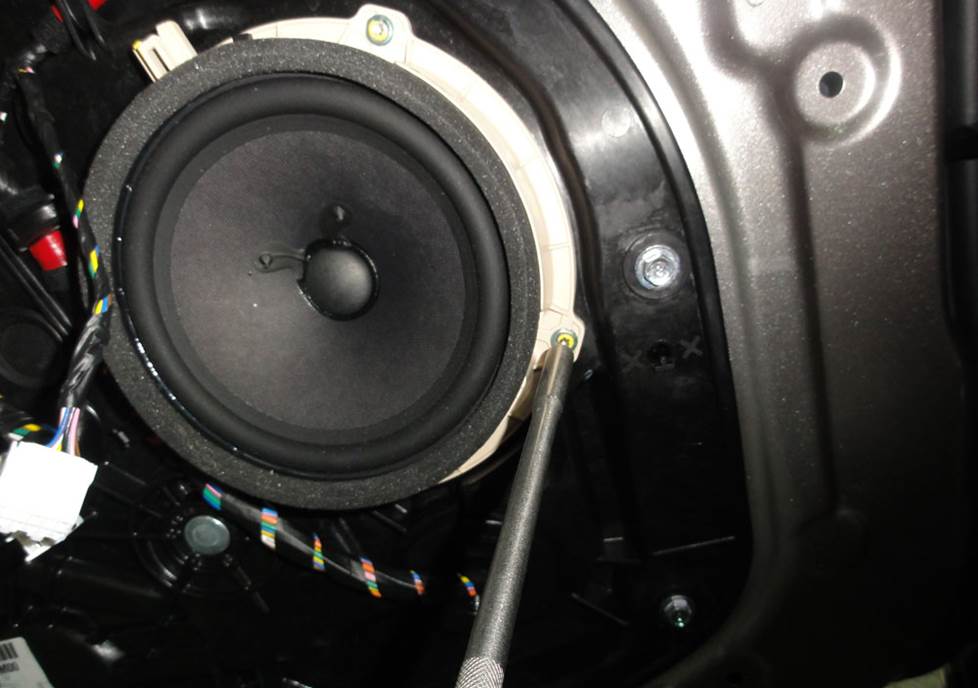
In some cases, you can unscrew the door speakers. In others, you'll need to drill out rivets. (Crutchfield Research Photo)
You’ll need mounting brackets to install your new speakers, and we’ll include them (along with the wiring harness adapter you’ll need) with your Crutchfield speaker purchase. In some cases, you might need to remove the inner tabs on the aftermarket speaker bracket. That’s not hard to do, but you’ll want to work carefully.
It’s entirely possible that the stock speakers will be secured with rivets instead of screws. If that’s the case, you'll need to drill out the rivets to remove the factory speakers. This isn’t all that hard either, but work carefully. Know what you’re drilling into, and wear eye protection, especially if you have to drill out rivets.
Once the new speakers are secure, test them out to be sure they’re working properly. If they are, you can start putting the doors back together. As you do that, check that the wires aren’t interfering with the windows and also test the door lock/release operation.
Tools needed (tweeters and woofers): Panel tool, small flat blade screwdriver, Phillips screwdriver or power drill with a 3/16" drill bit. For drilling out rivets, consider a stub-length split point bit and some cutting oil
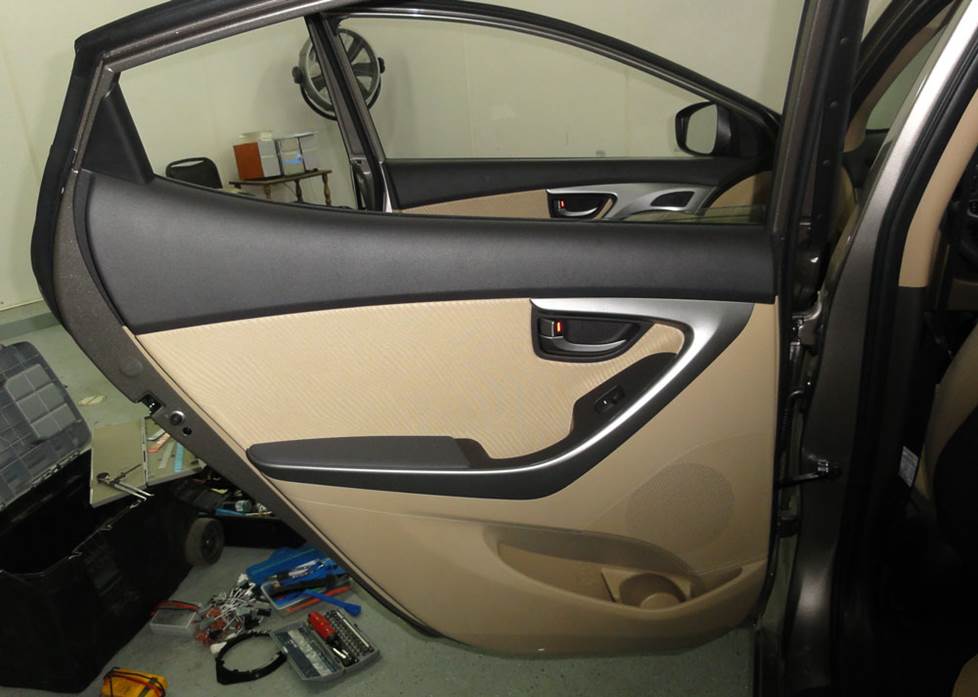
The rear door speaker removal process is pretty much the same as what you do up front (Crutchfield Research Photo)
Removing the rear door speakers (Sedan)
Things are largely the same for the rear doors, and all the step-by-step instruction you need for the job can be found in your Crutchfield MasterSheet.
These speakers are also 6-3/4" models, and there are plenty of same-size or 6-1/2" aftermarket speakers that’ll work here. We’ll include the required mounting brackets and wiring harness adapters with your order, of course.
In most cases, the stock speakers are secured by Torx T-20 screws. But there is a chance that they’ll be secured with rivets, in which case you’ll need to drill out the rivets to remove them. As we said before, work carefully and wear eye protection, especially if you have to drill out rivets.
Tools needed: Panel tool, small flat blade screwdriver, Phillips screwdriver, Torx T-20 driver or power drill with a 3/16" drill bit. For drilling out rivets, consider a stub-length split point bit and some cutting oil.
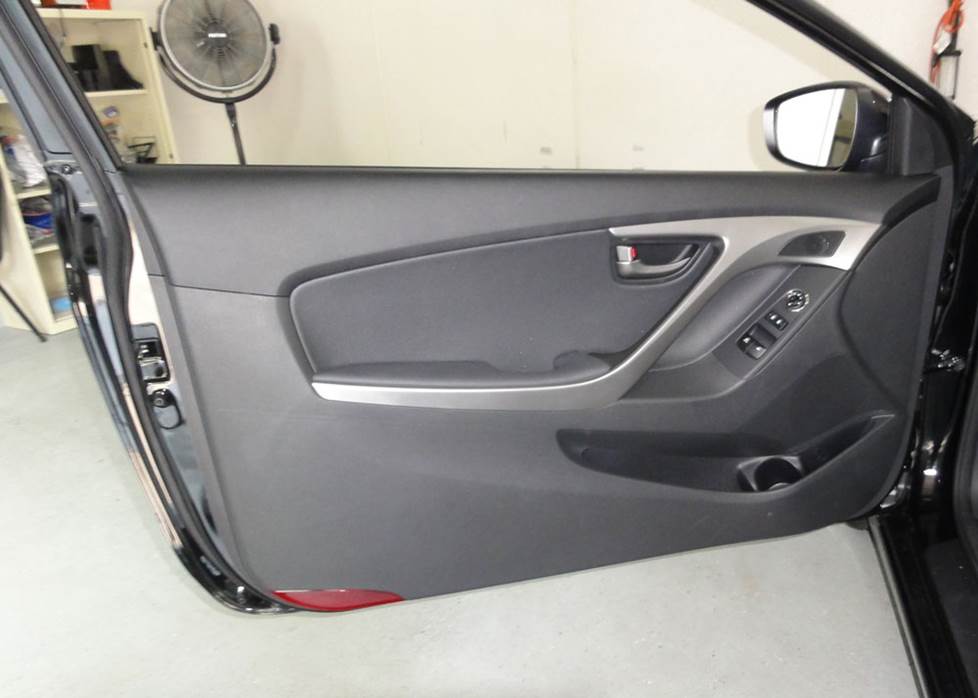
The coupe has longer doors than the sedan, but they house the same factory speakers (Crutchfield Research Photo)
Removing the door speakers (Coupe)
In the Elantra coupe, you get the same door speakers, but more door. You’ll need to remove these panels too, of course, and all the instructions can be found in your Crutchfield MasterSheet.
The factory woofers are low-impedance models, to pay close attention to the specs when you’re choosing your new woofers. Replacing these speakers with standard 4-ohm aftermarket models will result in lower volume levels.
As with the sedan, you'll need to use a weather-resistant glue, or our universal backstraps to secure your new tweeters. The mounting brackets required for the woofers will be included with your Crutchfield purchase.
You might find that the stock speakers are secured with rivets instead of screws. In that case, you'll need to drill out the rivets to remove the factory speakers. Work carefully, know what you’re drilling into, and wear eye protection, especially if you have to drill out rivets.
Tools needed (tweeters): Panel tool, Phillips screwdriver, small flat blade screwdriver
Tools needed (woofers): Panel tool, small flat blade screwdriver, Phillips screwdriver or power drill with a 3/16" drill bit. For drilling out rivets, consider a stub-length split point bit and some cutting oil
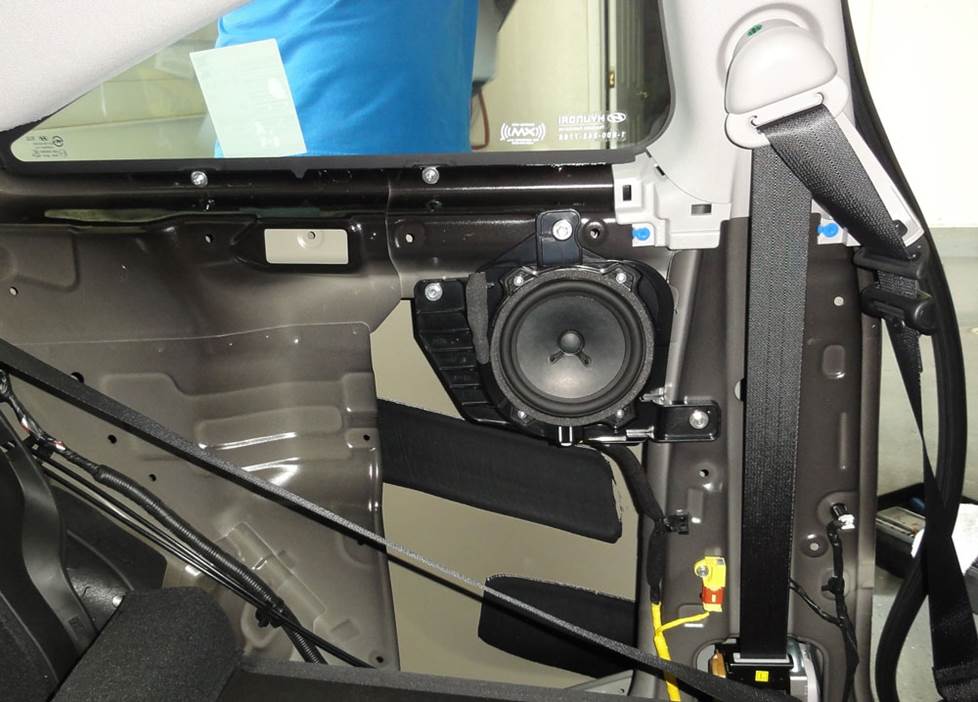
Getting to the coupe's rear side speakers isn't hard, but it'll take some time and effort (Crutchfield Research Photo)
Removing the rear side speakers (Coupe)
The Elantra coupe’s 6-3/4" rear speakers can be found behind the rear quarter trim panels. Almost all of the installation caveats noted above apply to these speakers, too, so we’ll skip to the more interesting part, which is that removing side panels is a bit more involved than dealing with door panels.
It’s not that any of the steps involved are all that difficult, it’s just that there are more of them. This is still a do-able DIY project, but you’ll want to block out some time, work carefully, and stay organized. Knowing where all those panels and bits came from will make your life much easier when it’s time to put it all back together. Also, work carefully and wear eye protection if you have to drill out the rivets that secure the stock speakers.
Once the new speakers are secure, test them out to be sure they’re working properly. If they are, you can start putting things back together. Make sure the seat belts are secured to factory specs while you’re doing this.
Tools needed: Panel tool, Phillips screwdriver, 12mm socket, ratchet and extension, drill with 1/8" bit
Read our Car Speakers Buying Guide for more information
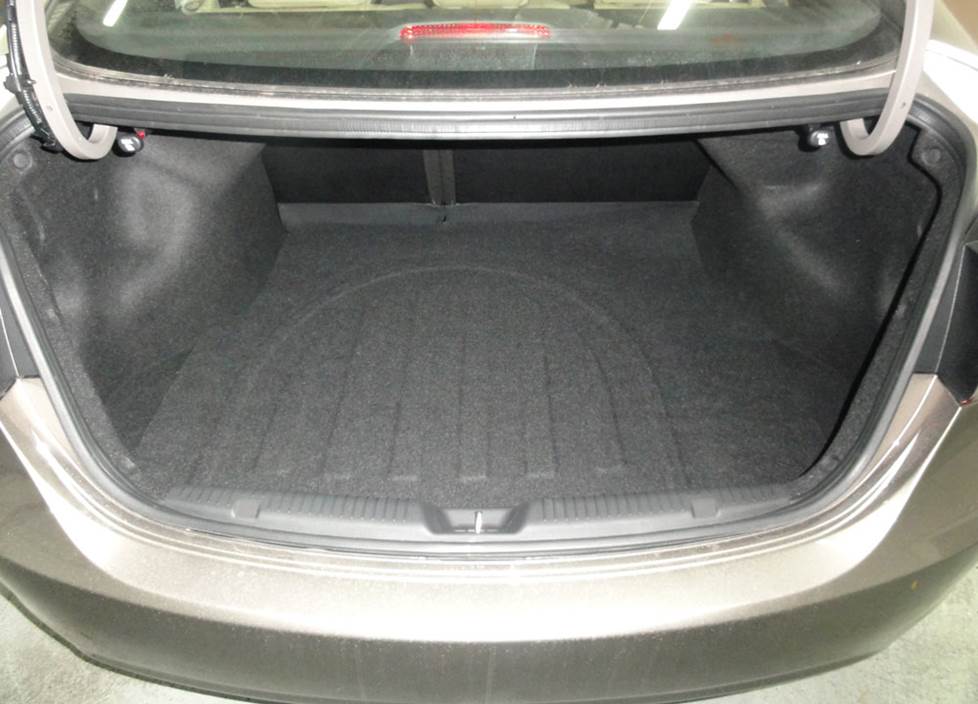
Both the coupe and sedan offer a decent amount of trunk space for a subwoofer enclosure (Crutchfield Research Photo)
More bass in your Elantra
If you want to add a subwoofer enclosure to your Elantra’s system, the spacious trunk gives you some room to work with. We measure the sedan’s trunk at 40"W x 16"H x 40"/32"D, while the coupe came out at 42"W x 17"H x 38"/31". Whichever one you’re driving, you’ll have a decent amount of space for bass.
If you want to improve your bass without sacrificing as much cargo space, a more compact enclosure or a powered subwoofer might be the right solution for your Elantra.
Learn more about building a bass system in our Car Subwoofer Buying Guide.
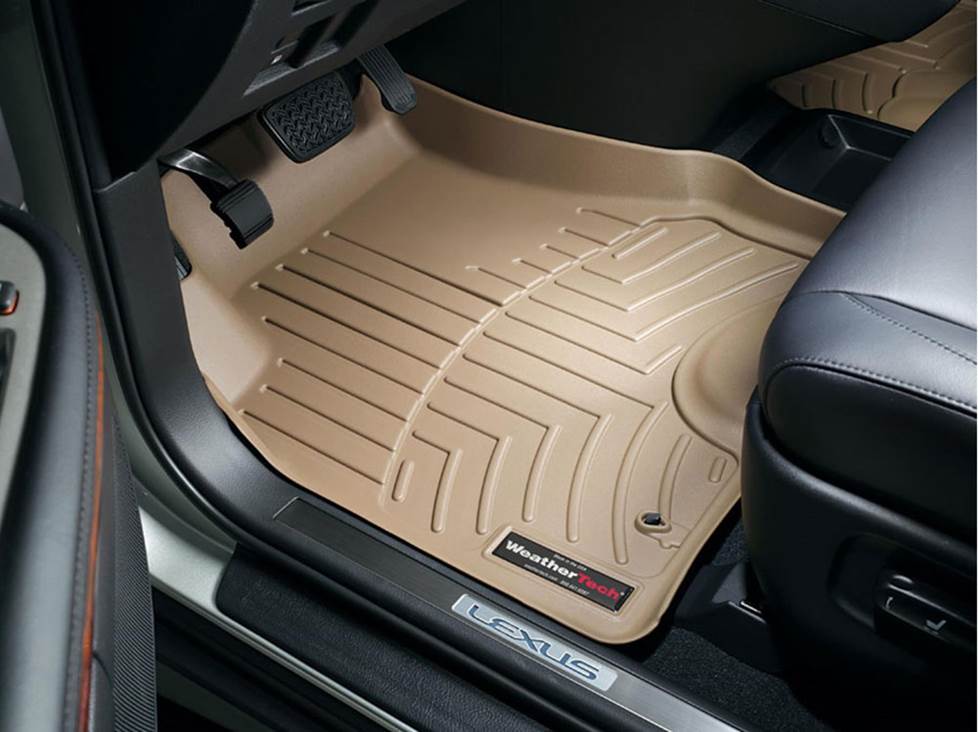
Protect your car's carpeting with a set of custom-fit WeatherTech FloorLiners
Other options for your Elantra GT
Here are some other fun and/or smart upgrade ideas for your Elantra GT.
Get some custom floor mats
Life has a funny way of happening in small, sporty cars, and sometimes life can get a little messy. When that happens, it's a good idea to have a set of WeatherTech Floor Liners on the floors. These incredibly durable mats trap moisture and spills, contain dirt, and help keep your factory carpets looking good.
Add an amp (or two)
The Elantra GT has plenty of room for an aftermarket amplifier, so if you want to take your sound to the next level, you won't have to worry about space in most cases. Our Crutchfield Advisors can help you find the right amp for your system.
Protect your car with a security system
Installing a remote start system in your Elantra GT isn't necessarily easy (security systems rarely are), but it's less complicated than it could be. Our Crutchfield Advisors can help figure out what you need to get the job done, but we usually recommend taking your car and your new gear to a professional installer.
Let's get started!
Ready to shop? Use our vehicle selector to find the gear that will fit your car or truck. If you have questions, give us a shout via phone or chat.


Comments (0)