2008-2014 MINI Clubman
How to upgrade the stereo system in your MINI Clubman

In brief: This Crutchfield Research Garage article gives you an overview of your Mini Clubman's stock stereo system and your aftermarket upgrade options. We'll tell you all about:
- The factory stereo system
- Removing the factory radio
- Removing the factory speakers
- Adding more bass
- Other options for your Mini Clubman
Then, use our vehicle selector to find the gear that will fit your vehicle.
Overview of the MINI Clubman
Behold the Clubman. The Mini for people who want a Mini, but just one that's less...mini. By which we mean bigger, which it is, but still small, which it also is. With the peppy performance and go-kart-like handling that Mini fans expect, plus some actual space for people, pets, and stuff, the Clubman is the car to have if your drive to the warehouse store involves a fun, twisty road.
Like its smaller hatchback brethren, the Clubman's stock stereo offerings ranged from "okay" to "not bad, really." But if you're reading this, you want something better and this article will show you what's possible, what's not, and how it all gets done.
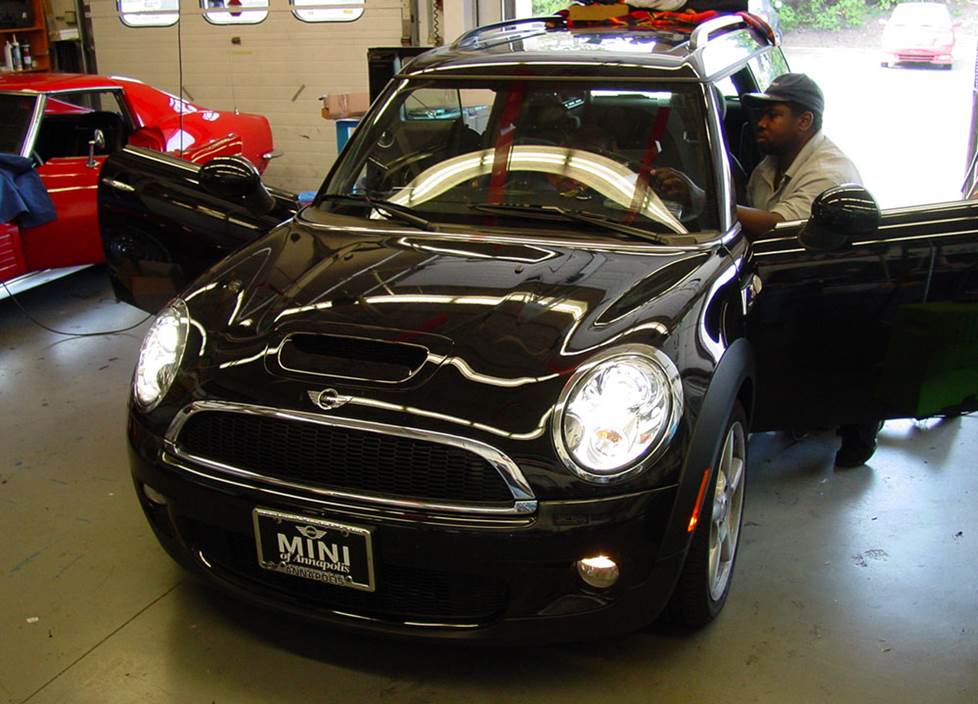
Removing your Clubman's stock radio ranges from difficult to nigh-on impossible, so we don't recommend it (Crutchfield Research Photo)
The factory stereo system
The Mini Clubman's stock systems ranged from a 6-speaker base system to a 10-speaker Harman Kardon system. A factory navigation system receiver was offered in addition to the base AM/FM/CD/Sirius receiver.
The stock stereo systems weren’t awful, but they weren’t fantastic, either, and now they’re getting a bit long in the tooth. New gear will bring new life to your favorite road tunes, so it’s a good upgrade to look into.
As we’ll discuss in greater detail below, removing and replacing the stock receiver is not the work of a moment in the best of cases. But the speakers are easier to deal with and you can still get great sound when aftermarket speakers are combined with the stock stereo.
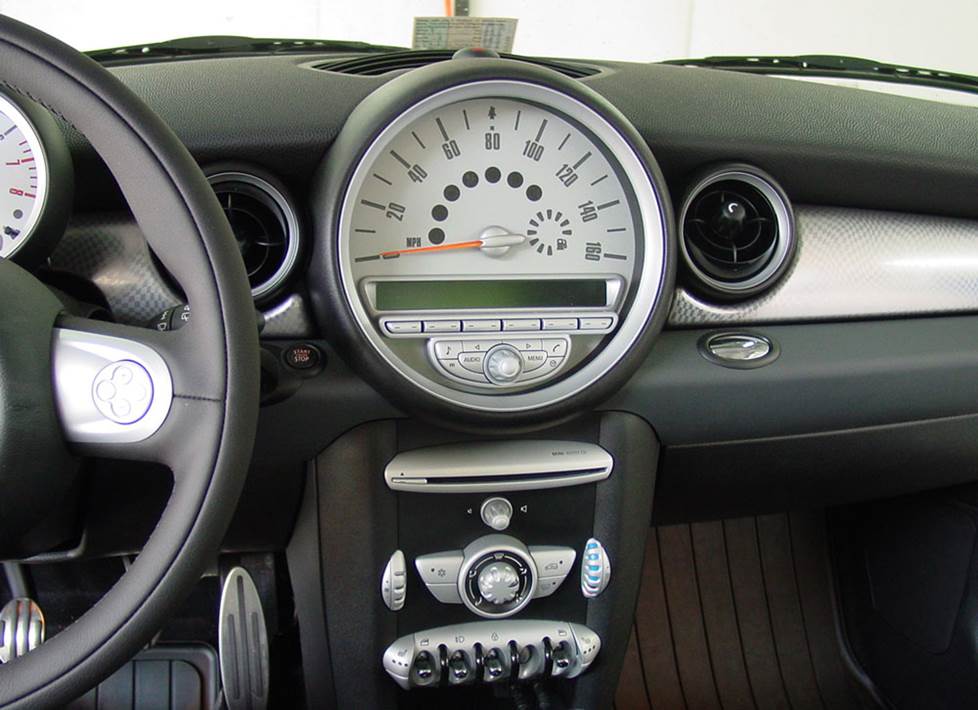
Seriously, we've done this, which is why we don't encourage you to do it (Crutchfield Research Photo)
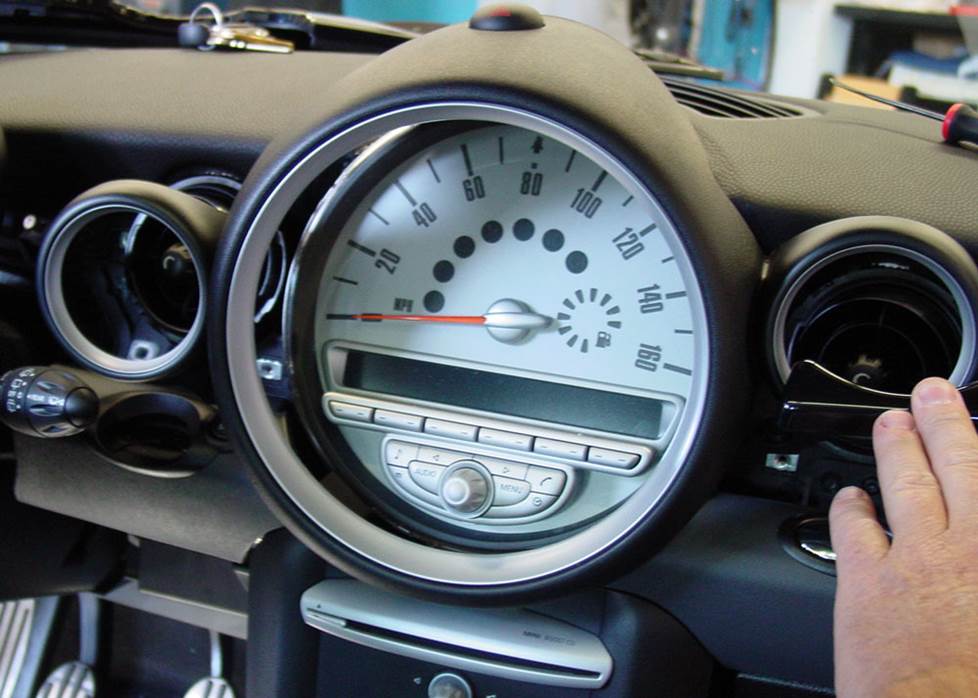
Removing the factory radio
Upgrading the receiver in your Mini is challenging at best and unwise at worst. Starting with the latter, receiver replacement is not recommended for 2010-2013 models equipped with factory navigation but not equipped with the Harman Kardon audio system.
For 2007-2009 models equipped with the 10-speaker system and 2010-2013 models equipped with the Harman Kardon audio system, you’ll need to bypass the factory amplifier by running speaker wires from the new stereo to the factory amp's speaker outputs.
You’ll need to connect the new stereo to constant power in the vehicle, and you’ll need to use the wiring harness adapter recommended by Crutchfield to retain the factory warning chimes.
That’s kind of a big deal, so we don’t offer technical advice for installations that don’t use that adapter. On the upside, we’ll give you a nice discount on the adapter and the dash kit when you order the new stereo from us.
Detailed stereo and speaker removal instructions
Also, when you replace the factory radio, you'll lose the factory satellite radio and the factory clock won't work anymore.
Which brings us back to the "challenging" aspect of things, because even when you can remove and replace the stock stereo, you might not want to. Just removing the factory radio is a lengthy process involving some extensive and time-consuming disassembly work. And once the new stereo is installed, you have to put it all back together. So, this is gonna take some time and organizational skills — and most of all, patience.
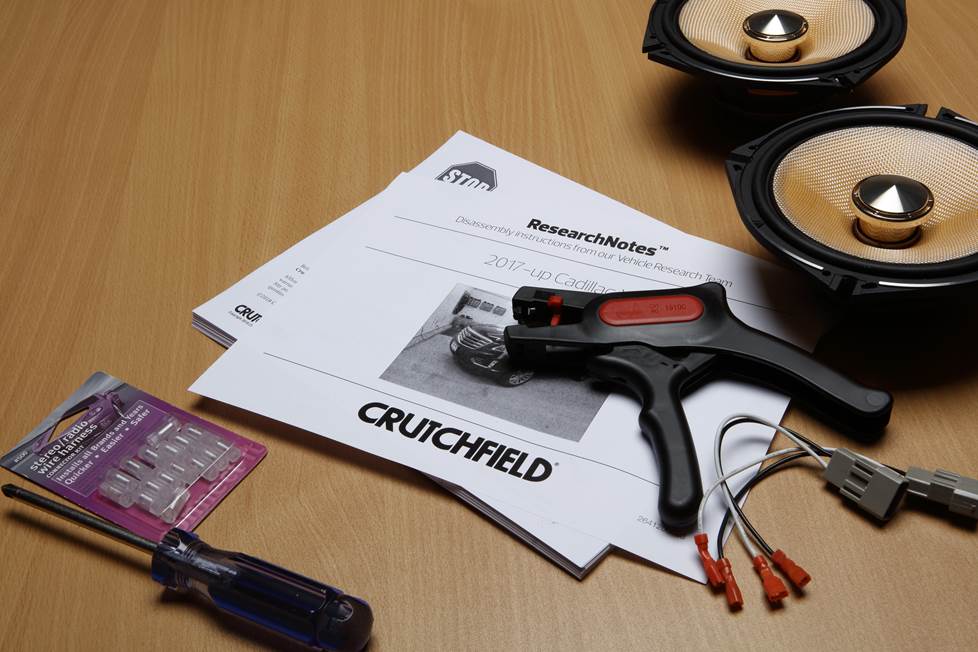
If you’re an experienced and patient DIY-er, you can do this. The step-by-step info you’ll need can be found in the exclusive dash disassembly instructions included free with your Crutchfield purchase. If you’re not all that confident in your skill set, you might want to let a local car audio installer do the work for you.
Note: Those instructions will also come in handy if you need to access the back of a 2010-2013 navigation/non-HK receiver.
Tools needed: Panel tool, small flat blade screwdriver, Torx T20 and T30 drivers
Read our Car Stereo Buying Guide for shopping tips and advice.
Shop for car stereos that fit your MINI Clubman
Steering wheel audio controls
In most cases, it's reasonably easy to retain your Clubman's steering wheel audio controls when you install a new stereo. When you enter your vehicle information, our database will choose the adapter you need to make your factory steering wheel controls work with a compatible aftermarket receiver.
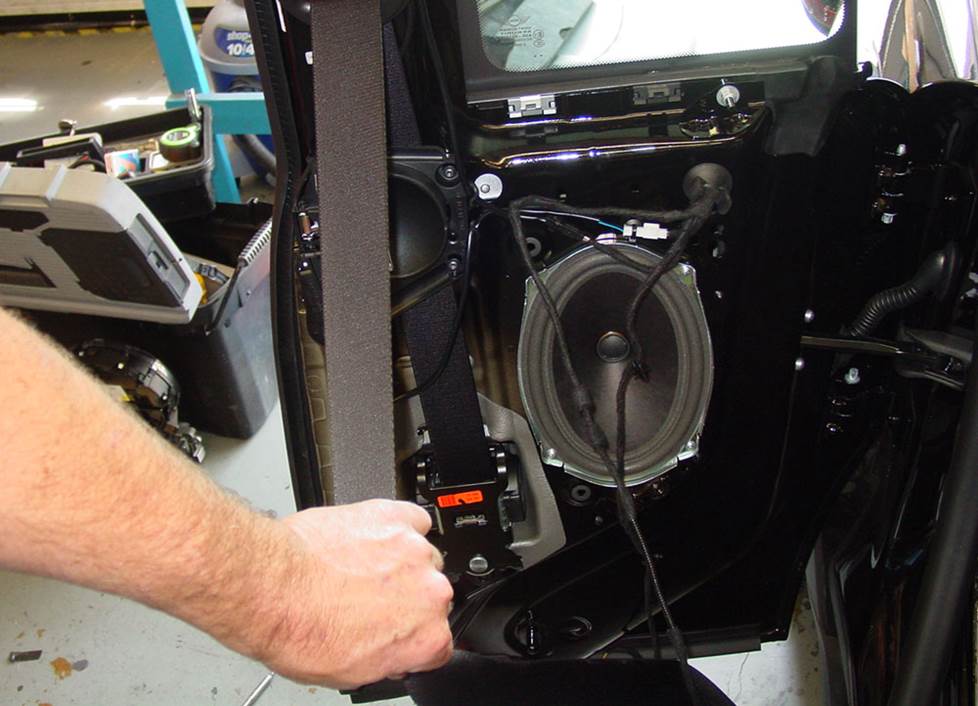
Even if you don't replace the factory radio, you can still improve your sound with aftermarket speakers (Crutchfield Research Photo)
Removing the factory speakers
Speaker removal in the Mini Cooper hatchback varies from pretty easy to pretty challenging, but whatever you’re dealing with, it’s thoroughly do-able for the DIY-er. Considering the difficulty level involved in replacing the factory radio, a speaker upgrade might be your best way to better sound.
The Clubman's 10-speaker factory system includes tweeters in the A-pillars (Crutchfield Research Photo)
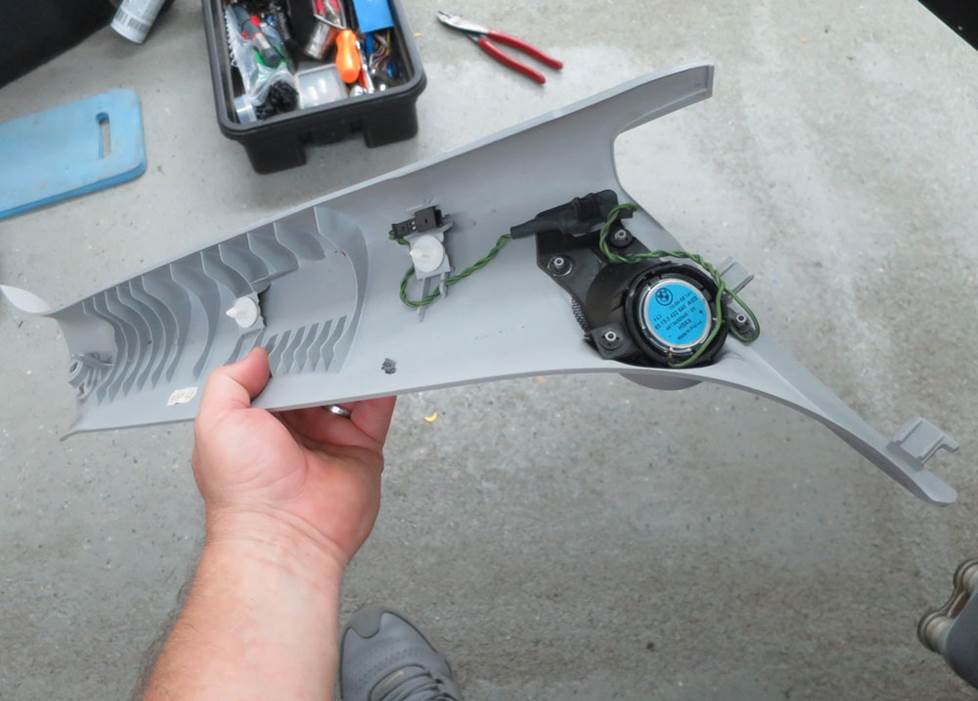
Removing the front pillar tweeters
Thankfully, not everything in the Clubman is as much of a hassle to remove and replace as the radio. Take, for example, the front pillar tweeters that are part of the 10-speaker system. This upgrade is almost easy.
To remove these 1.686" speakers, you’ll start by using a panel tool to pry out the screw cover on the front pillar trim panel. Next, remove one exposed Torx T20 screw.
Starting at the top edge, pry off the pillar trim panel to release two clips, then disconnect the harness and remove the trim panel. Pry the tweeter out of the trim panel to release the retaining clips, then remove the tweeter.
A wiring harness is not available to connect your new tweeters, so you'll have to splice, solder, or use Posi-Products speaker connectors to connect them. There aren’t any mounting brackets either, so you’ll need to fabricate your own bracket, or use hot glue, silicone, or our universal backstraps to secure the new speakers.
Tools Required: Panel tool, small flat blade screwdriver, Torx T20 driver
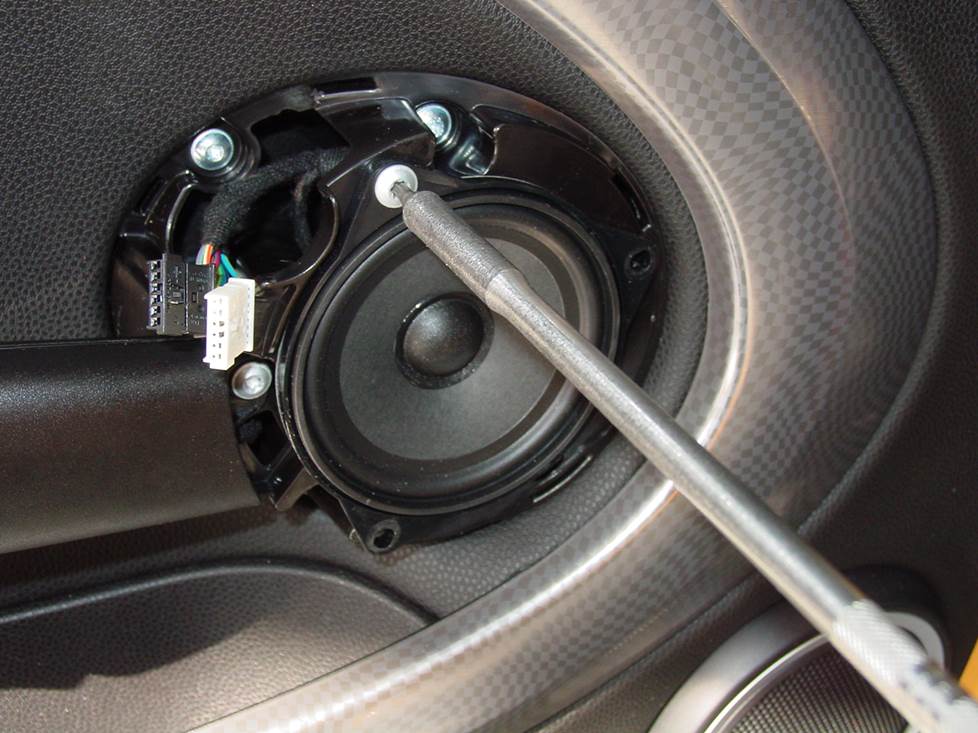
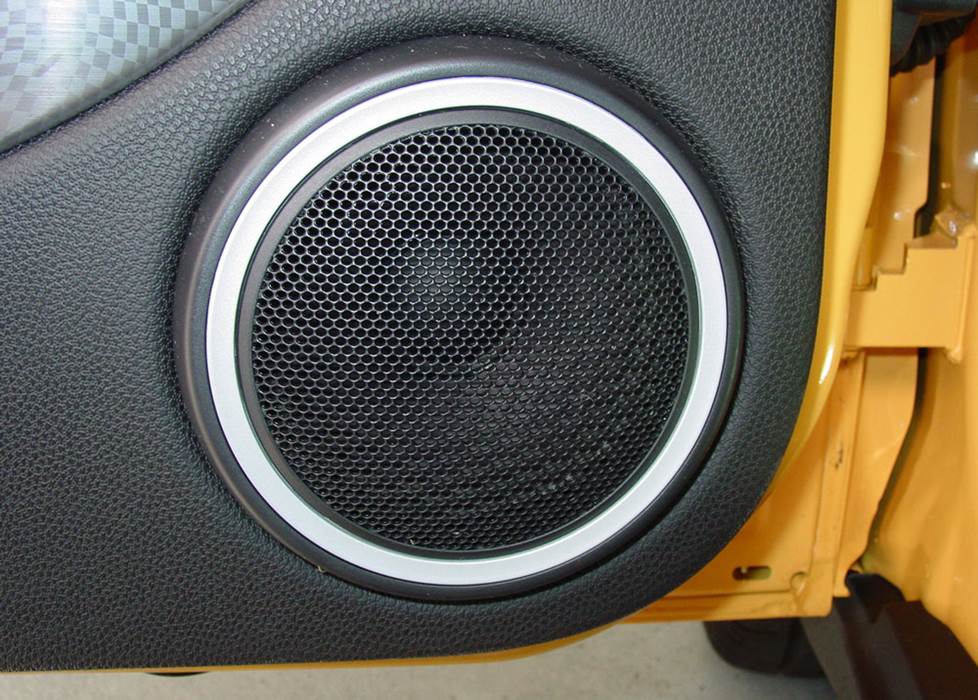
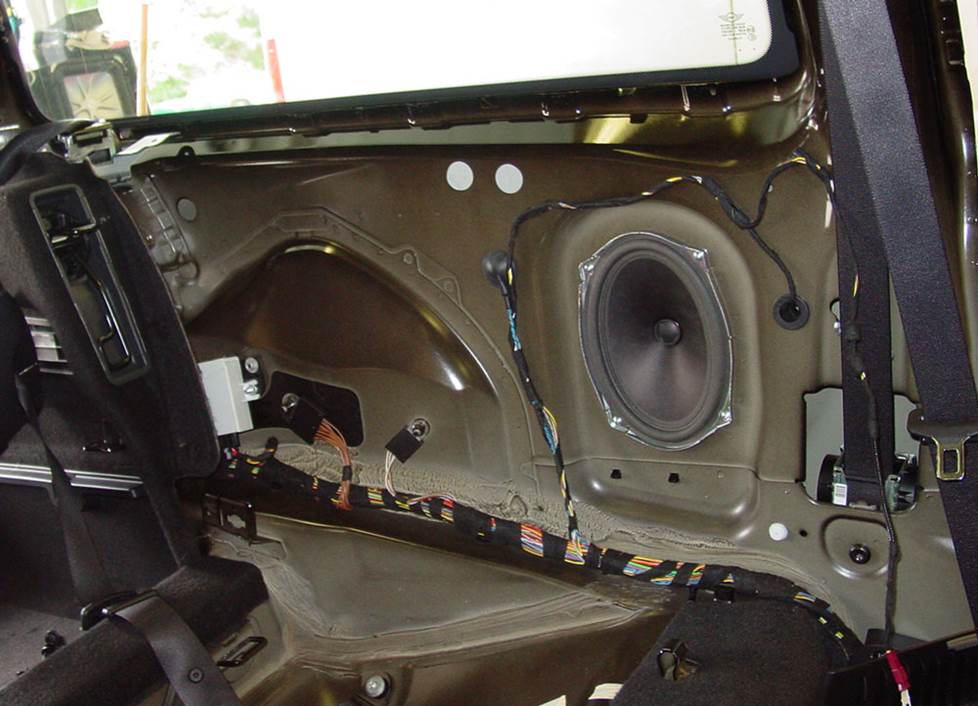
The Clubman's front doors will contain either mid-range speakers (shown) or tweeters in this location (Crutchfield Research Photo)
Removing the door tweeters/midranges
Depending on the factory system, the speakers in the middle of the doors are either tweeters (6-speaker system) or midranges (10-speaker system). The process of getting to them is the same, but there are some things to know about replacing them.
The 4" factory mids use a 3-hole design, so while an aftermarket 4" speaker will fit, you may need to remove one or two ears and drill new screw holes to secure the new speakers to the doors. There aren’t any mounting brackets, either, so you might need to fabricate your own bracket, or use hot glue, silicone, or our universal backstraps to secure the new speakers. There is no wiring harness available, so you'll have to splice, solder, or use Posi-Products speaker connectors to connect them.
As for the tweeters, plenty of aftermarket replacements are available, but the usual connection issues are present here, too. You’ll need to fabricate brackets, or use hot glue, silicone, or our universal backstraps to secure the new tweeters. You'll also have to splice, solder, or use Posi-Products speaker connectors to connect them.
Complete disassembly instructions will be included with your Crutchfield speaker purchase.
Tools Required: Panel tool, Torx T25 driver
A new set of woofers will really improve the sound quality in your Clubman (Crutchfield Research Photo)
Removing the front door woofers
The Clubman's 6-3/4" front door woofers are also pretty easy to deal with. To start, use your panel tool to pry out the plastic pin on the underside of the door release trim ring to remove it, then pry out the trim ring.
Next, pry around all sides of the door panel to release twenty-five (yes, we counted) retaining clips. Pry out the courtesy light assembly, then work the light through the hole in the panel and remove the door panel. Remove the four Torx T25 screws securing the speaker to the door, then disconnect the harness and remove the speaker.
A nice variety of speaker sizes will fit here, but if you choose a smaller size, you’ll need speaker mounting brackets to install them. If that’s the case, Crutchfield will include them with your speaker purchase. You’ll probably need to drill new speaker holes, and while that’s not all that hard, you are drilling holes into your car. Work carefully, know what’s around the area you’re drilling into, and always wear eye protection.
A wiring harness is not available for 2007-2008 and 2011-2012 models, so you’ll need to splice, solder, or use Posi-Products speaker connectors to connect your new woofers.
Tools Required: Panel tool, Torx T25 driver, drill with 1/8" bit
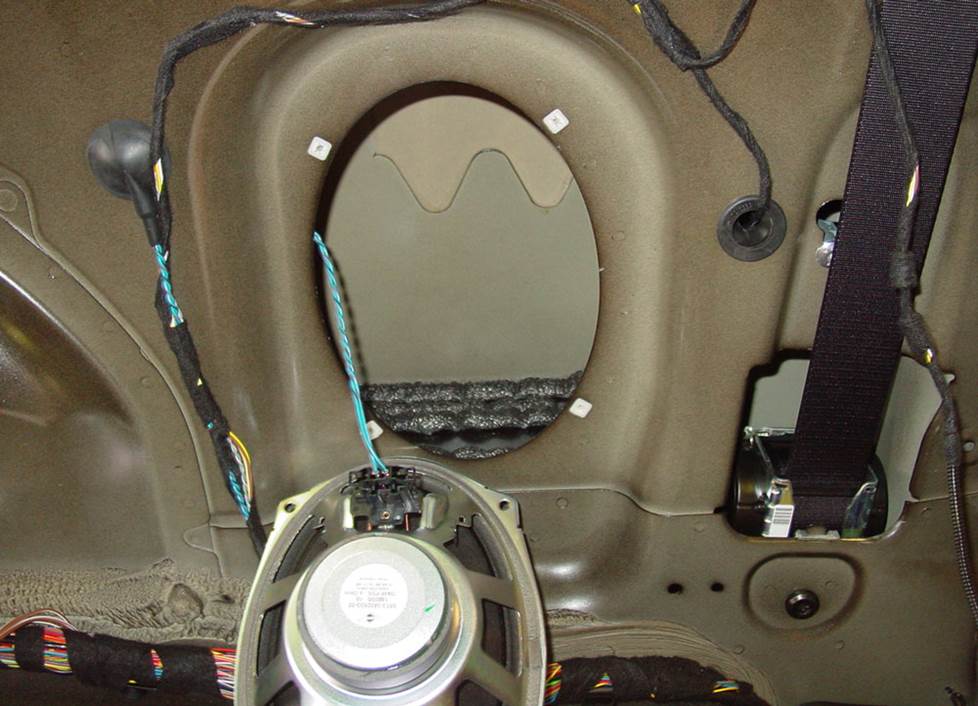
The right-side rear door speakers are reasonably easy to remove and replace, and there are plenty of aftermarket options available (Crutchfield Research Photo)
Removing the right rear door speaker
Of the Clubman’s two rear 6"x9" door speakers, the one in the right rear door is by far the easier to remove and replace.
First off, remove two Torx T20 screws from the door latch trim panel, then lift up the panel, disconnect the harness, and remove the panel. That’ll expose a Torx T20 screw, which you’ll need to remove. You’ll also need to remove the Torx T20 screw under the door pull cup.
Pry out all sides of the door panel to release seven clips, then pry out the harness clip, disconnect the harness, and remove the door panel. Remove the four Phillips screws securing the speaker to the door, then disconnect the wiring harness and remove the speaker.
There’s no wiring harness available, so you’ll need to splice, solder, or use Posi-Products speaker connectors to connect the vehicle's speaker wires to your new speaker wires.
Tools needed: Panel tool, Torx T20 driver, Phillips screwdriver, small flat blade screwdriver
Getting to the left side rear speaker takes a lot more effort. You can do this, but it'll take some time. (Crutchfield Research Photo)
Removing the left rear side panel speaker
Over on the driver’s side, removing and replacing the stock speaker is a little more challenging. You’ll need to remove the rear seat bottom cushion, then remove several smaller panels and bits before removing the entire side panel. There are quite a few steps involved in this process, and while none of them are all that hard to do, the sheer number of them (we counted 14) is something to think about.
Can you, the average car auto DIY-er, do this? Yes, actually — especially with the help of our illustrated, step-by-step ResearchNotes document. You’ll just want to stay patient and keep things organized, because once you install the new speaker back here, you’ll need to put it all back together.
There’s no wiring harness available for this side, either, so you’ll need to splice, solder, or use Posi-Products speaker connectors to connect the vehicle's speaker wires to your new speaker wires.
A wide variety of same-size, 6-1/2", or 5-1/4" aftermarket speakers will work in either of the rear locations, but you’ll need mounting brackets for the smaller ones. We’ll include them with your speaker purchase.
Tools needed: Panel tool, Torx T20 driver, Phillips screwdriver, small flat blade screwdriver
Read our Car Speakers Buying Guide for more information
Shop for speakers that fit your MINI Clubman
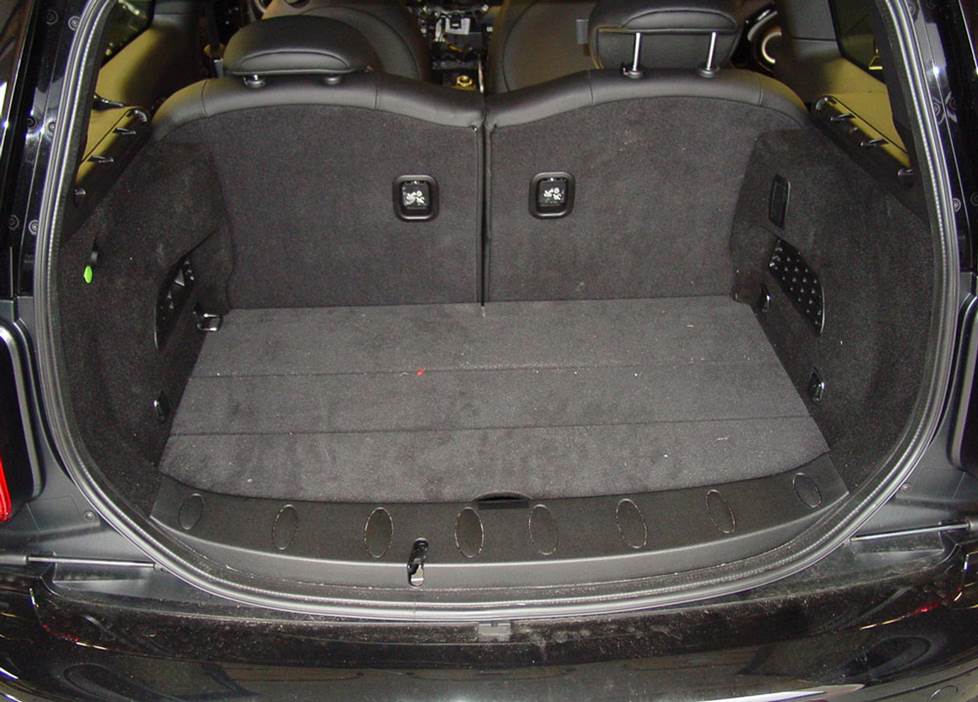
With the rear seats up, there's some room for a sub enclosure. Not much, mind you, but some. (Crutchfield Research Photo)
More bass in your MINI
There’s not a ton of room in the Mini Clubman’s cargo area, but it's more than the hatchback model, anyway. If you want to install a subwoofer box back here, you’ll have a 32"W x 13"H x 19"/14" D space to work with. Not much, but it's something.
That said, if you still use this area for normal human things like groceries and luggage and gear, you'll probably want to retain as much of that space as you can. In that case, we’d suggest a more compact powered subwoofer.
Learn more about building a bass system in our Car Subwoofer Buying Guide.
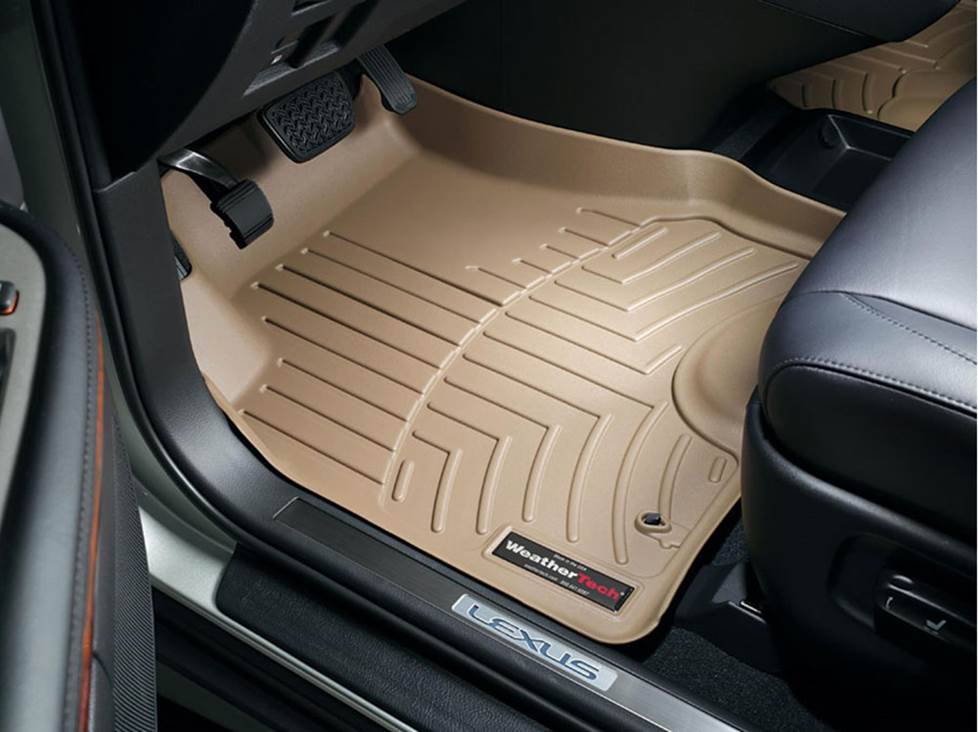
Keep your Mini Clubman's carpets looking sharp with a set of custom-fit WeatherTech floor liners
Other options for your MINI Clubman
Here are some other upgrade ideas for your Mini Clubman.
Add a GPS
If you don’t have the factory navigation (or have it and dislike it), you don't have to miss out on clear, helpful driving directions. You're probably using your phone around town, but a portable GPS makes sense if you're on the highway a lot. Plus, when you get where you're going, you can put the GPS in your pocket and use it to find points of interest wherever you go.
Invest in a set of floor liners
Daily driving can take a toll on your Clubman's carpeting. WeatherTech floor mats and liners will help protect your floors from dirt and damage.
Install a security system
Installing a security system in your Mini Clubman isn't easy (security systems rarely are), but it's definitely a good idea. Our Crutchfield Advisors can help figure out what you need to get the job done, but we usually recommend taking your car and new gear to a professional installer.
Let's get started!
Ready to shop? Use our vehicle selector to find the gear that will fit your car or truck. If you have questions of your own, give us a shout via phone or chat.


Comments (0)