2000-2006 Toyota Tundra
How to upgrade the stereo system in your Regular Cab or Access Cab Tundra

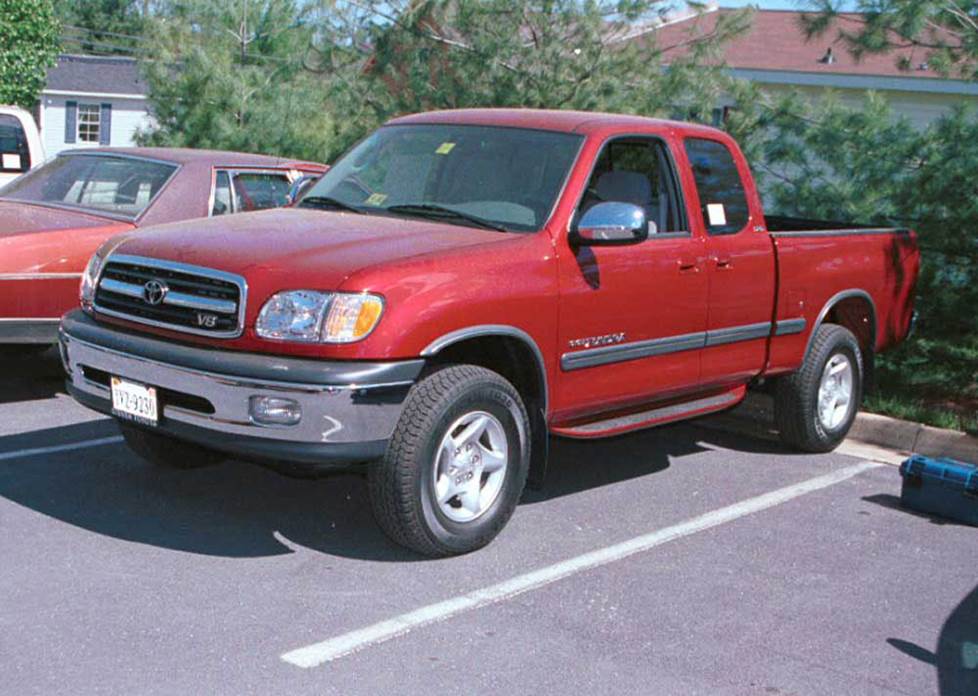
In brief: This Crutchfield Research Garage article gives you an overview of your Tundra's stock stereo system and your aftermarket upgrade options. We'll tell you all about:
- The factory stereo system
- Removing the factory radio
- Removing the factory speakers
- Adding more bass
- Other options for your Regular Cab or Access Cab Tundra
Then, use our vehicle selector to find the gear that will fit your Tundra.
Overview of the Toyota Tundra Regular Cab and Access Cab
Before the Tundra, choosing a full-size truck was a pretty simple process. All you had to do was think about whether you preferred Chevy, Dodge, Ford, or GMC, then head to the dealership and start haggling. For a lot of people, it wasn’t a thought process so much as a reflex.
Thus, Toyota’s first serious attempt at a full-size truck was a very big deal. With two cab choices, an optional V8 engine, and Toyota’s usual level of fit and finish, the Tundra had a lot to offer. All of a sudden, truck buyers had a very good reason to think before they shopped.
They didn't just shop, they bought. The Tundra was an unqualified success, and since they’re Toyotas, there are still plenty of them on the road today. The stock stereos haven’t aged quite as well, though, so if you’re still enjoying your Tundra, you can enjoy it even more with a new stereo system.
Note: In this article, we’ll discuss stereo upgrade topics relating to the 2000-2006 Regular and Access Cab models. The 2004-2006 Tundra Double Cab, which has much more in common with the Sequoia of the era, is covered in a separate article.
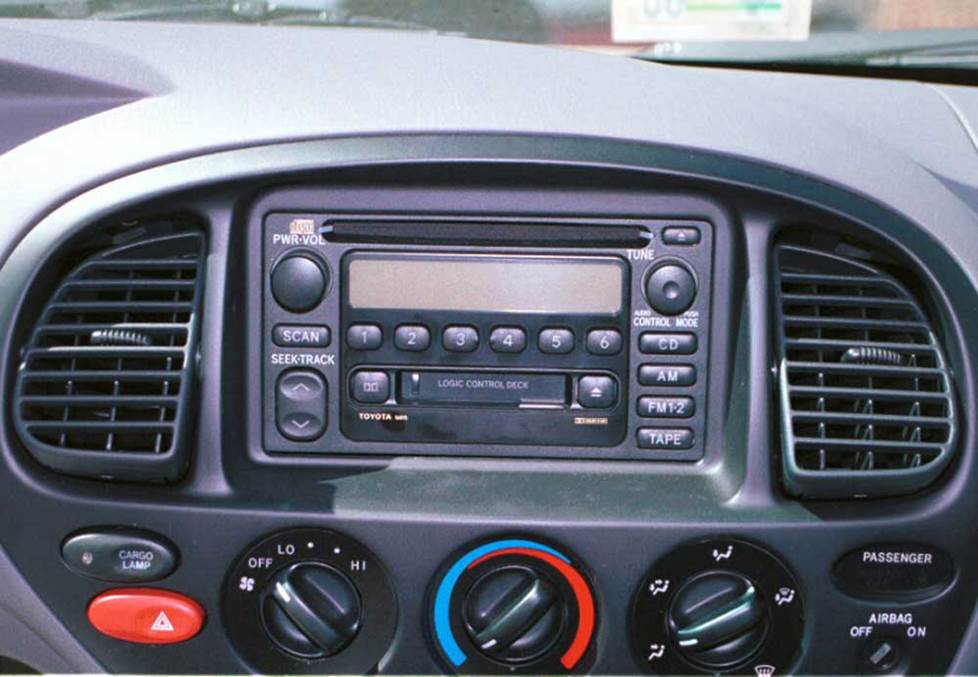
The factory radios vary a bit, but they're all reasonably easy to remove (Crutchfield Research Photo)
The factory stereo system
The Regular Cab and Access Cab Tundras came with two stereo variants, the difference being that the Premium sound system had tweeters and the base system didn’t. The Premium system also includes an amplifier, which is located behind and below the radio.
A mid-cycle interior refresh included some changes to the dash. As a result, the stock radio and its cavity dimensions changed a bit, too. Despite all that, the receiver removal instructions are the same for versions, regardless of whether your stereo has a pocket or not.
When you enter your vehicle information, you’ll see the stereos and speakers that fit your Tundra. We’ll also highlight some other key bits of information that will help you choose the right audio gear for your truck.
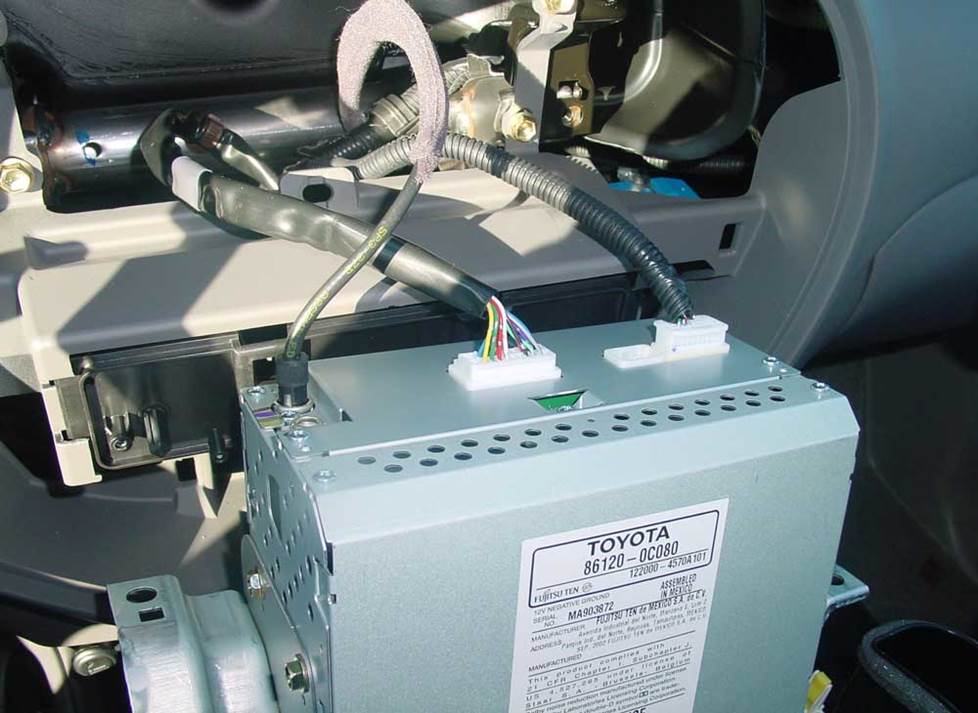
Once you've removed the stock radio, our instructions will show you what needs to be done to install the new one (Crutchfield Research Photo)
Removing the factory radio
Before you start your radio replacement process, you should probably hit the eject button just to be sure you didn’t forget about the last disc (or tape) you played. You should definitely set the parking brake and disconnect the negative battery cable to prevent any electrical short.
First off, you’ll push the tops of the air vents back to expose the Phillips screws (one in each vent) and remove the screws. Next, use a panel tool to pry off the climate control knobs and then remove the three exposed Phillips screws from the receiver/climate control trim panel.
Pry out the receiver/climate control panel, then disconnect the wiring harnesses and remove it. DO NOT disconnect the yellow air bag harness, though. Finally, remove the four 10mm screws securing the factory radio, then pull it out, disconnect it, and remove it.
Detailed stereo and speaker removal instructions
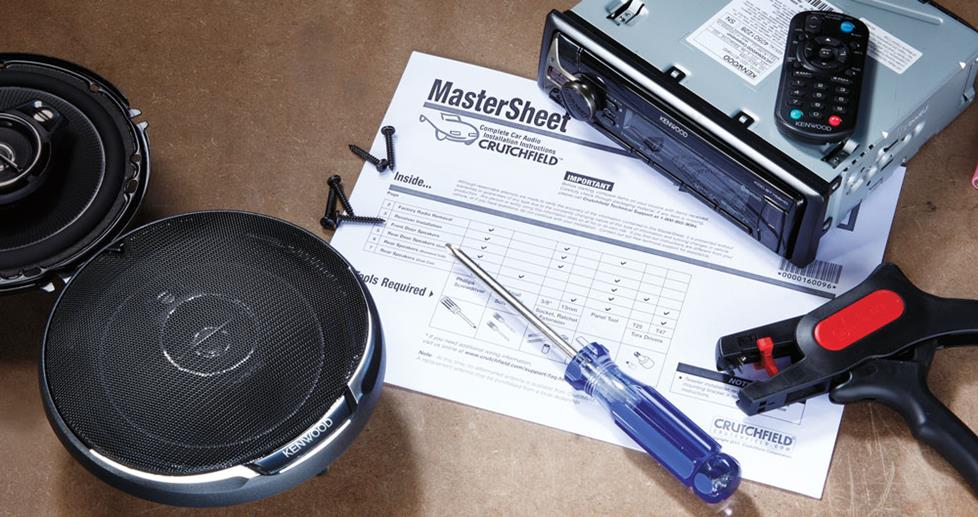
Due to the fact that there are some differences between the early and late radios, there are also some differences in how you’ll go about installing your new aftermarket radio. All those details can be found in the Crutchfield MasterSheet and the installation instructions included with your stereo installation kit. You’ll also get a nice discount on the dash kit and wiring harness needed for the installation.
Once your new receiver is connected, be sure to test it and make sure it’s working. If it is, you can start putting the dash back together by simply reversing the disassembly steps.
Tools needed: Panel tool, Phillips screwdriver (long), 10mm socket, ratchet and extension, small flat-blade screwdriver (only for 2003-2006 models)
Shop for car stereos that fit your Toyota Tundra
Steering wheel audio controls
For 2003 and up Tundras, it's relatively easy to retain steering wheel audio controls when you install a new stereo. When you enter your vehicle information, our database will choose the adapter you need to make your factory steering wheel controls work with your new receiver.
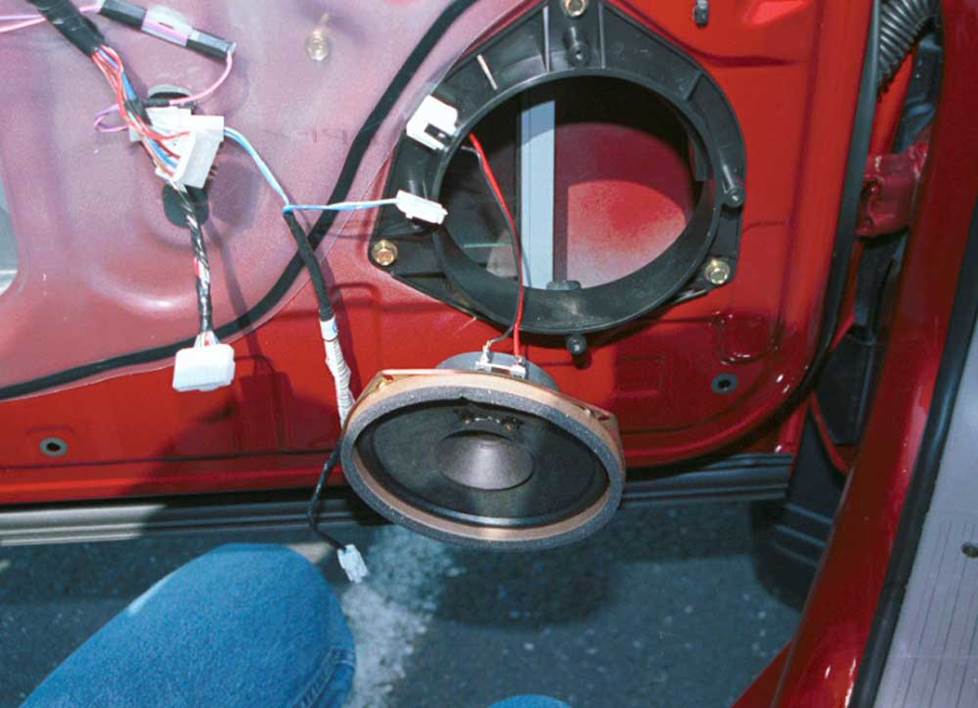
Upgrading the old factory speakers will really improve your Tundra's sound (Crutchfield Research Photo)
Removing the factory speakers
Upgrading the stock speakers is the best way to improve the sound in your Tundra — even if you don’t replace the stock radio. The average factory speaker isn’t all that great to begin with and some of these speakers are now in their third decade of service.
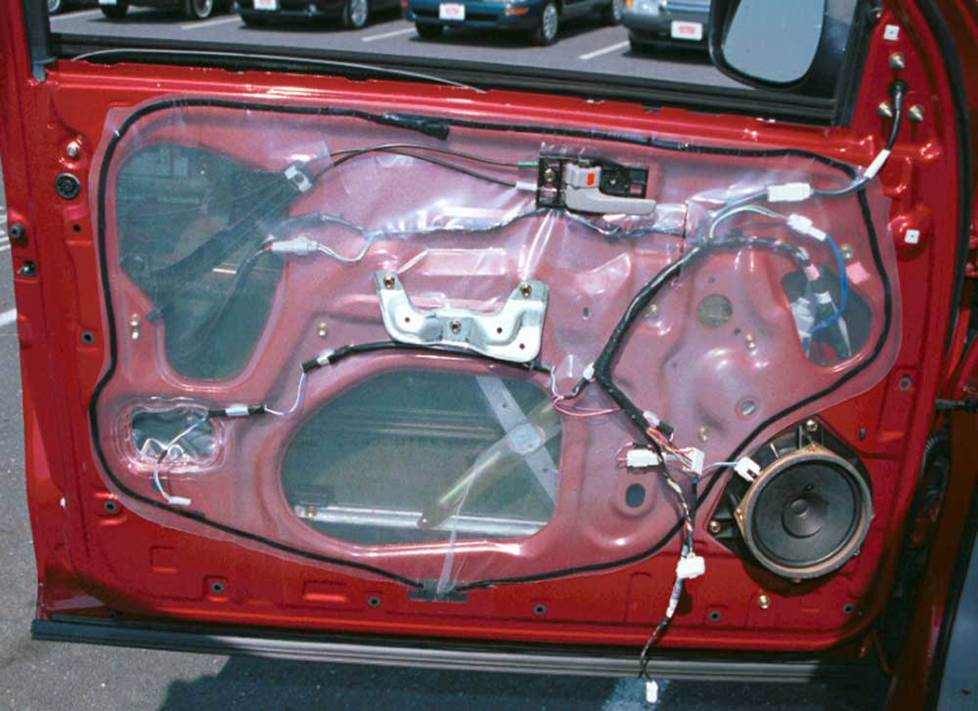
You'll need to remove the door panels to replace the stock speakers (Crutchfield Research Photo)
Removing the front door speakers
The stock lower door speakers are 6-1/2" models that can be replaced by a variety of same-size, 6-3/4" or 5-1/4" aftermarket models. In trucks with the base system, these speakers are full-range models.
You may need mounting brackets for your new speakers, and if so, we'll include them with your order.
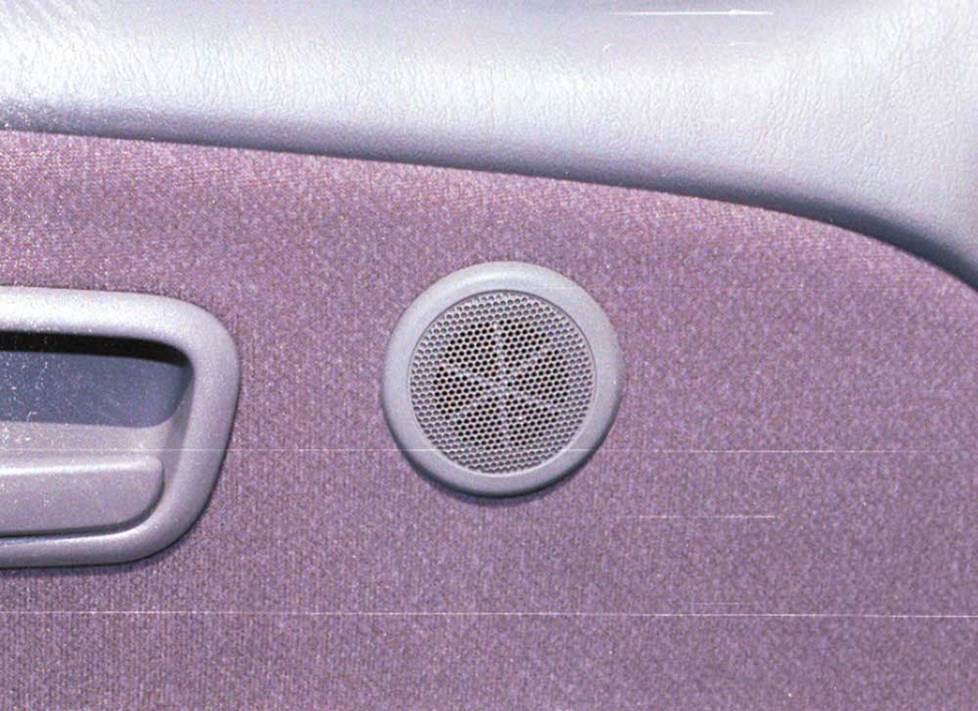
The tweeters, if present, are wired in parallel with the door woofers (Crutchfield Research Photo)
The tweeters, if present, are wired in parallel with the corresponding woofers, so we’d recommend a set of component speakers for the front doors. There are no mounting brackets that work in this location, so you’ll need to use a weather-resistant adhesive or our universal mounting brackets to install them. There are no wiring harness adapters either, so you’ll need to splice, solder, or use Posi-Products speaker connectors.
You’ll need to remove the door panels to get to the door speakers, and that process will be detailed in your Crutchfield MasterSheet. Once your new speakers are installed, be sure to test them before you put the doors back together. Test the door lock/release operation, too, and also make sure there aren’t any issues involving the wires and the window operation.
Tools needed: Panel tool, Phillips screwdriver, small flat-blade screwdriver, Torx T30 driver, wire strippers
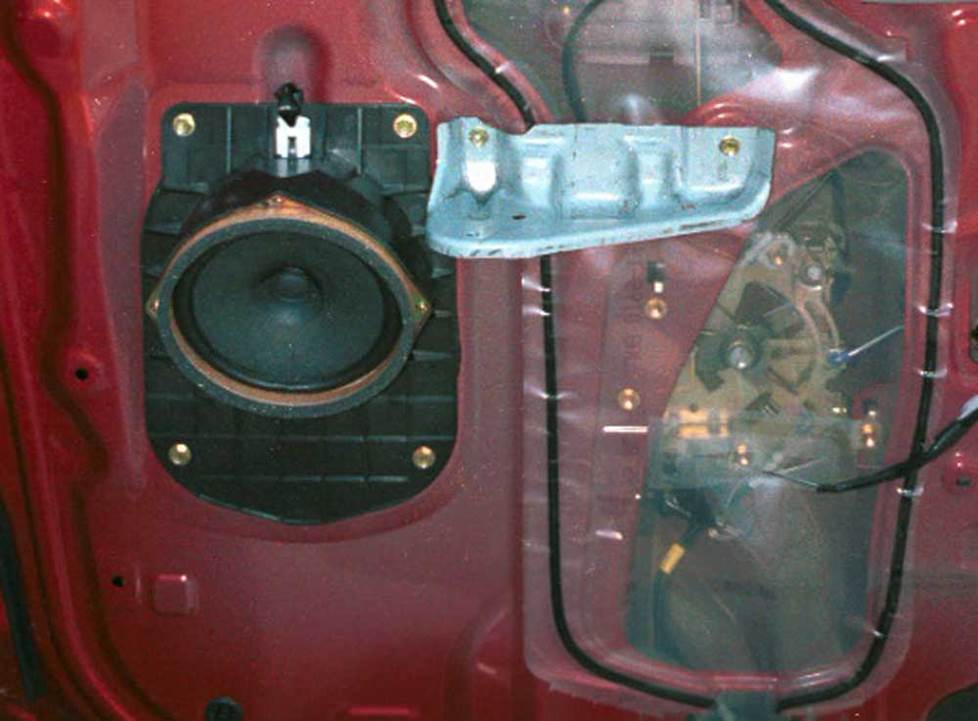
The Access Cab has speakers in the rear doors, too (Crutchfield Research Photo)
Removing the rear door speakers (Access Cab)
The Access Cab’s doors house 6-1/2" factory speakers that can be replaced by a nice variety of aftermarket models. You’ll need mounting brackets for some of them, and when that’s the case, we’ll include them with your Crutchfield speaker purchase.
Removing and replacing these speakers isn’t monumentally difficult, but you will need to remove some hardware and the door panels, so it’ll be important to work patiently and stay organized.
Once the new speakers are installed, test to make sure they’re working. And don’t forget to test the door lock/release operation while you’re there.
Tools needed: Panel tool, Phillips screwdriver, small flat-blade screwdriver, wire strippers
Shop for speakers that fit your Toyota Tundra
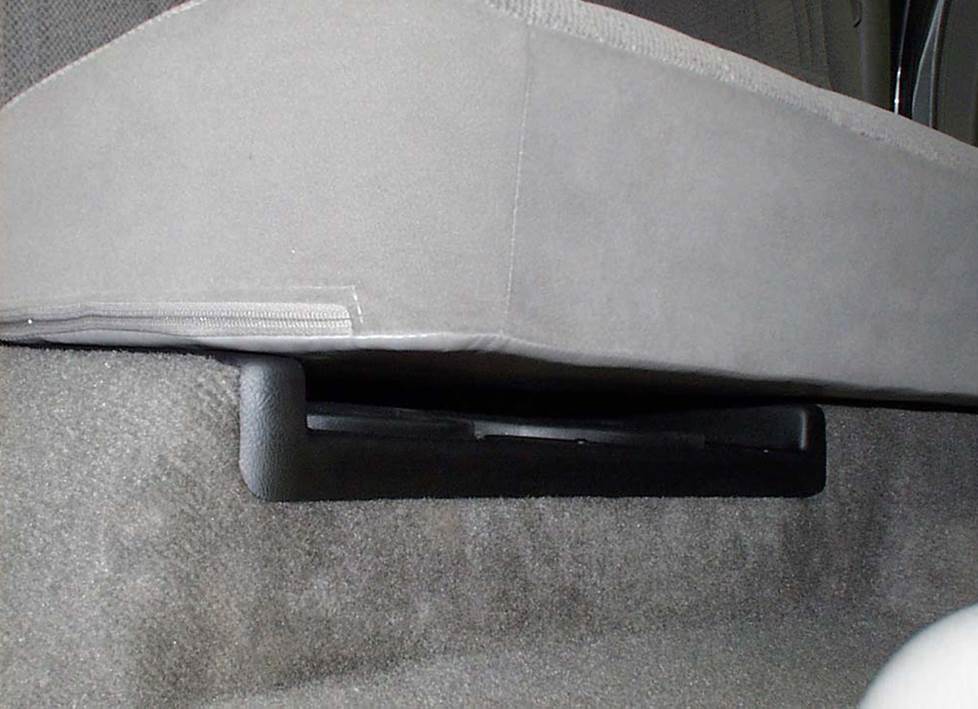
This custom-fit Q-Customs speaker enclosure is designed to bring bass to your Tundra Access Cab (QForms photo)
Adding more bass to your Tundra
There’s not a ton of bonus space in the Access Cab’s rear seating/storage area. If you want to add big bass to your new stereo system, the best option is a Q-Customs enclosure. This custom-designed enclosure is designed to fit under the rear seat on the passenger’s side and holds two 8" woofers of your choosing. The subs are sold separately, of course.
If you’re looking for a way to improve your overall sound without adding a big enclosure, a powered subwoofer would be a great choice for your Tundra.
Shop for vehicle-specific subwoofers for your Toyota Tundra
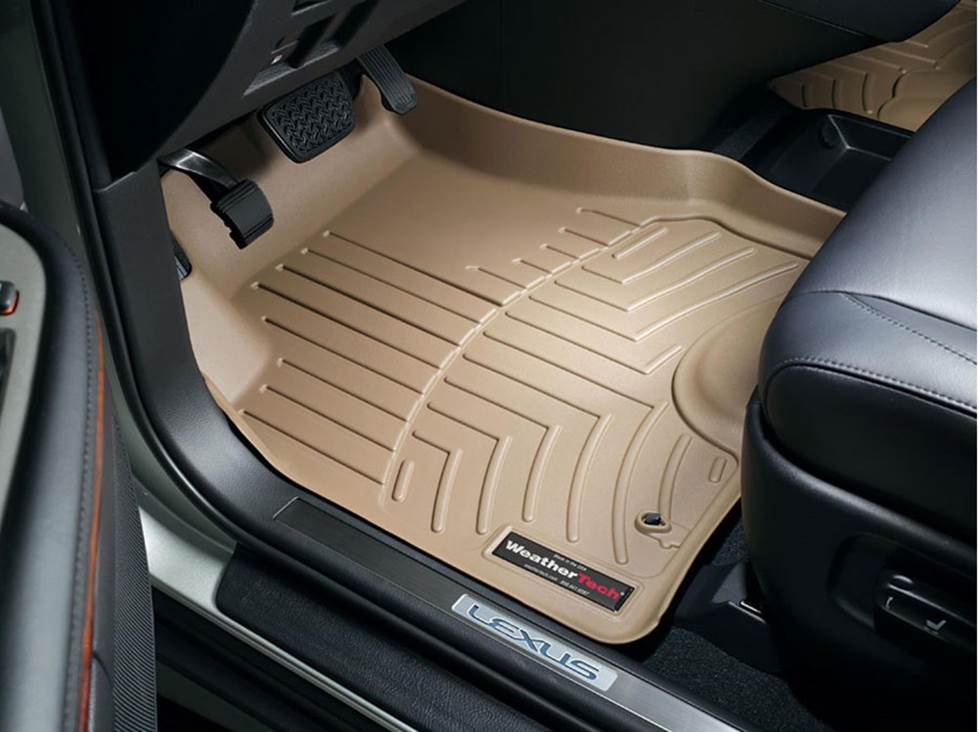
Protect your truck's carpeting with a set of custom-fit WeatherTech FloorLiners (WeatherTech photo)
Other options for your Tundra
Here are some other cool upgrade ideas for your Tundra.
Floor mats to protect your carpet
When you drive an old Tundra, you're eventually going to get involved in some sort of activity that gets you and/or it dirty. When that happens, it's a good idea to have a set of WeatherTech liners on the floors. These incredibly durable mats trap moisture, contain dirt, and keep your factory carpets looking good. To see all the mats that fit your truck, enter your vehicle info.
Add an amp (or two) for better sound
For the Premium sound system: A new 4-channel amplifier will help you get the most out of your new speakers. You'll get cleaner power (and a lot more of it), which will result in much, much better sound. A mono amp can provide the juice you need for your new subwoofer, too.
For the base sound system: A 2-channel amp will work for the Regular Cab, unless you're adding speakers or a sub.
Sound damping to block noise
If you're tired of wind and road noise getting in the way of your audio enjoyment, a Dynamat Xtreme Door Kit is the perfect way to seal in sound. This heavy-duty insulating material is easy to install, and it really makes a difference. One kit will take care of the front doors in your Tundra.
Security systems to protect your stuff
Installing a security system in your Tundra isn't easy (security systems rarely are), but it's less complicated than it could be. Our Crutchfield Advisors can help figure out what you need to get the job done, but we usually recommend taking your car and your new security gear to a professional installer.
Let's get started!
Ready to shop? Use our vehicle selector to find the gear that will fit your car or truck. If you have questions, give us a shout via phone or chat.


Comments (0)