2003-2009 Lexus GX 470
How to upgrade the stereo system in your GX 470

In brief: This Crutchfield Research Garage article gives you an overview of your GX 470's stock stereo system and your aftermarket upgrade options. We'll tell you all about:
- The factory stereo system
- Removing the factory radio
- Removing the factory speakers
- Adding more bass
- Other options for your GX 470
Then, use our vehicle selector to find the gear that will fit your Lexus.
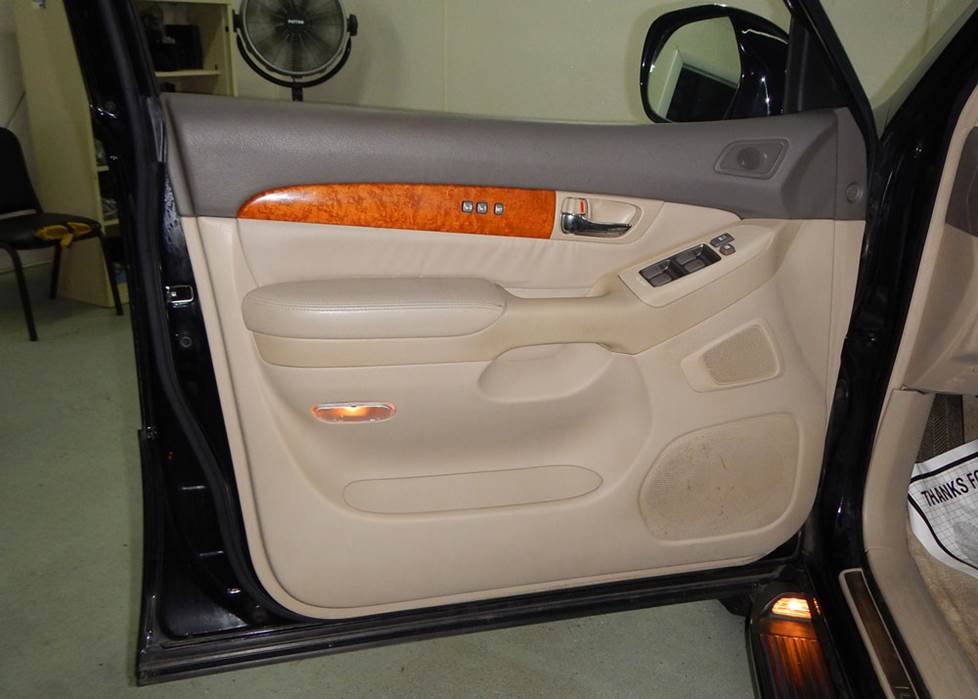
Overview of the Lexus GX 470
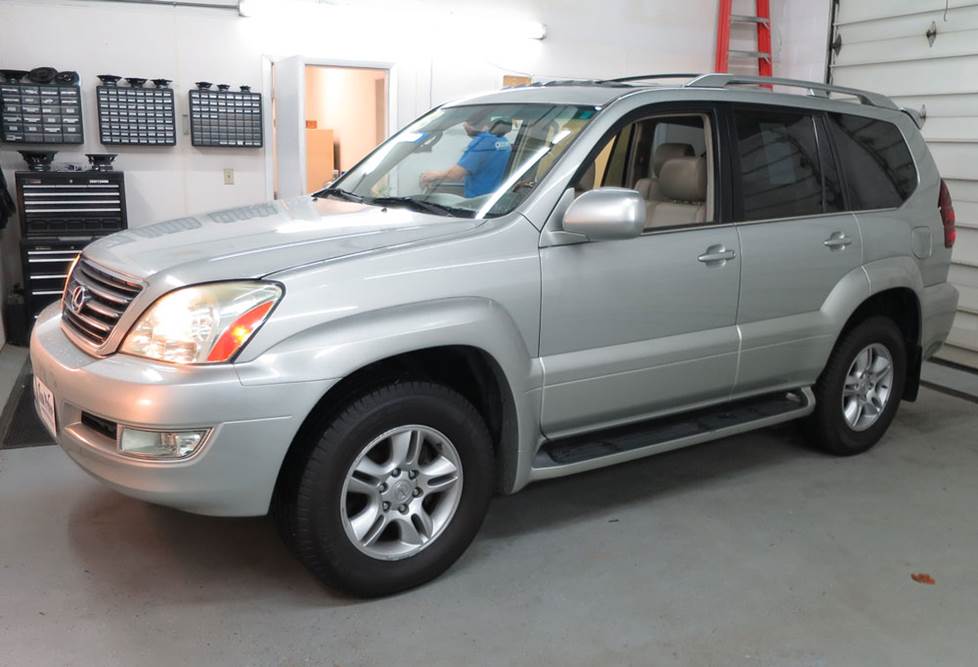
The Lexus GX 470 is obviously a very capable, very luxurious, and very roomy SUV. What might not be so obvious is that it’s also an excellent home for an upgraded stereo system.
There’s a lot of Toyota 4Runner underneath the neatly styled exterior, which is a good thing in terms of reliability and parts availability. This Lexus is much more than another badge-engineered corporate cousin, though. The GX 470 adds a lot of luxury features designed to make it worthy of the Lexus badge, including a higher roof, thicker glass, and a healthy amount of sound-deadening material. The result is a big SUV that’s as quiet as a Lexus sedan – and if you’ve ever experienced a Lexus sedan, you know that those things are almost sailboat-like when underway.
So yes, the GX 470 is a great vehicle for the audiophile who’s looking for a practical vehicle that’ll also be a worthy home for wicked-good stereo system. What follows is an overview of what you can do and how to do it.
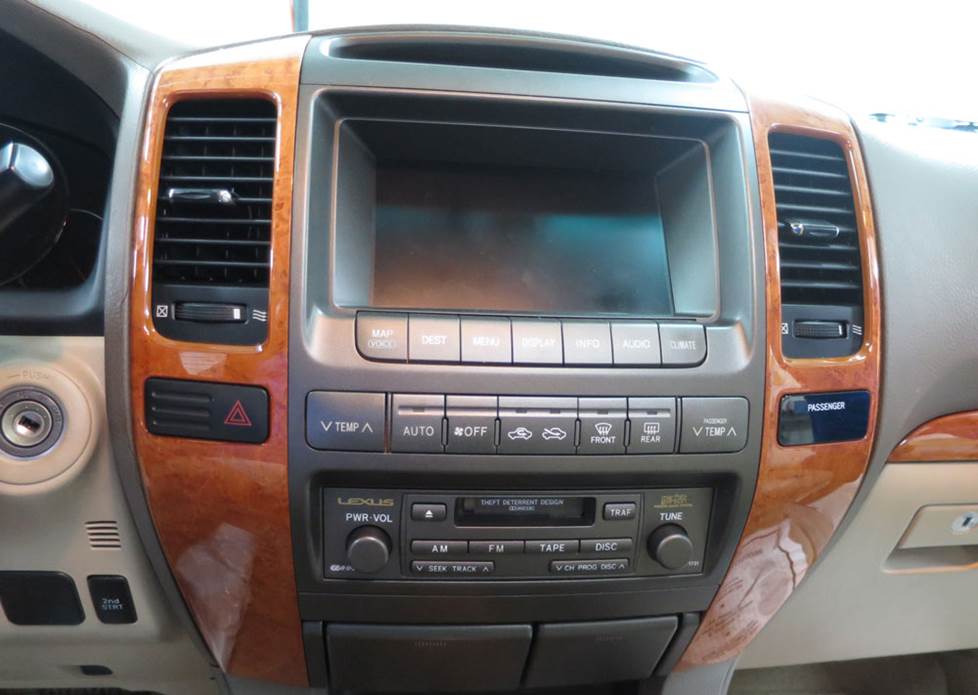
This is the GX 470's navigation receiver. It also handles the climate controls, so it can't be replaced. (Crutchfield Research Photo)
The factory stereo system
Three factory systems were offered for the GX 470. The base model was an AM/FM/Cassette/6-CD receiver with nine speakers, the middle child was an AM/FM/Cassette receiver with an external 6-CD changer and a 12-speaker Mark Levinson audio system, and the top-shelf option was an AM/FM/Cassette/6-CD receiver that played through a 14-speaker Mark Levinson system. Rear seat entertainment was also included in this system.
If your GX 470 has the factory navigation receiver, well, we sure hope you like it. Because this receiver also contains the climate controls, replacement is not recommended. We do recommend replacing the speakers, though. That's the best way to get better sound out of that stock receiver.
Speaking of speakers, if you have one of the Mark Levinson systems, you’ll need to pay attention while you’re shopping. Replacing the 7-ohm or 8-ohm factory speakers with lower-impedance aftermarket models will result in higher volume levels. Either look for high-impedance replacements or plan to replace the stock amp (which can be found under the driver’s seat) as part of your speaker upgrade project.
We know there are several reasons why you might want to access the back of the nav radio, so despite the fact that we don't recommend replacing it, you'll still find step-by-step disassembly info in the vehicle-specific instructions included with your Crutchfield car audio purchase.
To learn more about upgrading your sound while keeping the factory radio, check out this helpful guide to sound processors.
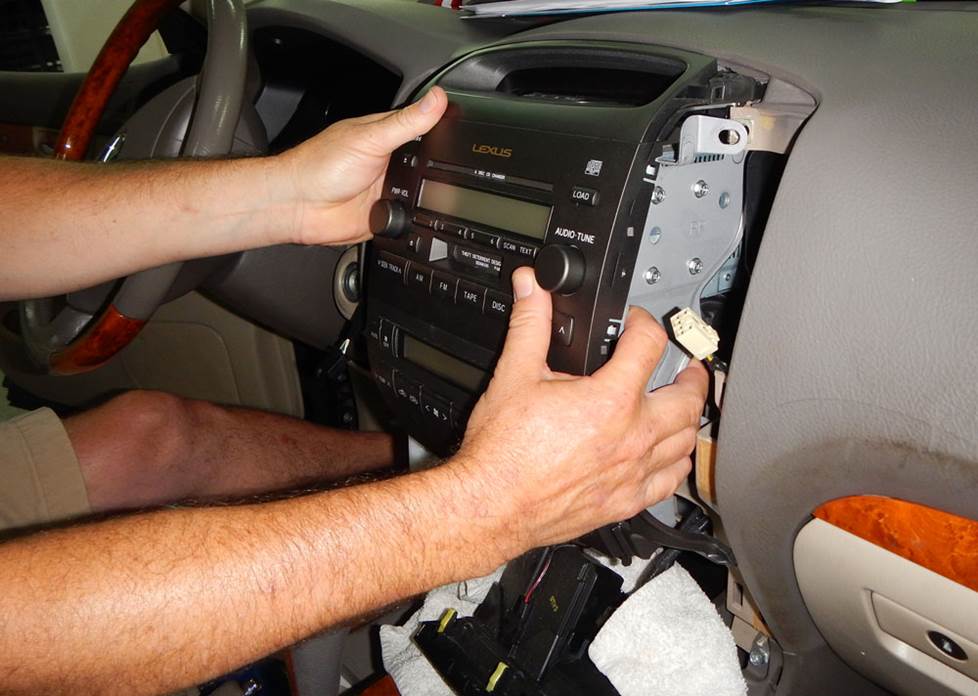
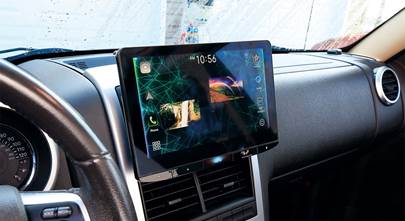
Replacing the base radio is possible, and it's also a cool upgrade for your GX 470 (Crutchfield Research Photo)
Removing the factory radio
If your GX 470 has the base, non-nav stereo, you can replace it with a single-DIN (2" tall) or double-DIN (4" tall) aftermarket receiver. When you order your new receiver from us, you’ll save money on the dash kit and wiring harness adapter you’ll need to install it.
The removal and replacement process does have some fiddly bits to it, but if you work carefully and keep all the tools, dash panels, and screws organized, you can do this yourself.
The first thing to do before starting any audio upgrade project is to set the parking brake and remove the negative battery cable to prevent any electrical shorts. Once that’s done, you’re ready to go.
Use a panel tool to pry up the driver's side console trim panel to release three clips, then remove the panel. Starting at the lower edge, pry out the driver's side receiver trim panel to release six clips, then disconnect the harness and remove the trim panel. When you’re done doing this, do all the same things on the passenger’s side of the dash.
With that done, pull the cigarette lighter assembly toward the rear of vehicle to release five clips, then place the lighter assembly on a clean shop cloth resting on the console.
Detailed stereo and speaker removal instructions

Remove one 10mm screw that will release the main harness to the receiver/climate control assembly. Remove four 10mm screws securing the assembly to the dash, then pull the assembly toward the rear of the vehicle to release four clips. Disconnect the harness and remove the assembly.
Remove eight 8mm screws (four from each side) securing the radio chassis to the factory brackets, then remove the two Phillips screws (one from each side) securing the trip computer to the factory brackets. And next, you’ll remove two Phillips screws (one from each side) securing the climate control panel to the factory brackets, then remove both brackets.
Use your panel tool to pry the climate control panel off of the receiver to release two clips, then remove it. Remove the two Phillips screws securing the receiver to the trip computer, then pry off the trip computer to release one clip.
To install the new receiver, follow the instructions included with your dash kit and wiring harness. Once everything’s connected, test the new piece to make sure it’s working. If it is, start putting the dash back together by reversing the removal steps.
Tools needed: Panel tool, Phillips screwdriver, 8mm & 10mm socket, ratchet and extension
Read our Car Stereo Buying Guide for shopping tips and advice.
Steering wheel audio controls
In most cases, it's reasonably easy to retain your GX's steering wheel audio controls when you install a new stereo. When you enter your vehicle information, our database will choose the adapter you need to make your factory steering wheel controls work with a compatible aftermarket receiver.
Replacing the speakers will improve the audio in any GX 470 (Crutchfield Research Photo)
Removing the factory speakers
The GX 470 is not short on speakers, and while the Mark Levinson system is particularly nice for a stock set-up, it's obviously been a while since any of these speakers were shiny and new. Aftermarket speakers will really sound great in this SUV, so read on to learn more about how to remove the old ones and install the new ones.

The center dash speaker is only present in Mark Levinson systems (Crutchfield Research Photo)
Removing the center dash speaker (Mark Levinson system only)
The Mark Levinson system adds a center dash speaker to the mix, and this 2.429" speaker is pretty easy to reach and replace. Use your panel tool to pry up the center dash grille to release four clips and remove the grille. Remove the two Torx T-20 screws securing the speaker to the dash, then disconnect the harness and remove the speaker.
You'll need to fabricate a speaker mounting bracket or spacer to install the new speaker. You can also use one of our universal backstraps, which we’d recommend, because it’s a lot easier. Note that replacing the high-impedance factory speaker with a 4-ohm speaker will result in higher volume levels. Shop accordingly.
Tools needed: Panel tool, Torx T-20 driver
The GX 470's front doors contain three speakers. You'll need to remove the door panels to remove and replace them. (Crutchfield Research Photo)
Removing the front door speakers
Your GX 470’s front doors contain not one, not two, but three speakers. The removal process is basically the same for the regular and Mark Levinson systems, but there are some fiddly bits involved in removing the Levinson speakers. That said, this job is still well within the capabilities of a reasonably adept car audio DIY-er.
You’ll need to remove the door panels to get to the speakers, of course, and all the various disassembly details are covered in your illustrated, step-by-step Crutchfield MasterSheet.
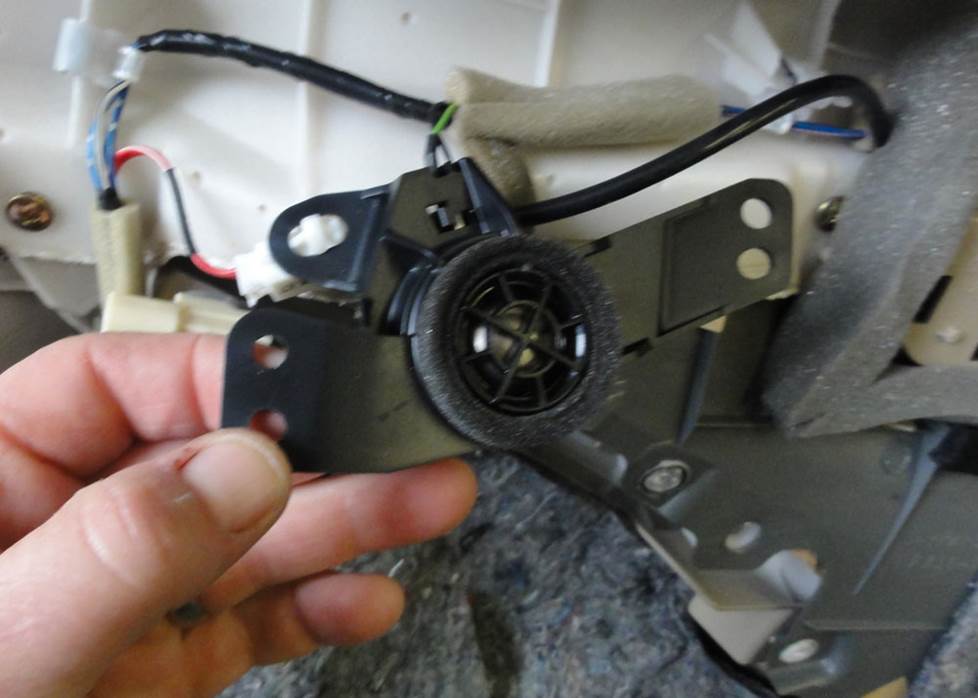
Replacing the tweeters is reasonably easy, but there are some variations that will depend on the tweeters you install (Crutchfield Research Photo)
Tweeters: With the tweeter location, you can use the factory bracket if your new tweeter has a threaded hole in the magnet. If it doesn’t, you’ll need to either use our universal backstraps to secure the new tweeters or use hot glue or silicone. There’s no wiring harness available for this location, so you can splice into the vehicle’s speaker wires or use Posi-Products speaker connectors.
Tools needed: Panel tool, Phillips screwdriver, small flat blade screwdriver

Both the base and Mark Levinson systems include these midrange speakers in the front doors (Crutchfield Research Photo)
Mids: The midrange speakers are just a wee bit under 3" in diameter. When you enter your vehicle info, our database will show you the replacement speakers that will fit. As with the tweeters, there are no mounting brackets available, so you’ll need to make your own, get out the hot glue or silicone, or use our universal backstraps. There’s no wiring harness available for this location, either, so you’ll be splicing, soldering, or using some more Posi-Products speaker connectors.
Tools needed: Panel tool, Phillips screwdriver, small flat blade screwdriver
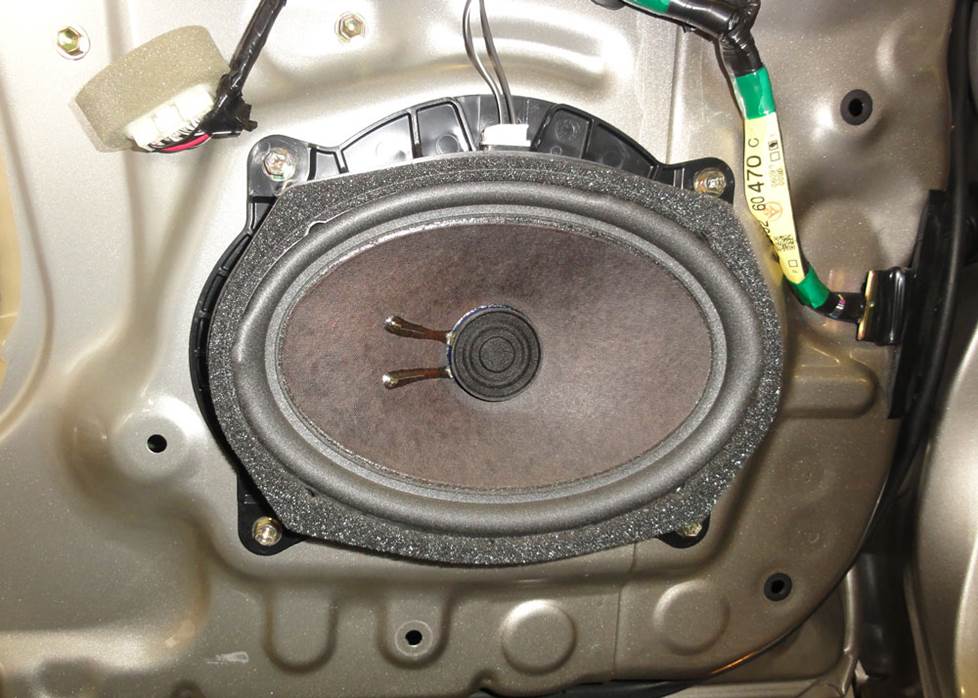
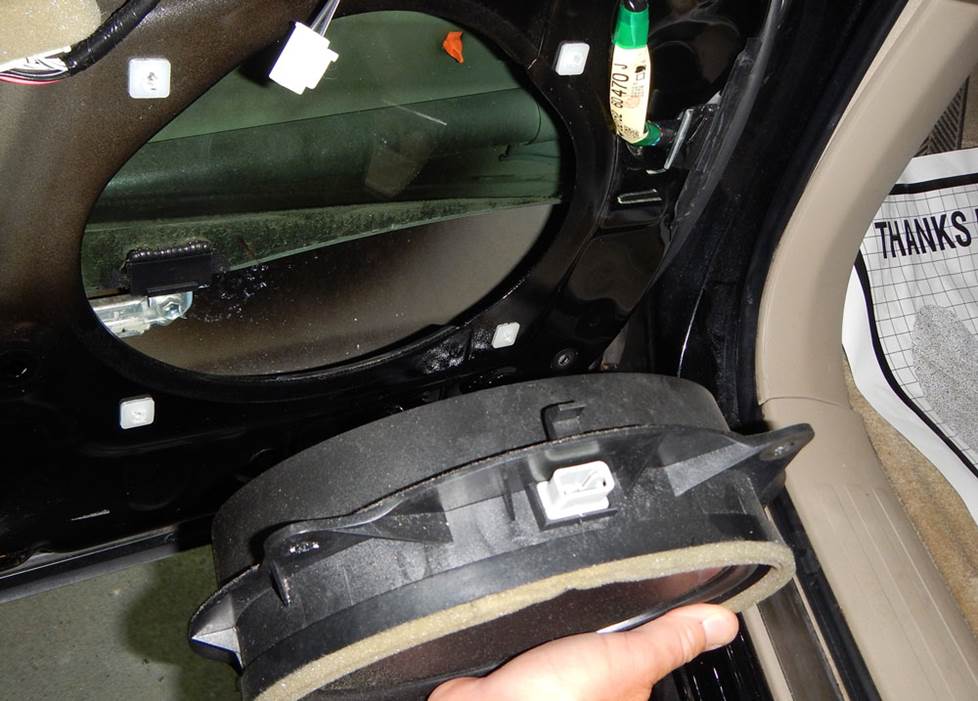
Replacing the woofers is a pretty basic car audio task, and it's well within the average DIY-er's capabilities (Crutchfield Research Photo)
Woofers: The 6"x9" factory woofers are pretty easy to deal with, and they can be replaced by same-size, 6-1/2" or 6-3/4" aftermarket models. If your GX 470 is equipped with Mark Levinson speakers, you’ll need to remove four Phillips screws securing the speaker to the factory bracket. If it’s the base system, it’ll be four 10mm screws.
Once all the new speakers are secured, test them out to make sure they’re working. If so, you can start putting the door back together. Make sure the doors and locks are working properly and that the speaker wires aren’t messing with the windows.
Tools needed: Panel tool, Phillips screwdriver, small flat blade screwdriver, 10mm socket, ratchet and extension
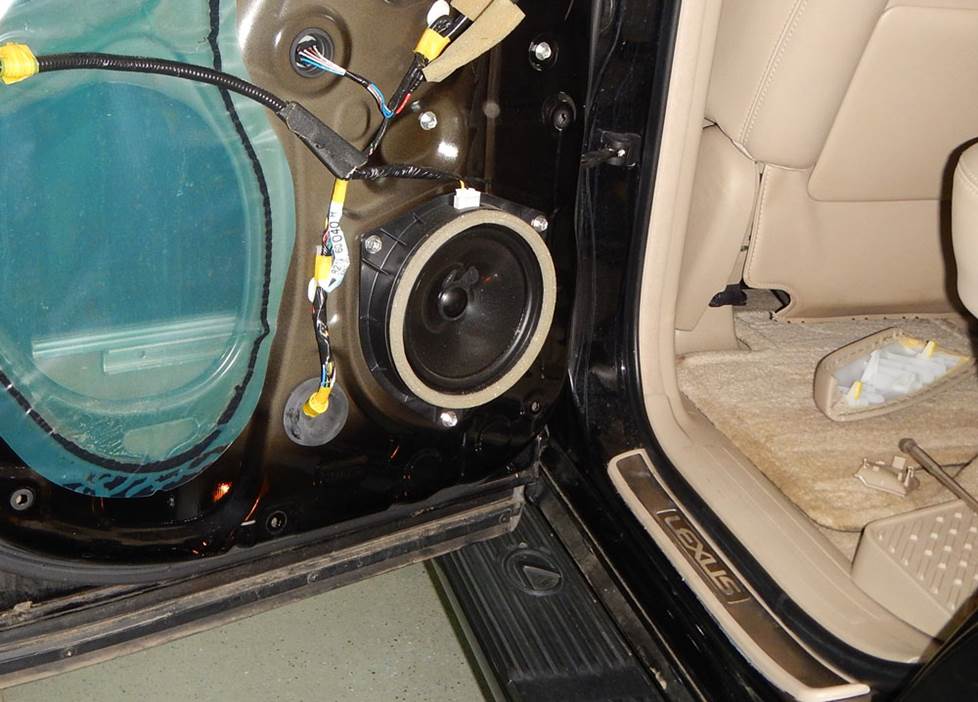
A new set of rear door speakers will fill out your new system's sound (Crutchfield Research Photo)
Removing the rear door speakers
The rear door speakers are 6-3/4" models, and you can replace them with same-size or 6-1/2" aftermarket speakers. The job’s not hard and it’s a lot like the work you did on the front doors. You’ll need adapter brackets to install some speakers, and we’ll include them with your speaker purchase.
Tools needed: Panel tool, Phillips screwdriver, small flat blade screwdriver
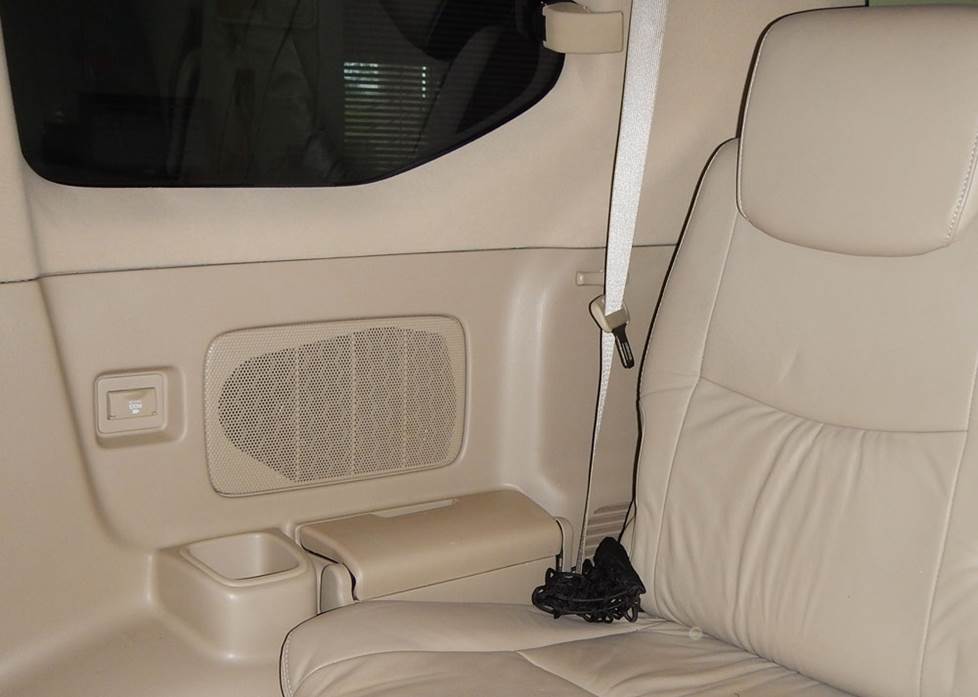
Getting to this side panel sub takes some work, but the results will be worth it (Crutchfield Research Photo)
Removing the rear side subwoofer
The base system includes a 6-3/4" subwoofer that’s behind a panel on the passenger side of the rear cargo/third-row seat area. Some nice 5-1/4" or 6-1/2" replacement models are available, and you’ll appreciate the audio improvement when you upgrade.
Getting to this speaker isn’t exactly hard, but there are quite a few steps involved. You can do this, but it’s important to work carefully, stay patient, and keep everything organized.
You’ll need an adapter bracket for the new speaker, and what’s more, you’ll need to trim off the edges of the bracket to make it fit inside the recess. Again, not hard, just a thing you’ll have to do.
Tools needed: Panel tool, small flat blade screwdriver, Phillips screwdriver, 10mm and 14mm sockets, ratchet and extension, utility knife
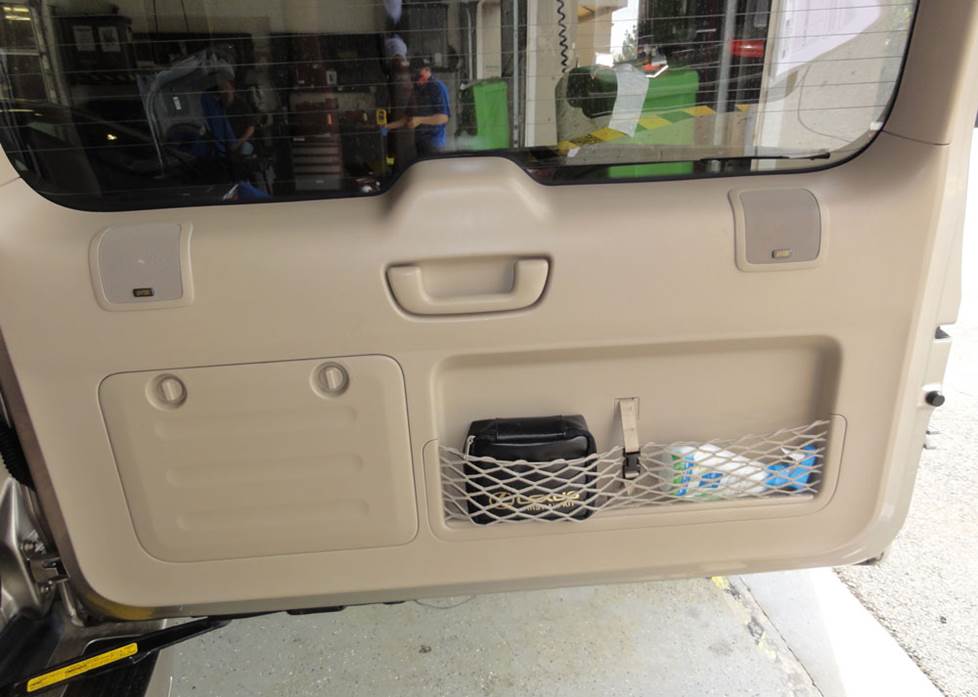
The Mark Levinson system adds these cargo door speakers (Crutchfield Research Photo)
Removing the cargo door speakers (Mark Levinson system only)
The Mark Levinson system doesn’t include a subwoofer, but you do have a pair of cargo door speakers that are wired in parallel. These speakers measure 2.558" in diameter and, since the door opens to the left, they’re reasonably easy to get to. If you’ve ever replaced speakers in a cargo door that opens upwards, you’ll appreciate this.
In some cases, you’ll need to use backstraps, hot glue, or silicone to secure your new aftermarket speakers.
Tools needed: Panel tool, Phillips screwdriver, small flat blade screwdriver, Torx T-20 driver, wire cutters
Read our Car Speakers Buying Guide for more information.

With the third-row seats out of the way, the GX's cargo area has plenty of room for a subwoofer enclosure (Crutchfield Research Photo)
Adding bass to your GX 470
There’s obviously plenty of room for luggage, furniture, dog crates, and cases of toilet paper in the GX 470’s commodious cargo area. And if you dig big bass, there’s room for a subwoofer enclosure, too. With the third row seats installed and fully reclined, we measured a 51" W x 21" H x 5"/10" D space. With the seat removed, there’s even more room for a sub box, so you can go a little nuts if you really want to.
If you’d prefer to retain some of the GX 470’s everyday utility and improve your bass performance at the same time, you can always choose a more compact powered sub.
Learn more about building a bass system in our Car Subwoofer Buying Guide.
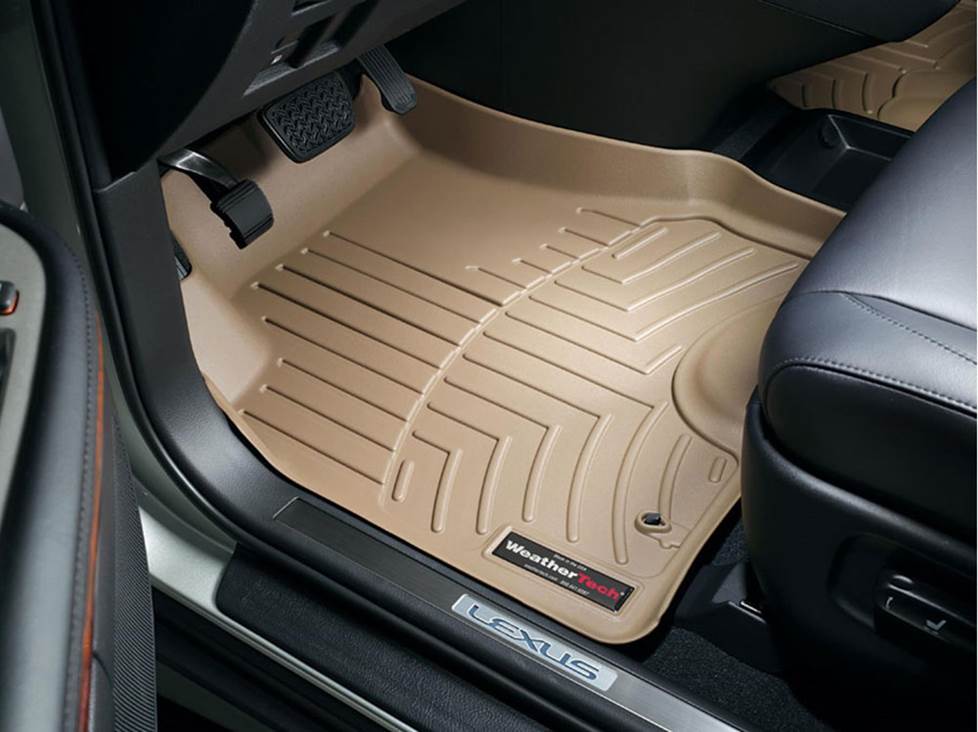
WeatherTech floor liners are custom-made to fit your floors, so they'll protect your GX 470's carpet from dirt and damage
Other options for your GX 470
Here are some other cool ideas for improving your Lexus GX 470.
Add an amplifier for bigger sound
If you really want to fill your GX 470 with sound, you need an aftermarket amplifier or two. You'll find plenty of great spots to mount amps in this SUV (under the seats, for example), but consider the size of the amp and remember that it will need air to operate efficiently.
Protect your carpets with floor mats
No matter how much you pamper your GX 470, you're eventually going to get involved in some sort of SUV-ish activity that gets you and/or it dirty. When that happens, it's a good idea to have a set of WeatherTech Floor Mats on the floors. These incredibly durable mats trap moisture, contain dirt, and keep your factory carpets looking good.
Security systems and remote start
Installing a security system in your GX 470 won't be easy (security systems rarely are), but it's definitely a good idea if you tow long distances and stop overnight. Our Crutchfield Advisors can help figure out what you need to get the job done, but we usually recommend taking your vehicle to a professional installer.
Adding remote start capability to your GX lets you warm it up in the winter or cool it down in the summer. Installation is usually easier with these systems, but we still ask that you call to order so that we can make sure you get the right harness for your ride.
Let's get started!
Ready to shop? Use our vehicle selector to find the gear that will fit your car or truck. If you have questions, give us a shout via phone or email


Comments (0)