2006-2011 Cadillac DTS
How to upgrade the stereo system in your DTS

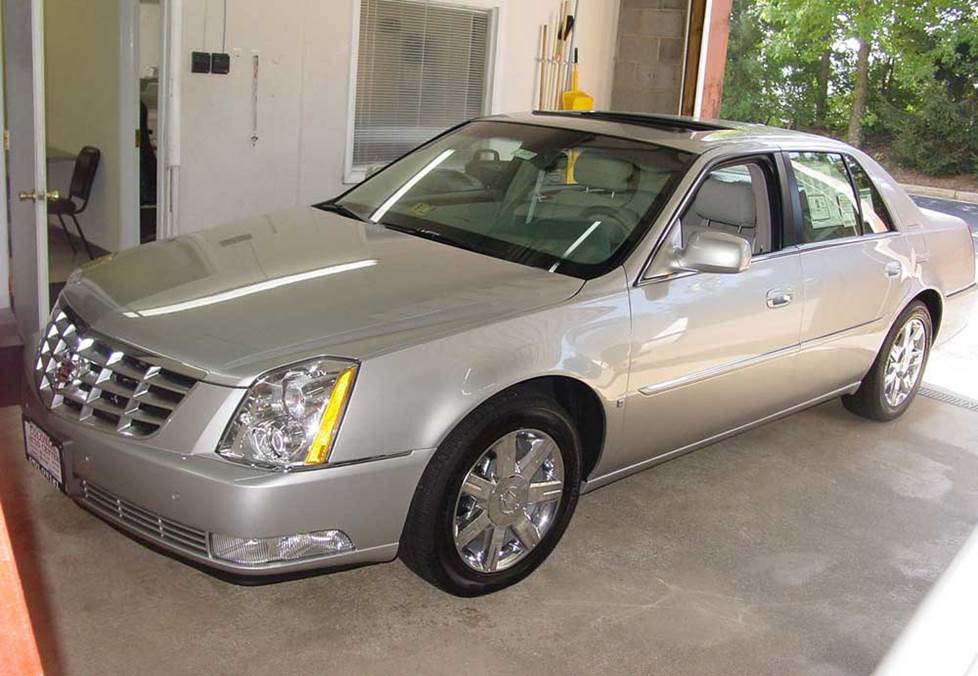
In brief: This Crutchfield Research Garage article gives you an overview of your Cadillac's stock stereo system and your aftermarket upgrade options. We'll tell you all about:
- The factory stereo system
- Removing the factory radio
- Removing the factory speakers
- Adding more bass
- Other options for your Cadillac DTS
Then, use our vehicle selector to find the gear that will fit your vehicle.
Overview of the Cadillac DTS
With the DTS, Cadillac took another step away from the "old" Cadillac image (vinyl roofs, whitewalls, yards of chrome, etc.) and drew a little closer to becoming the high-performance hot rod Cadillac we know now. Just the name says a lot, since this same basic car was known as the "DeVille" just a year earlier.
While the DTS wasn’t wasn’t a huge step in most other ways (it’s still quite plush and you wouldn’t want to take it autocrossing), it was still a significant step in the evolution of the Cadillac brand. And all symbolism aside, the DTS is a luxurious, stylish sedan that still looks good after more than a decade on the road.
The stock stereos, while nice enough for the time, have not aged nearly as well as the exterior. If you’re still enjoying your DTS every day, an audio upgrade will help you enjoy it even more. In this article, we’ll take a look and what you can do and how you’ll do it.
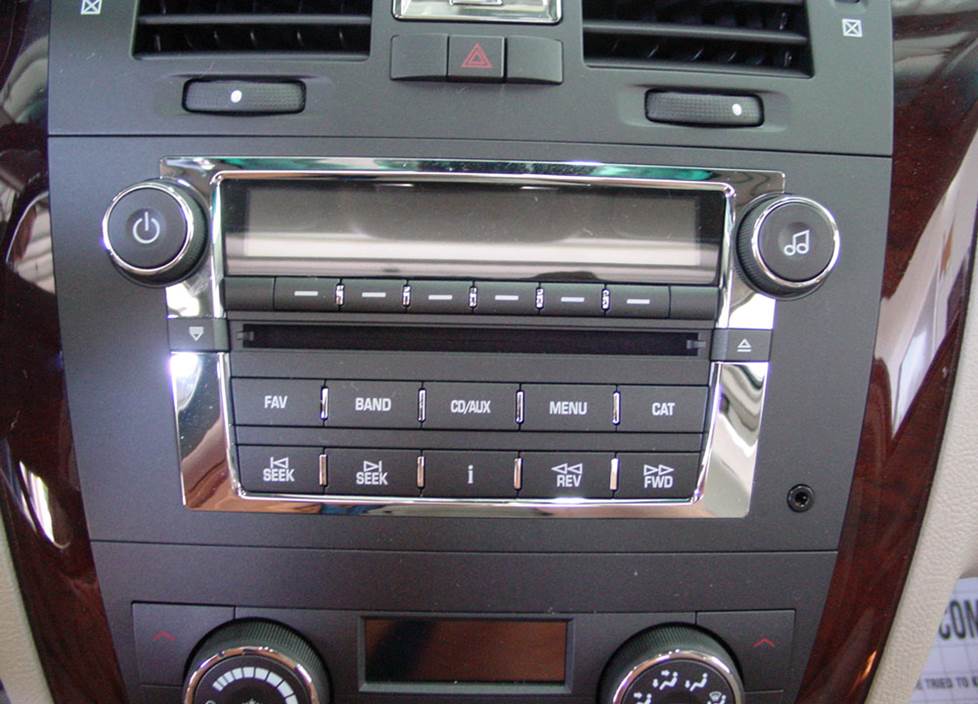
Whether your car has the base or Bose system, the radio will look pretty much like this (Crutchfield Research Photo)
The factory stereo system
The base stereo system in the big Caddy was an AM/FM/CD receiver with 8 speakers, while the optional Bose® system sported an AM/FM receiver with a 6-CD changer and an 8-speaker Bose Audio set-up. As noted above, they weren’t bad for the time, but that time is long past — especially in car audio years.
Removing and replacing the stock stereo isn’t hard, but there are some things to know before you get into it. The base stereo is, as you might expect, pretty basic, but it does sport factory satellite radio, which you’ll lose when you replace it. That’s easy enough to get back with an aftermarket receiver, though. Depending on the harness/receiver combo you choose, you might lose the OnStar voice prompts.
Detailed stereo and speaker removal instructions
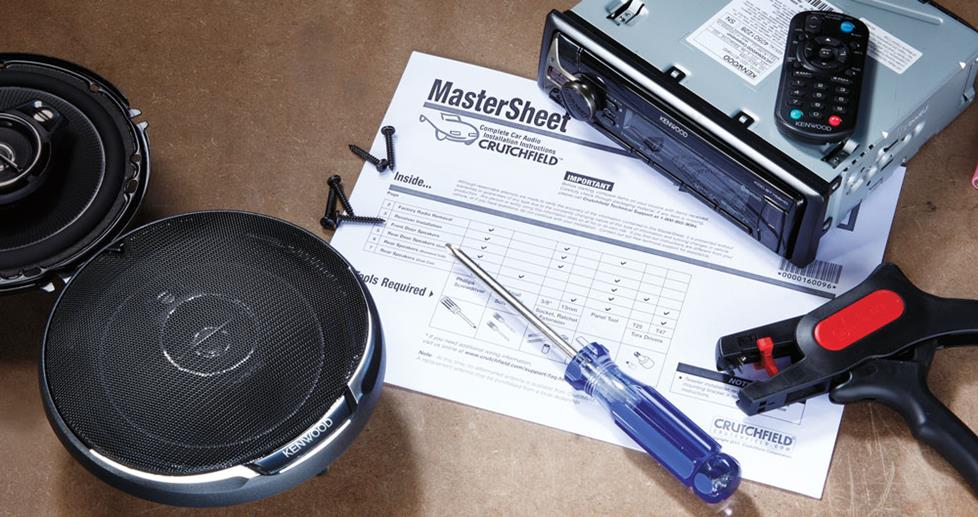
In order to retain the vehicle's warning chimes, you must use the factory integration adapter recommended by Crutchfield. This is a pretty big safety deal, so Crutchfield cannot offer technical support for an installation that doesn't use the correct adapter. When you enter your vehicle info, you’ll see the receivers that fit your DTS, and our expert advice will help you choose the integration adapter that’s right for your installation.
When you buy your receiver at Crutchfield, we’ll give you a nice discount on the adapter and the dash kit you’ll need to install your new single-DIN (2" tall) or double-DIN (4" tall) aftermarket stereo. And you’ll also get free disassembly instructions, plus free tech support for the life of your gear.
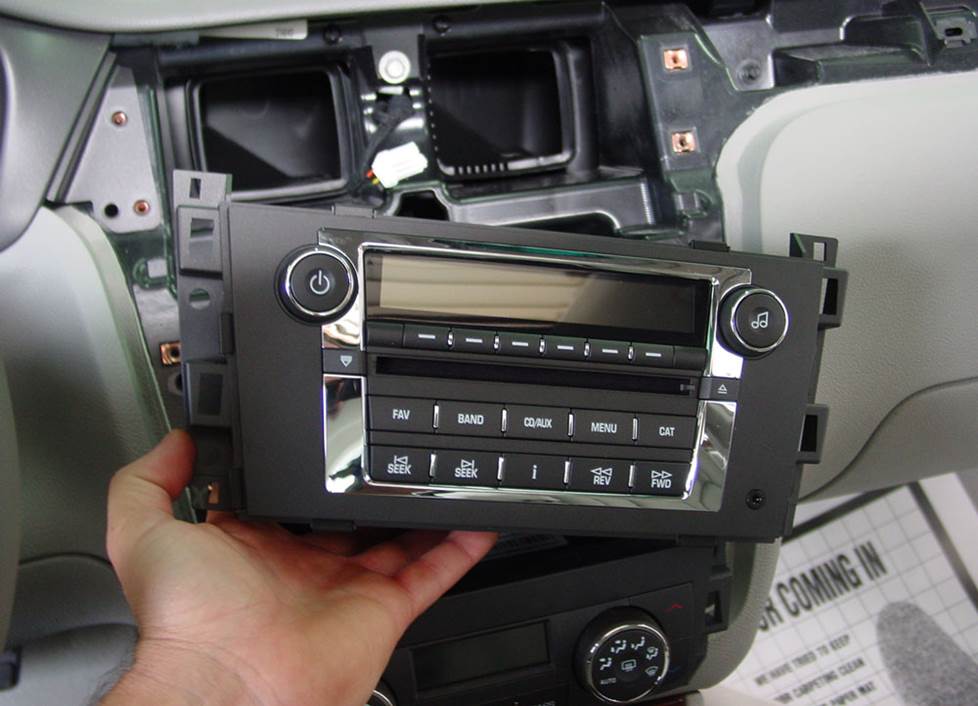
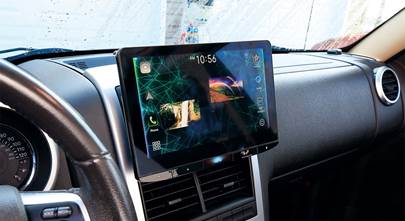
Radio replacement is pretty easy in the DTS. A new receiver will improve your car's sound and functionality. (Crutchfield Research Photo)
Removing the factory radio
To remove the old unit, you’ll start by using a panel tool to pry off the radio/dash trim, then removing some retaining screws around the radio. This isn't all that hard to do, but stay patient while you're doing it. Finally, pull out the radio, disconnect the wire harness and antenna, then remove it and set it aside.
Tools needed: Panel tool, 7mm socket, ratchet and extension
Read our Car Stereo Buying Guide for shopping tips and advice.
Steering wheel audio controls
In most cases, it's reasonably easy to retain your Cadillac's steering wheel audio controls when you install a new stereo. When you enter your vehicle information, our database will choose the adapter you need to make your factory steering wheel controls work with a compatible aftermarket receiver.
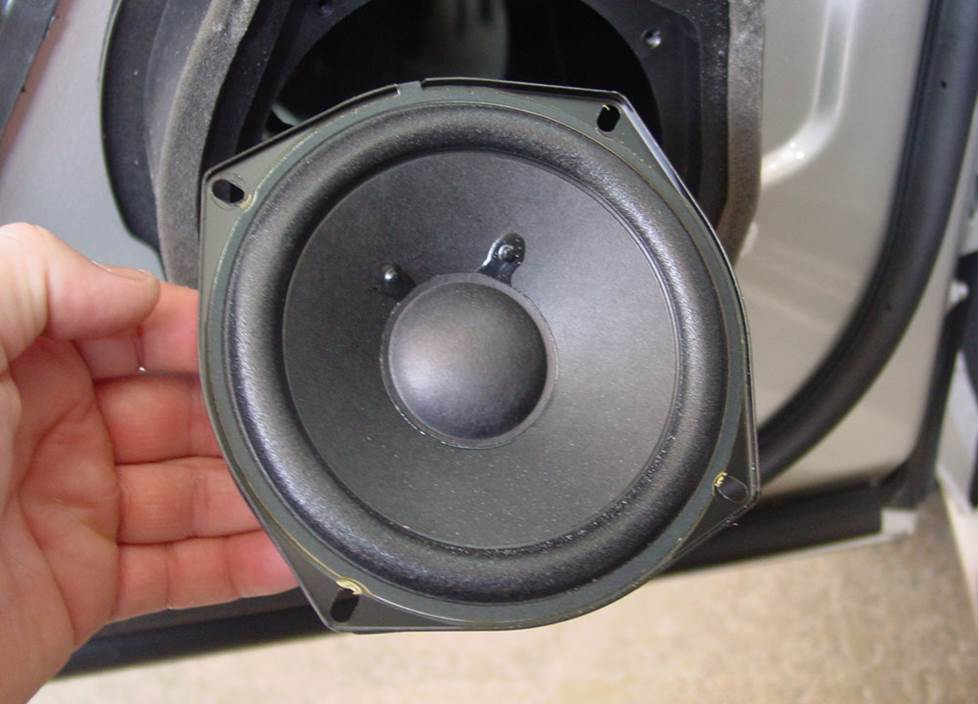
Upgrading the speakers is an excellent way to improve the audio in your DTS (Crutchfield Research Photo)
Removing the factory speakers
The DTS features speakers in the front pillars and the front and rear doors. Some cars, both with and without the Bose Audio system, also sport a 10" subwoofer in the rear deck. Upgrading your speakers is a great way to improve your sound, whether you’re replacing the stock receiver or not.
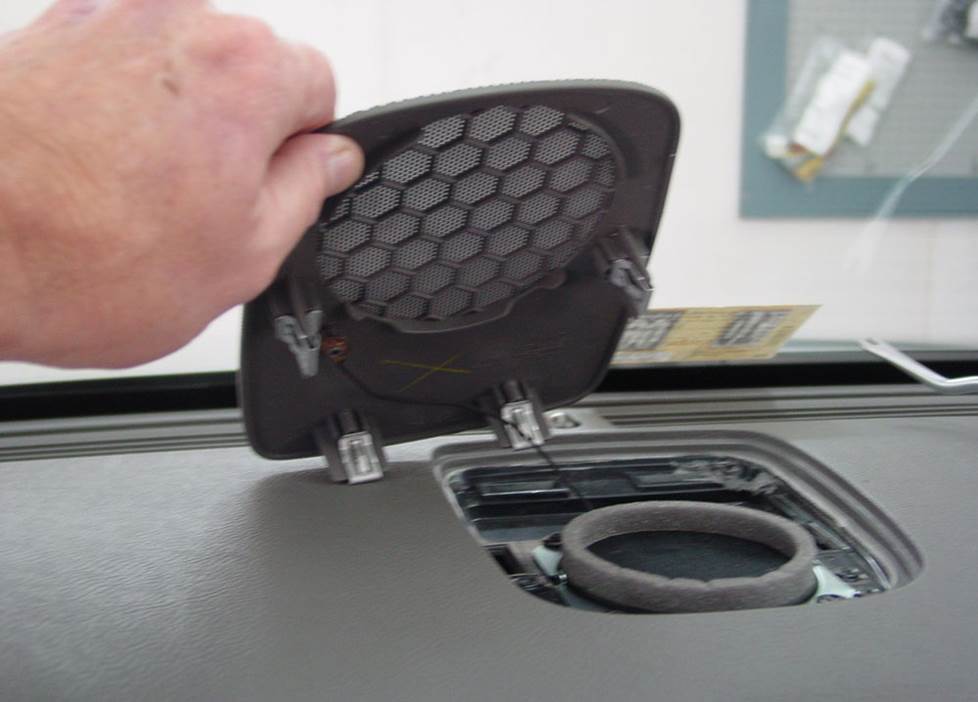
The center dash speaker is very easy to reach and replace (Crutchfield Research Photo)
Removing the center dash speaker
Getting to the 3-1/2" center dash speaker is pretty easy. Just pry the grille from the dash and set it aside. Remove the four Phillips screws securing the speaker, then disconnect the harness and remove the old speaker.
We don’t have a speaker wiring adapter for this speaker location in cars equipped with the base radio. You’ll need to splice, solder, or use Posi-Products speaker connectors to connect the new speaker to the car’s wiring.
Tools needed: Panel tool, small Phillips screwdriver
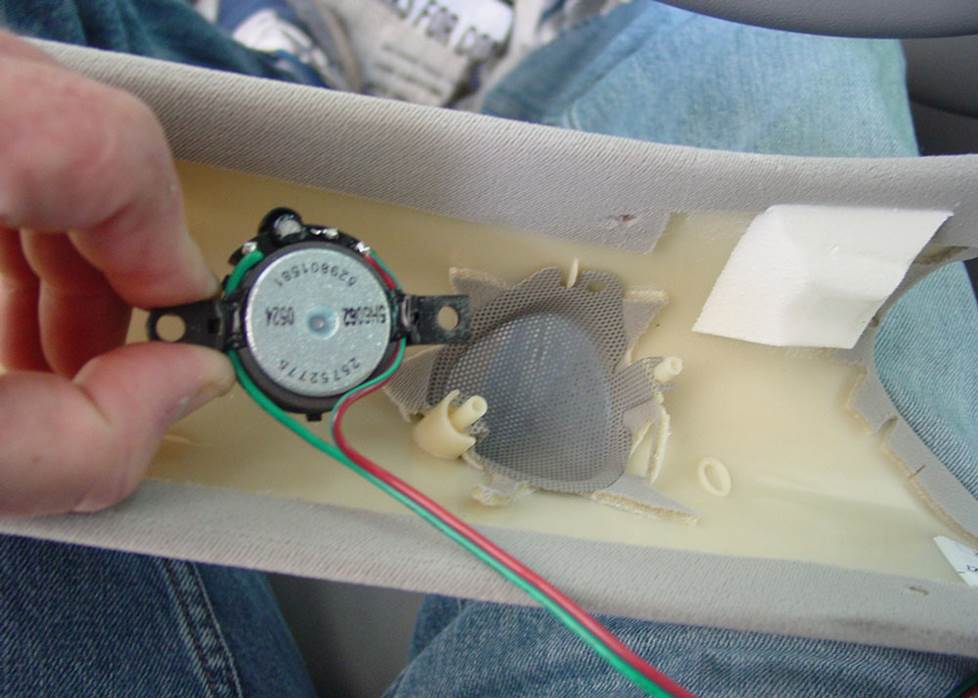
We recommend a set of component speakers for the front pillar and front door locations (Crutchfield Research Photo)
Removing the front pillar speakers
You’ll find a 1.363" speaker in each of the front pillars. They’re reasonably easy to get to and you can replace them with a variety of aftermarket component tweeters. As with the center dash speaker, you’ll need to splice, solder, or use Posi-Products speaker connectors to connect these new speakers to the car’s wiring.
First off, you’ll use your panel tool to pry the pillar trim panel loose. Next, unhook the safety strap (which keeps the trim panel from flying through the car during airbag deployment) from the trim panel.
Pull the trim panel up and towards the back of the car to remove it, then disconnect the harness from the tweeter. Remove the self-tapping nuts from the tweeter, then remove it.
While your new component tweeters will fit neatly into the stock locations, you’ll need to secure them. Backstraps, hot glue, or silicone can do the job, or you can use our universal backstraps.
And be sure to re-attach those safety straps. Airbag deployments are bad enough, but flying pillar panels would make a bad situation worse.
Tools needed: Panel tool, needle-nose pliers
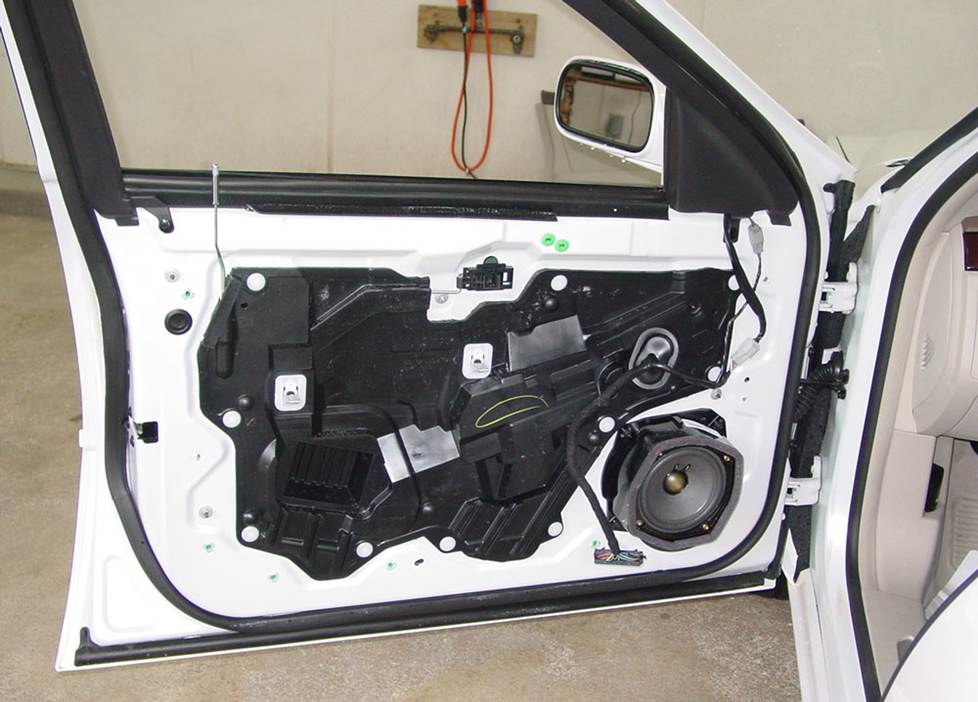
There are some minor differences in how you'll remove the base or Bose front door speakers, but the job's reasonably simple overall (Crutchfield Research Photo)
Removing the front door woofers
The stock front door speakers can be replaced with a nice variety of aftermarket models. As noted above, a set of component speakers will be a nice choice for this location. You’ll need brackets for some of the woofers, and we’ll include them with your speaker purchase.
Pry out the door release trim and remove one Philips screw. Next, pry up the power options switch panel, starting at the front edge. Once that’s done, unhook the harnesses and remove the switch panel.
Your next move is to pry around the bottom and sides of the door panel to release the clips. Lift the panel up to remove it. It’ll take a fair amount of force to release the remaining metal clips, so, again, work carefully and stay patient. With the panel out of the way, all you need to do is remove the four 1/4" screws securing the speaker to the bracket.
The panels (here and in the rest of the car) tend to be rather tight, so be patient and work carefully when you’re removing them.
In some cases, you’ll need to modify the speaker, speaker bracket, or mounting surface by cutting or grinding off some material. This isn’t hard, but you’ll need to work carefully and wear eye protection.
Once your new speakers are installed, test them to make sure they’re working properly. If they are, you’re ready to start putting the doors back together. Test the door lock and release operation before you do that, and also make sure the wiring isn't interfering with window operation.
Tools needed: Panel tool, Phillips screwdriver.
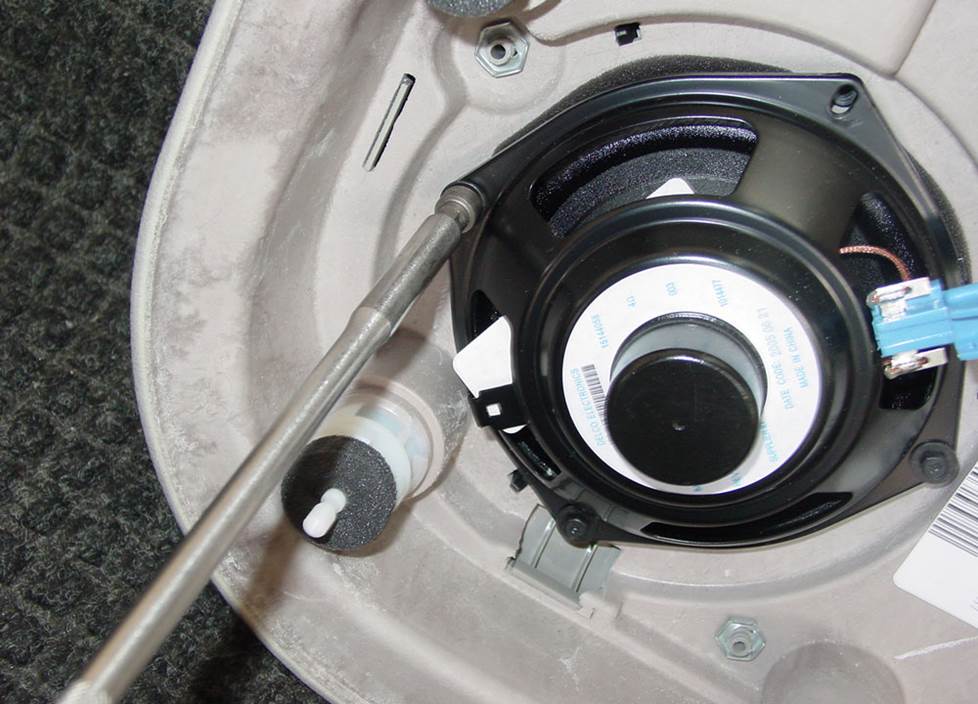
The rear door speakers are actually mounted on the door panels (Crutchfield Research Photo)
Removing the rear door speakers
The 5-1/4" rear door speakers are secured to the back of the door panels, and they’re pretty easy to deal with. You’ll start by using your panel tool to pry off the door release trim, then you’ll remove one Phillips screw. Pry around the sides and bottom of the door panel to release the retaining clips, then lift up on the panel to remove it.
If your car is equipped with the Bose system, you’ll remove four 1/4" screws before pulling the speaker out and disconnecting it. If your car has the base stereo system, you’ll need to remove four 7mm screws. Whichever screws you’re dealing with should be kept handy, because you’ll need them to secure the new aftermarket 5-1/4" speakers.
Once your aftermarket rear door speakers are connected and installed, test them to make sure they’re working properly. If they are, you’re ready to start putting the doors back together. Don’t forget to test the door lock and release operation and make sure the wires aren’t interfering with the windows.
Tools needed: Panel tool, 7mm socket, ratchet and extension, Phillips screwdriver, 1/4" socket, small flat blade screwdriver
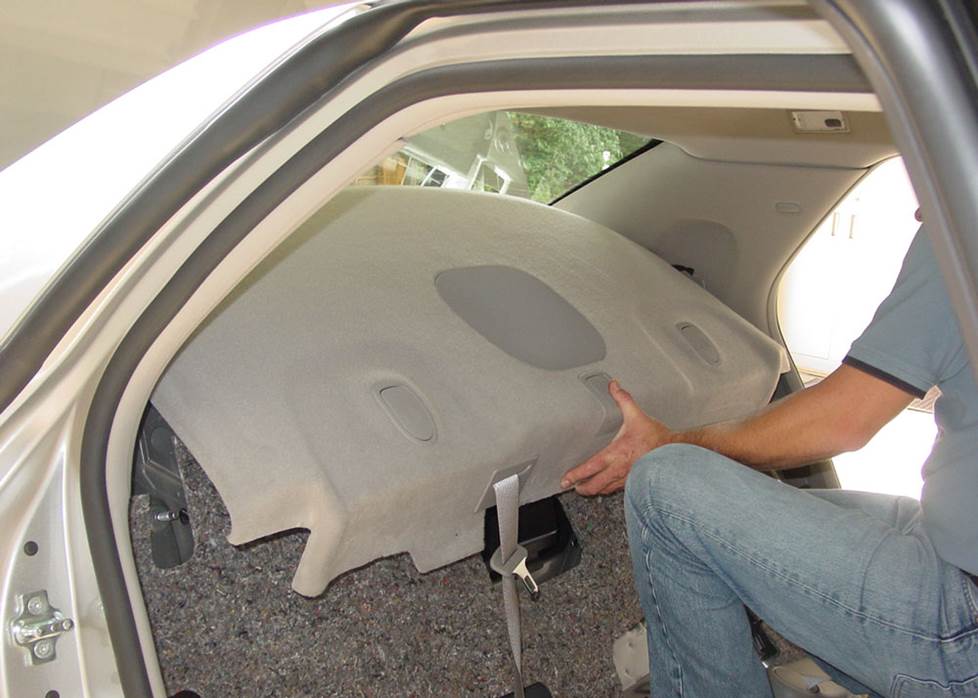
Getting to the Bose system's rear deck subwoofer is not exactly half the fun (Crutchfield Research Photo)
Removing the rear deck sub (Bose only)
Replacing the 10" Bose subwoofer in the rear deck isn’t all that hard, but there are several steps involved in the disassembly process, so it’s not a cakewalk, either. There are some fiddly bits to it, plus some not-so-fiddly tasks like removing the back seat. Having an assistant for this job might be a wise idea.
All the disassembly details can be found in the illustrated, step-by-step Crutchfield MasterSheet included with your Crutchfield speaker purchase. As those instructions will note, you’ll probably have to drill new mounting screw holes for your new sub. This isn’t hard to do, but we suggest working carefully and wearing eye protection while you do it.
If you replace the factory sub with an aftermarket model, we recommend that you also add an amplifier to power your new sub. You’ll get cleaner power and a lot more of it. And since there’s no speaker wiring adapter for this location, you’ll need to run wires from the new amp to the new sub.
If you have questions about this or any other aspect of your audio upgrade, remember that your purchase includes free tech support for the life of the gear,
Tools needed: Torx T-45, 18mm socket, 7mm socket, ratchet and extension, 15mm socket, small flat blade screwdriver
Read our Car Speakers Buying Guide for more information.
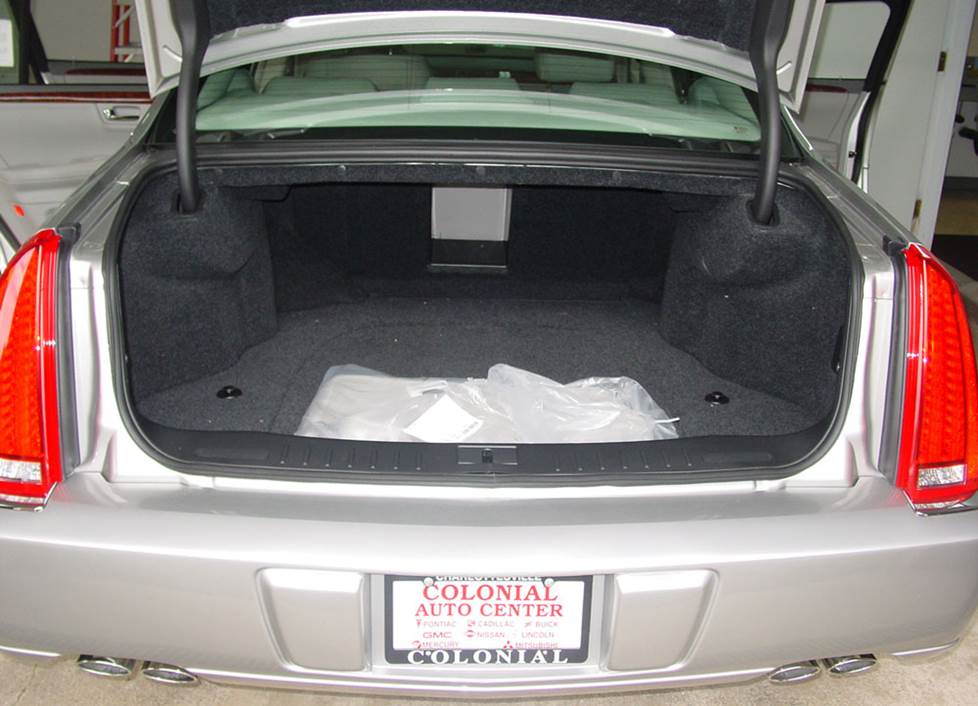
There's plenty of room for a subwoofer box in this Cadillac's trunk (Crutchfield Research Photo)
More bass in your DTS
If you want to go big on bass, the DTS is a good car to choose because the trunk offers plenty of room to work with. If you install a subwoofer enclosure in your car, you’ll have a 38" W x 17" H x 37"/41" deep space to work with.
If you want to boost your bottom end boom without losing too much cargo room, a smaller powered subwoofer can be a great choice for the DTS.
Learn more about building a bass system in our Car Subwoofer Buying Guide.
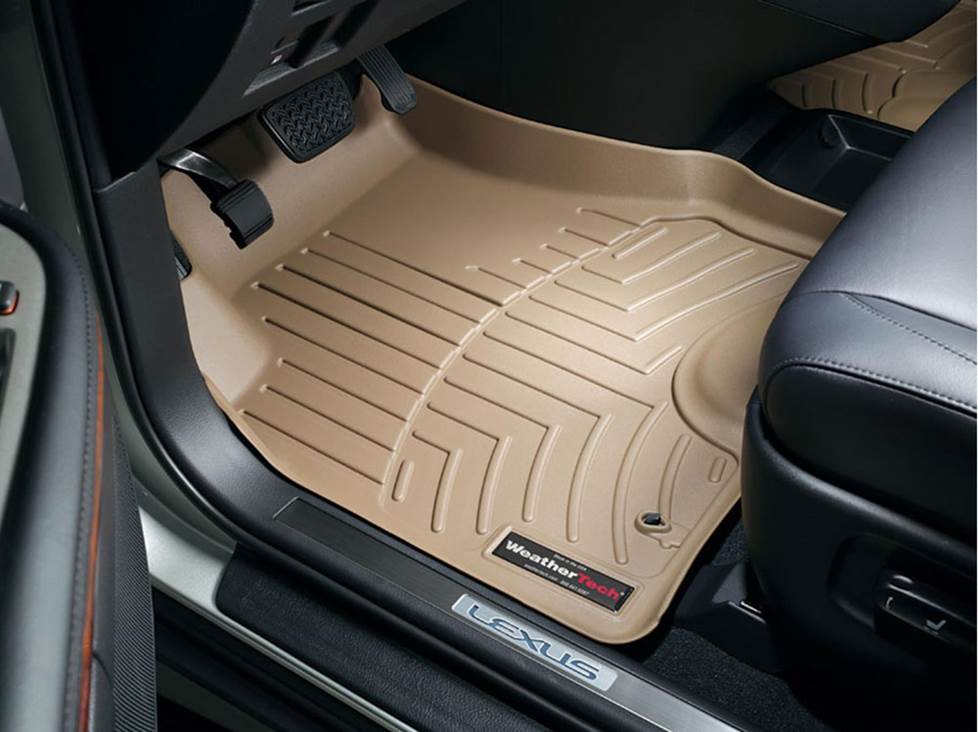
Protect your A3's carpeting with a set of custom-fit WeatherTech FloorLiners
Other options for your DTS
With a car like the DTS, there are lots of ways to upgrade your in-car experience. Here are some of the ways Crutchfield can help.
Floor mats to protect the interior
It's easier than you think to mess up your Caddy's comfy interior while you're going about your daily business. Floor mats from WeatherTech will help protect your floors from dirt and damage.
Quiet road noise with Dynamat
The DTS is a quiet, well-assembled sedan, but your car has a few years on it and that's usually when things get squeaky and loud. A Dynamat Xtreme Door Kit will really maximize the impact of your new system. This heavy-duty insulating material is easy to install, and it really makes a difference. One kit should be more than enough for your DTS.
Adding car security
Installing a security system in your DTS isn't easy (security systems rarely are), but it's less complicated than it could be. Our Crutchfield Advisors can help figure out what you need to get the job done, but we usually recommend taking your car and new gear to a professional installer.
Let's get started!
Ready to shop? Use our vehicle selector to find the gear that will fit your car or truck. If you have questions, give us a shout via phone or chat.


Comments (0)