2014-2018 Toyota Corolla sedan
How to upgrade the stereo system in your Corolla sedan

In brief: This Crutchfield Research Garage article gives you an overview of your Corolla's stock stereo system and your aftermarket upgrade options. We'll tell you all about:
- The factory stereo system
- Removing the factory radio
- Removing the factory speakers
- Adding more bass
- Other options for your Corolla
Then, use our vehicle selector to find the gear that will fit your vehicle.
Overview of the Toyota Corolla
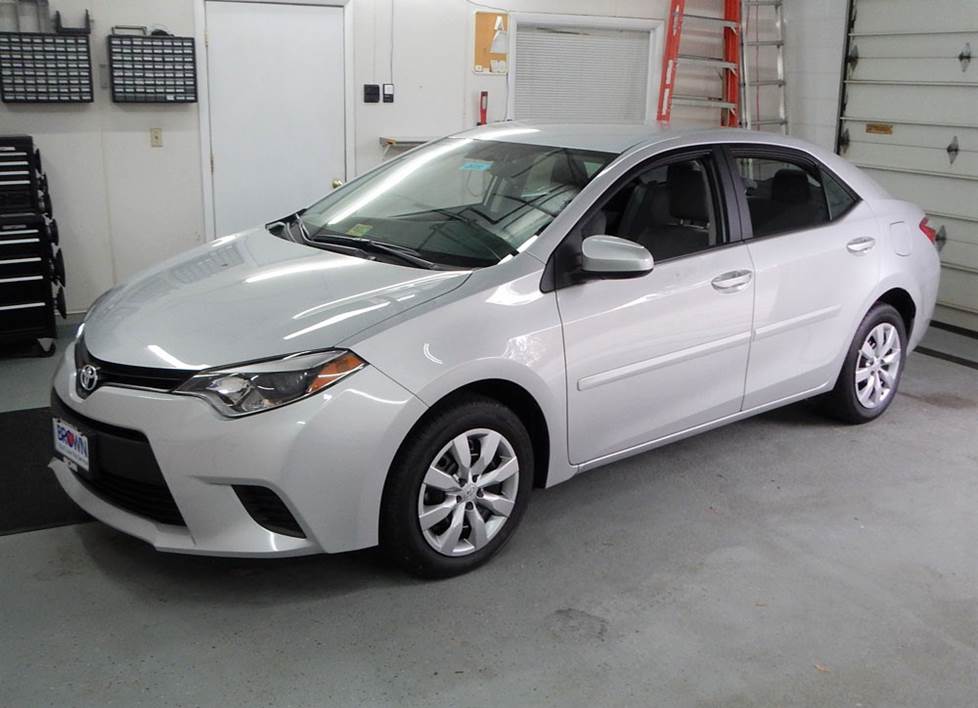
There aren’t many surprises to be found in the eleventh-generation Corolla, and that’s not exactly surprising. Sure, it’s a bit bigger than the previous model and the styling is a bit sharper, but at heart, it's exactly what Corollas have always been – practical, reliable, economical, and perfectly suited to the rhythms of everyday life. It’s an evolution, not a revolution (a process that continued during the car's run), and since the tenth generation car was pretty darned good to begin with, that makes total sense to us.
If you're looking for a car that's easy on gas, easy on the eyes, and easy to live with, a 2014-2018 Corolla is a very smart choice. The stock stereos are okay-ish, kinda, but if you really want to maximize your musical enjoyment, upgrading the factory stereo will be a smart investment.
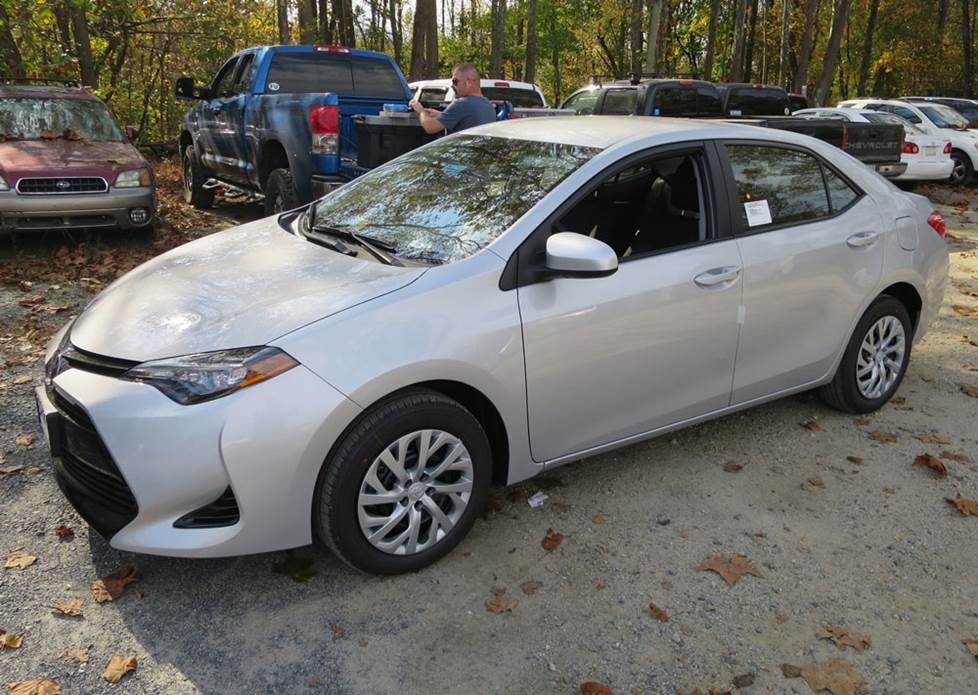
The 2017 mid-cycle refresh is most visible in the car's nose (Crutchfield Research Photo)
The factory stereo system
The Corolla was available with 4- or 6-speaker systems, with an Entune premium system topping the line. As part of the 2017 mid-cycle refresh, the touchscreen receiver grew from 6.1" to 7", but the speaker locations remained the same.
When you replace your Corolla’s stock radio, you'll lose the factory AUX and USB inputs, plus the navigation function (if present). All of these things can be replaced and upgraded when you choose your new aftermarket receiver.
Removing and replacing your Corolla’s stock audio gear is pretty uncomplicated, for the most part. Your Crutchfield stereo or speaker purchase will come with all the instructions you need, but if you run into trouble, we offer free tech support for the life of your gear.
Removing the factory radio
Before you remove the factory receiver from your Corolla (or any vehicle), be sure to set the parking brake and disconnect the negative battery cable. Once those tasks are complete, you’ll be ready to get to work.
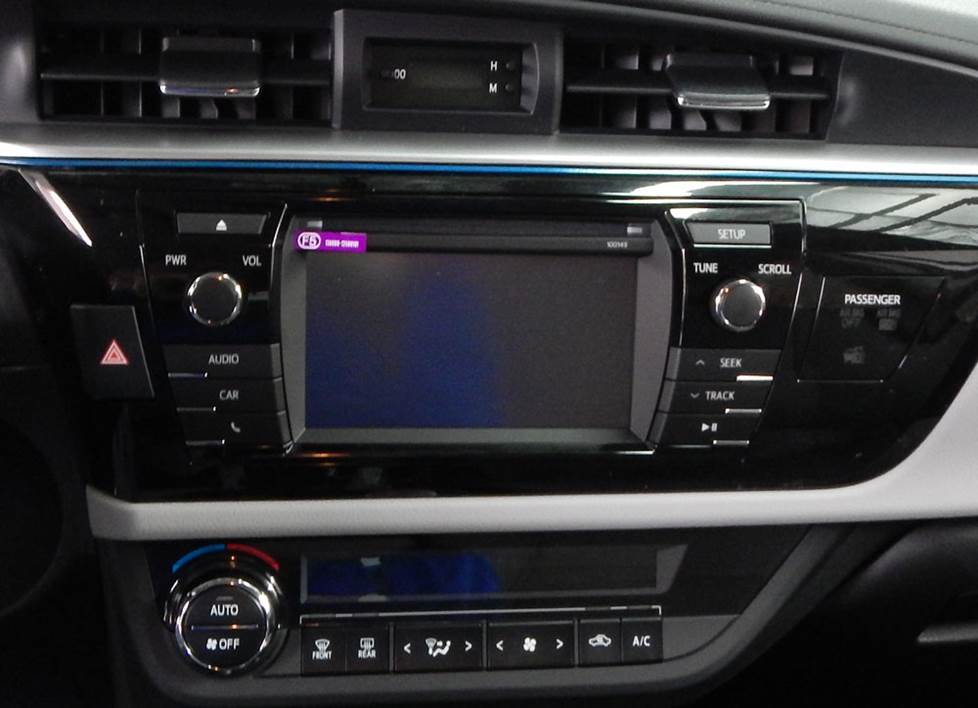
The early receiver, shown here, features a 6.1" touchscreen. It's quite easy to replace (Crutchfield Research Photo)
2014-2016 models
To remove this stereo, you’ll start on the driver's side and use a panel tool to pry out the upper dash trim panel. This will release eleven clips, after which you can remove the trim panel. Next, pry out the receiver trim panel to release eight clips, then disconnect the wiring harnesses and remove this panel.
Remove the four 10mm screws securing the receiver to the dash, then pull the receiver toward the rear of the car to release four clips. Disconnect the harnesses and remove the receiver.
Tools needed: Panel tool, 10mm socket, ratchet and extension

In later models, the touchscreen grew to 7", which changes the removal process a bit. (Crutchfield Research Photo)
2017-up models
For the more recent models, the process is a bit more involved, but not too much. Starting at the rear edge, use your panel tool to pry up the gear shift trim ring to release six clips, then remove the trim ring. Next, pry up the cup holder assembly to release nine clips, then rotate the assembly 90 degrees and place it on the console.
Using the shift lock release, place the gear shifter in its lowest position. Then, starting at the rear edge, pry up the console top trim panel to release eight clips and pull the trim panel toward the rear of the car – just enough to clear the receiver trim panel. The console’s top trim panel does not have to be removed.
Pry off the receiver trim panel to release eight clips, disconnect the hazard switch harness, then wrap the trim panel in a clean shop rag and place it on top of the dash. This will protect the dash and trim panel from damage while you’re working.
Finally, you’ll remove the four 10mm screws securing the receiver to the dash, disconnect the harnesses, and remove the old receiver.
Tools needed: Panel tool, small flat blade screwdriver, 10mm socket, ratchet and extension, clean shop rag
Read our Car Stereo Buying Guide for shopping tips and advice.
Steering wheel audio controls
In most cases, it's reasonably easy to retain your car's steering wheel audio controls when you install a new stereo. When you enter your vehicle information, our database will choose the adapter you need to make your factory steering wheel controls work with a compatible aftermarket receiver.

Yes, you will need to drill out the three rivets securing the stock speaker to the door. No, it's not as scary as you think. Just work carefully. (Crutchfield Research Photo)
Removing the factory speakers
The Corolla's stock speakers are pretty easy to deal with, and replacing them is an excellent project for the car audio DIY-er. To see all the speakers that fit your car, enter your vehicle information.
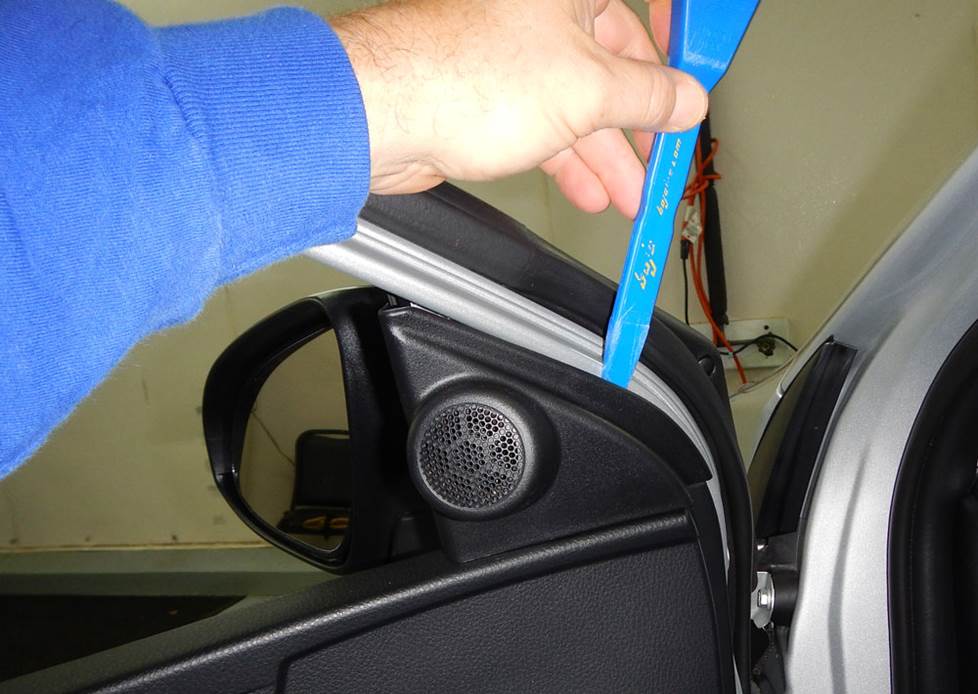
The sail panel tweeters are easy to remove, but installing the new ones will take some work. Nothing you can't handle, though. (Crutchfield Research Photo)
Front door tweeters
The Corolla’s 1-1/2" front door tweeters are 4-ohm models that are wired in parallel with the door woofers. To remove them, start at the top corner and pry off the sail panel grille to release one clip, then disconnect the harness and remove the grille. Then pry the tweeter out of the sail panel grille.
While most aftermarket component tweeters will fit in this location, you’ll still need to use hot glue, silicone, or our universal backstraps to secure them.
Tools needed: Panel tool, small flat blade screwdriver
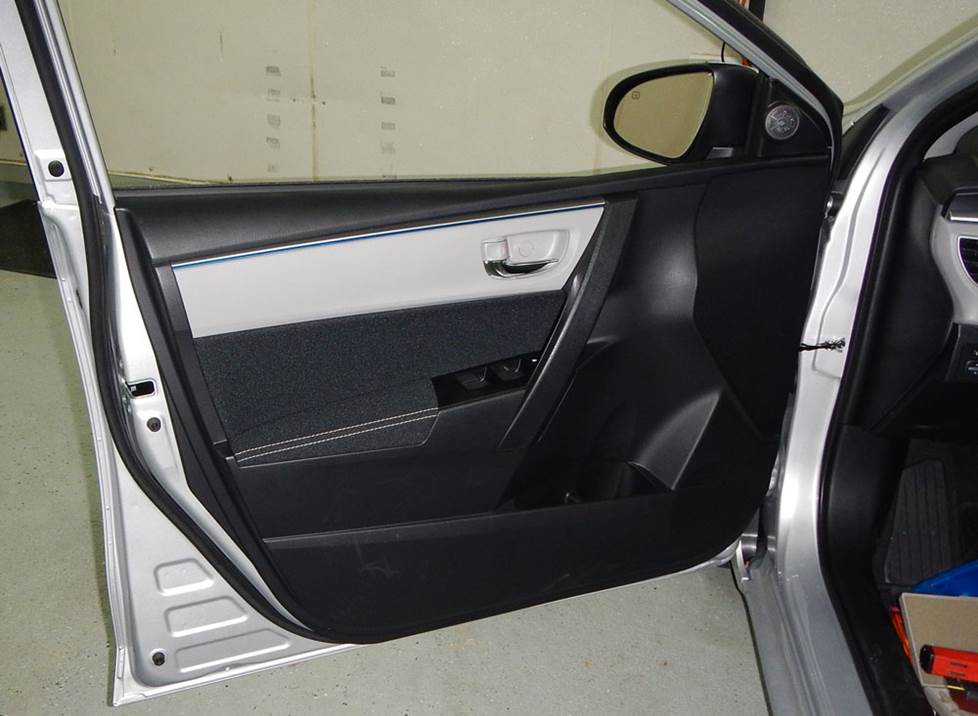
You'll need to remove the front door panels to remove and replace the speakers (Crutchfield Research Photo)
Front door woofers
The front door woofers are 6-3/4" models that can be replaced with a healthy variety of aftermarket speakers. The job’s not too hard, but if you’re installing anything other than direct-fit speakers (which do exist), you’ll need to cut off the back of the factory plastic speaker grille. And in some cases, you'll need to remove the inner tabs on the aftermarket speaker bracket to install your new speaker. We’ll let you know before you order.
To remove the old speakers, you'll first need to remove the sail panel on each door. Start at the top corner and pry off the sail panel grille, then disconnect the harness and remove the panel. Next, you’ll pry open the screw cover behind the door release handle and remove one Phillips screw.
Detailed stereo and speaker removal instructions

Starting at the lower edge, pry out the door pull's outer cover, releasing eleven clips, then remove the cover and remove the two exposed Phillips screws.
Pry out the sides and bottom of the door panel to release eight clips, then disconnect the wiring harness and door lock/release cables, and remove the door panel.
You’ll need to drill out the three rivets securing the stock speaker to the door steel before disconnecting the harness and removing the speaker. This is not a hard job, but you are using a drill in your car, so work carefully, be aware of what’s around where you’re drilling, and definitely wear eye protection.
Tools needed: Panel tool, Phillips screwdriver, small flat blade screwdriver, drill with 3/16" bit
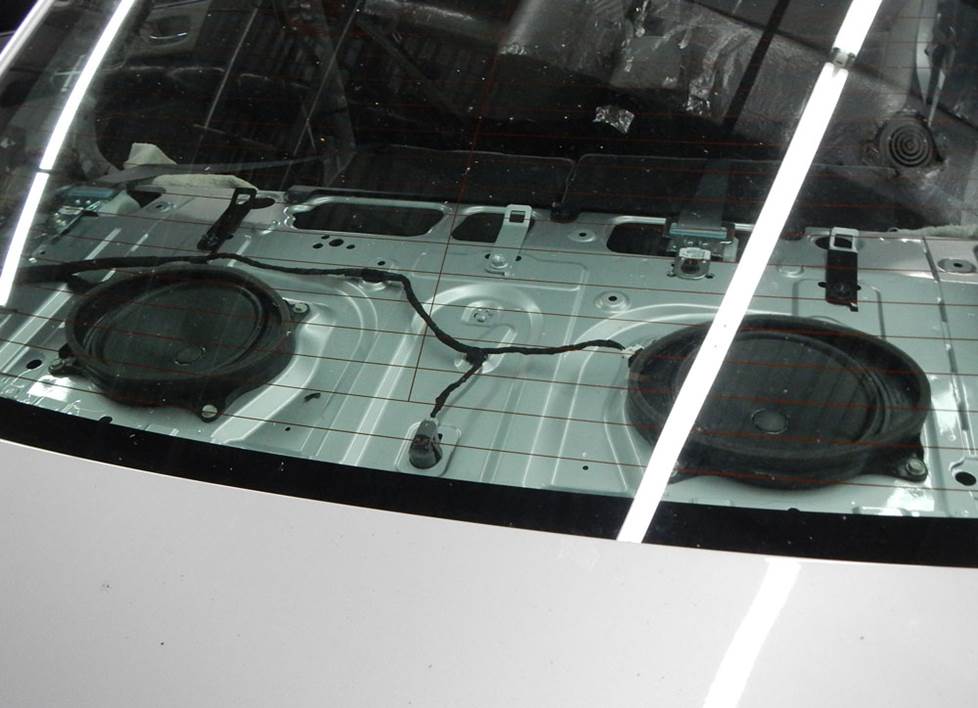
Getting to the rear deck speakers takes a little work, but it's not as bad as it probably looks (Crutchfield Research Photo)
Rear deck speakers
The factory rear deck speakers are 6"x9" models and there are plenty of same-size replacements that will work nicely in this location. If you want to install something smaller, you can, but you’ll need mounting brackets, which we'll include with your order.
To do the job, you’ll start by folding down both seat backs and removing the 12mm bolt securing the back of the seat bottom. Fold up both rear seat backs, then pull up on the front edge of the rear seat bottom to release two clips, and remove the seat bottom.
Next, pick a side...either side. Pull the door gasket away from the body along the rear pillar.
Fold down the rear seat back, then pry out the top of the lower seat side panel. Don’t remove it, though, since the seat back posts go through the panel. Be sure to protect the top section with a clean shop cloth. Pry out the rear pillar panel to release four clips, then lift it up to remove it.
Repeat the above steps for the opposite side of the car.
Once that’s done, pry up the rear deck panel to release three clips. Pry off the three seat belt trim covers, then work the seat belts through the slots. Disconnect the third brake light harness (it’s on the driver's side), and pull the panel toward the front of vehicle to remove it.
From here’s all that’s left is to remove the four 10mm screws securing the speaker to the rear deck steel and removing the speakers.
Be sure to test the new speakers before you button everything up again. And when you do so, make sure the seats and seat belts are secured properly and that the third brake light is working
Tools needed: Panel tool, 12mm open-ended wrench, 10mm socket, ratchet and extension
Read our Car Speakers Buying Guide for more information.

There's a reasonable amount of space for a subwoofer in the Corolla's trunk. (Crutchfield Research Photo)
Bass in your Corolla
The Corolla isn’t a huge car, but there’s still a decent amount of room in the trunk for a subwoofer box. The space measures 16"H x 42"W x 28"/24" D, so if you like bass, you’ll be able to pump it up pretty nicely. If you need that trunk for practical purposes, a more compact powered subwoofer can add a lot to your sound without taking up too much space.
Learn more about building a bass system in our Car Subwoofer Buying Guide.
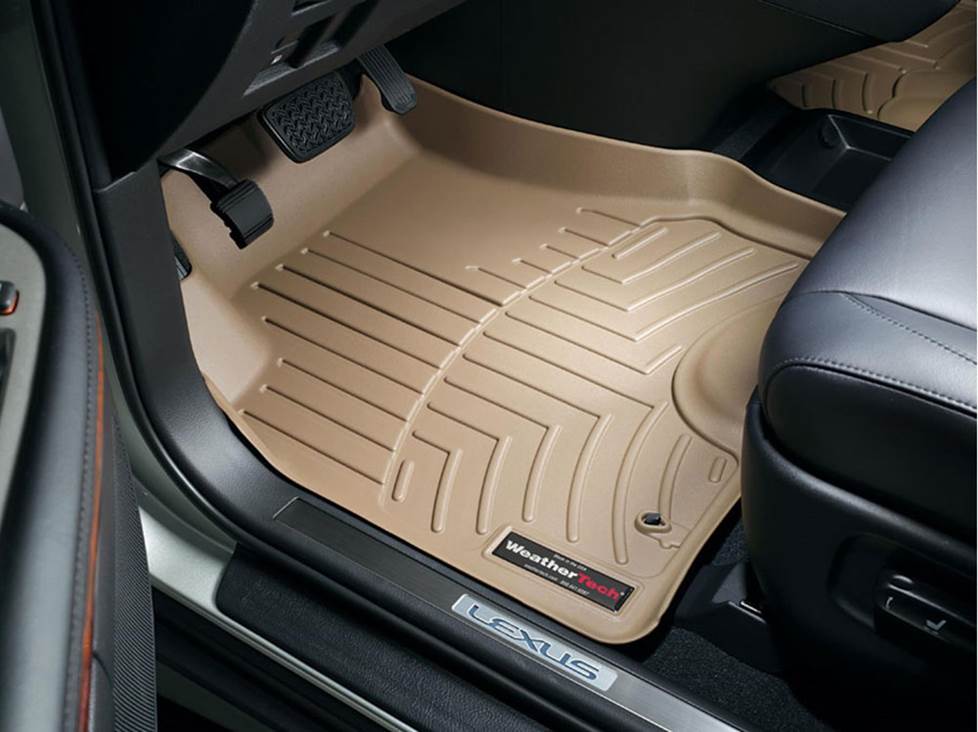
Custom-fit WeatherTech floor liners will protect your Corolla's carpeting from everyday abuse.
Other options for your Corolla
Here are some other smart upgrade ideas for your Corolla:
Protect the carpets with WeatherTech floor liners
It's easier than you think to mess up your Corolla's comfy interior while you're going about your daily business. Floor mats and liners from WeatherTech will help protect your floors from dirt, damage, and spilled coffee.
Dynamat
The Dynamat Xtreme Door Kit is the perfect way to seal in sound. This heavy-duty insulating material is easy to install, and it really makes a difference. One kit will take care of your Corolla's front doors. If you install a big sub or a Stealthbox, you might want to line the trunk lid as well.
Remote start and security systems
Adding remote start capability to your car lets you warm it up in the winter or cool it down in the summer. We ask that you call to order so that we can make sure you get the right harness for your ride.
You can also talk to your Crutchfield Advisor about a security system. They’re not as easy to install (we usually suggest letting a professional do the job), but we can help you choose a system that’ll work in your vehicle.
Let's get started!
Ready to shop? Use our vehicle selector to find the gear that will fit your car or truck. If you have questions, give us a shout via phone or email


Brandon Johnson from Smithfield
Posted on 11/26/2022
So how do you get the powered sub in the trunk to stop rattling the piece of plastic that is on top of the speaker deck by the rear glass? That thing really flexes (even makes sound when no music is playing and I'm driving down the road) My corolla is a 15' and has the 6 speaker system. It sucks installing a woofer and you can't even turn it up because of the strong rattling noise)
Jon Paul from Crutchfield
on 11/28/2022