2016-2020 Buick Envision
How to upgrade the stereo system in your Envision

In brief: This Crutchfield Research Garage article gives you an overview of your Envision's stock stereo system and your aftermarket upgrade options. We'll tell you all about:
- The factory stereo system
- Removing the factory speakers
- Adding more bass
- Other options for your Envision
Then, use our vehicle selector to find the gear that will fit your vehicle.
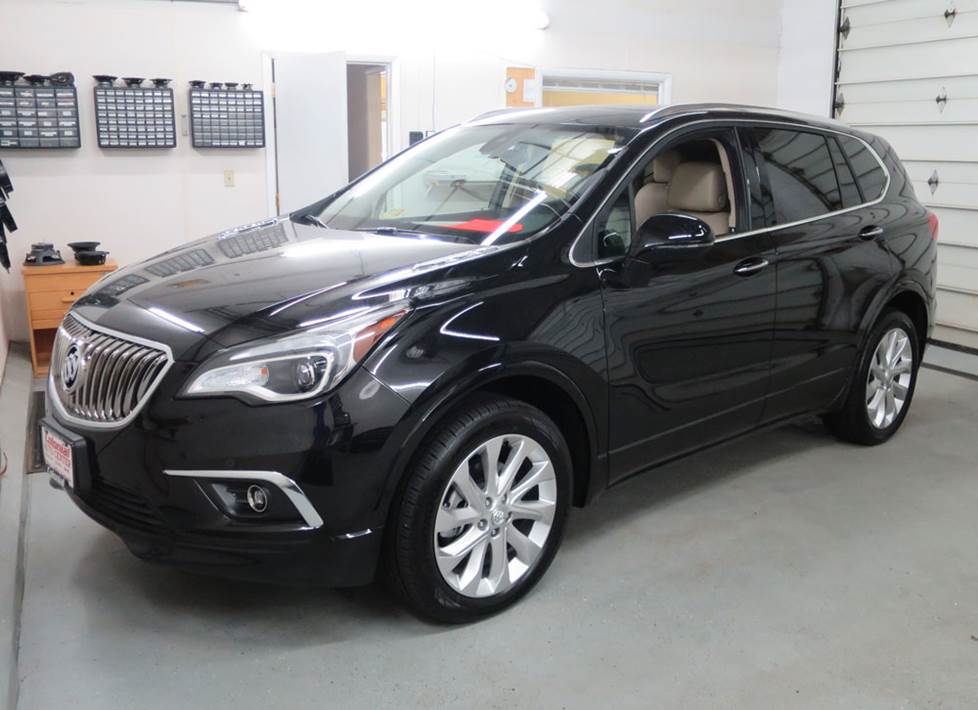
Overview of the Buick Envision
Back in the 1920’s, then-General Motors president Alfred P. Sloan coined the phrase "a car for every purse and purpose." The idea behind it was that buyers would gradually move up the ladder from a Chevrolet to a fancier Buick or Cadillac as their fortunes improved. It was a stroke of marketing genius (Sloan had a lot of those…) and it basically defined the way American automakers did business for a century or so.
A lot can change in 100 years, obviously, and today, the phrase should probably be "an SUV for every purse and purpose." The Buick Envision is an excellent example of why. SUVs are what everybody's buying these days (everybody who doesn’t want a pickup, anyway) and no brand manager wants to leave a niche unfilled. This compact SUV fills an important hole in the Buick lineup, slotting neatly between the spacious Enclave and the diminutive Encore to give prospective Buick buyers the perfect "Goldilocks" range of SUVs from which to choose.
Judging by sales figures, the Envision is "just right" for a lot of them. The size is right, the styling is smooth, and it’s available with all the luxurious touches and technological gadgetry that buyers in this segment are looking for. The stock audio systems are reasonably decent, all things considered, and since there’s techinically no radio to replace, that’s a good thing. There are still ways to upgrade your Envision’s sound, though, so read on to learn more.
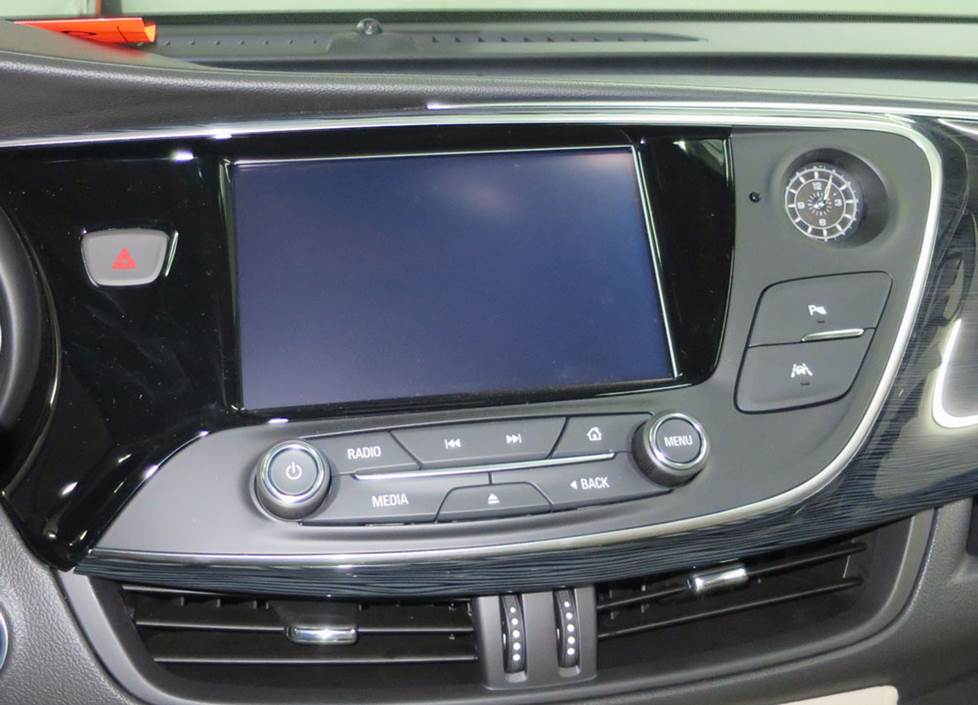
The Envision's dash panel houses this multi-function control panel. You can't replace it, but at least it looks cool. (Crutchfield Research Photo)
The factory stereo system
If you’re like most people (us included, sometimes), your first instinct is to refer to the thing in the upper middle of the dash as the "radio." Alas, in the Envision, that thing is not a radio. Instead, it’s a display/control panel that handles much more than music. Like a lot of these multi-function panels, it can’t be replaced with an aftermarket receiver, so you’ll want to focus your upgrade energies on other areas.
Despite the fact that you’re stuck with the stock (not a) radio, you can still build a pretty nifty system in your Envision. Buick put a lot of effort into making this one of the quietest compact SUVs around, and it shows. There’s ample sound deadening, acoustic laminated glass in the windshield and doors, and a Bose-only Active Noise Cancellation (ANC) system. The result is a somewhat vault-like environment that will no doubt be a terrific home for new speakers and more.
You will need to deal with the ANC when you upgrade your Envision’s audio system. To learn more about how that’s done, check out our article on disabling active noise cancellation in your car. Also note that your Crutchfield car audio purchase includes free tech support for the life of the gear. If you have questions about your installation (and you very well might), give us a call.
Upgrading the speakers will really improve the sound in your Envision. (Crutchfield Research Photo)
Removing your factory speakers
Replacing the radio isn’t possible. Replacing the speakers is not only possible, but advisable. This big, quiet SUV is a great home for aftermarket speakers, so you can create a pretty impressive system. With new speakers, a subwoofer, and an aftermarket amplifier or two, you’ll like what you hear.

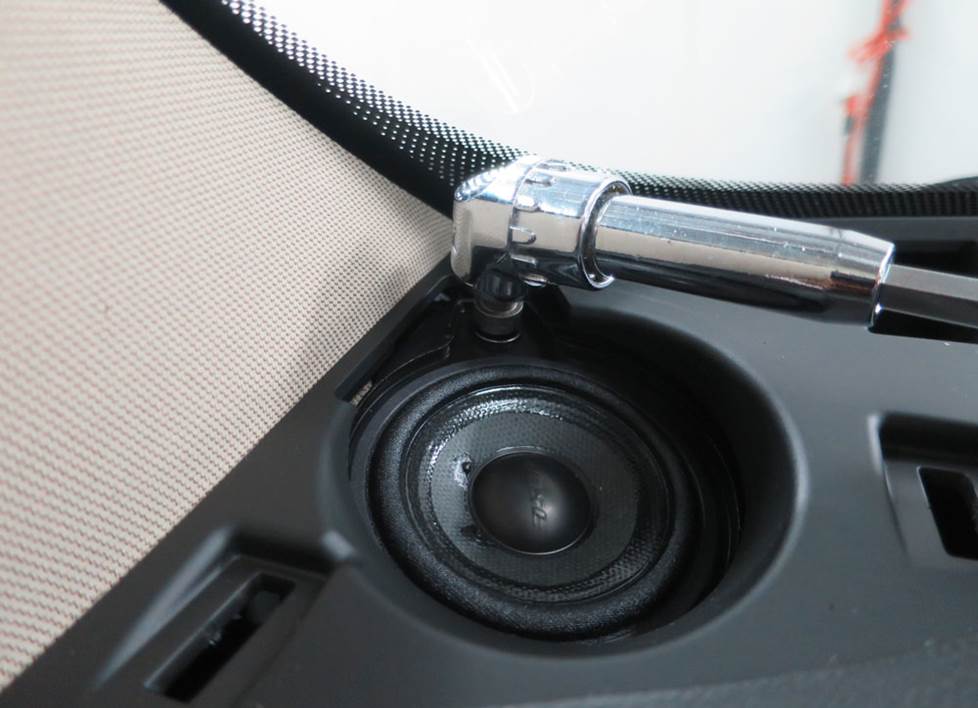
This center-dash speaker is pretty easy to reach and replace. (Crutchfield Research Photo)
Center dash speaker
Removing the 3-1/2" center dash speaker is a reasonably simple process. Use your panel tool to pry up the center dash grille to release four clips, then remove the grille. Remove the two 7mm screws that secure the speaker to dash, then disconnect the harness and remove the speaker. An aftermarket 3-1/2" speaker will fit under the factory grille, but a wiring harness is not available. You’ll need to splice or tap the vehicle's speaker wires to your new speaker wires, or you can use Posi-Products speaker connectors – which are a lot easier, quite frankly.
Tools Required: Panel tool, 7mm socket, ratchet and extension
Replacing the corner dash speakers is the logical next step towards improving the sound staging. (Crutchfield Research Photo)
Corner dash tweeters
While you’re replacing the center dash speakers, you might as well replace the 3.7-ohm 2.37" speakers in the dash corners with 2-3/4" aftermarket models. After all, once you’ve done step one above, you’re already on the way.
With that done, you’ll use your panel tool to pry up the corner dash grille to release two clips, then remove the grille. Next, remove the two 7mm screws exposed when you remove the grille.
Starting at the top edge, pry out the pillar trim panel to release two clips, then push up on the panel retainer strap to release it. Remove the panel, then do all the same stuff on the other side of the dash.
Pry up the defroster/grille panel to release nine clips, then disconnect the harnesses and remove the panel. Remove the 7mm screw securing the speaker, then disconnect that harness and remove the speaker.
You’ll need to splice, tap, or use Posi-Products speaker connectors to connect these speakers to the Envision’s wiring, too.
Tools Required: Panel tool, 7mm socket, ratchet and extension
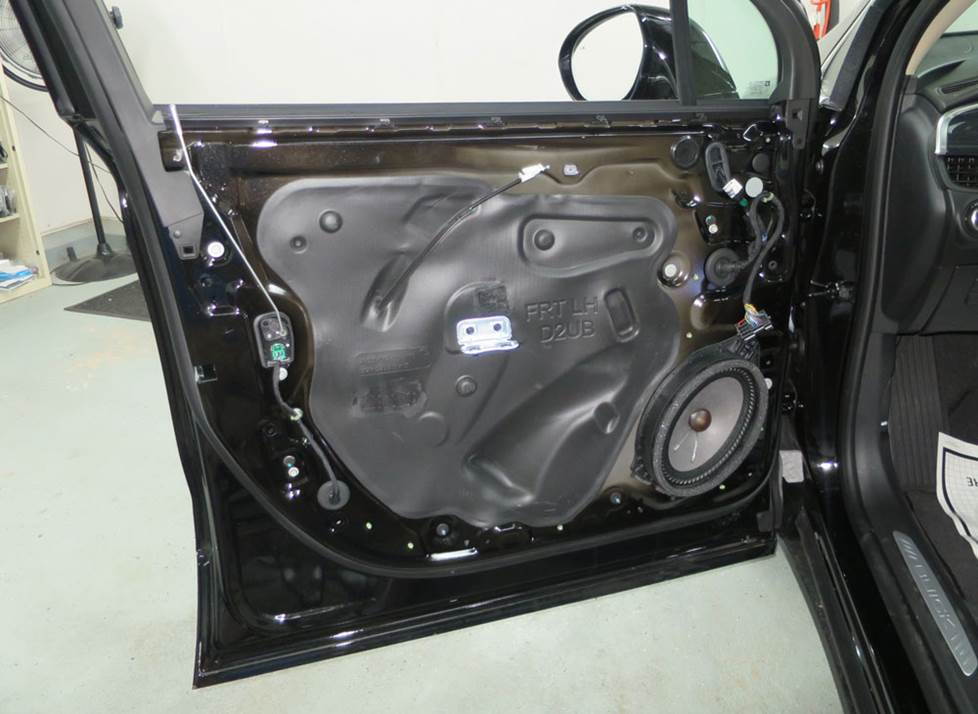
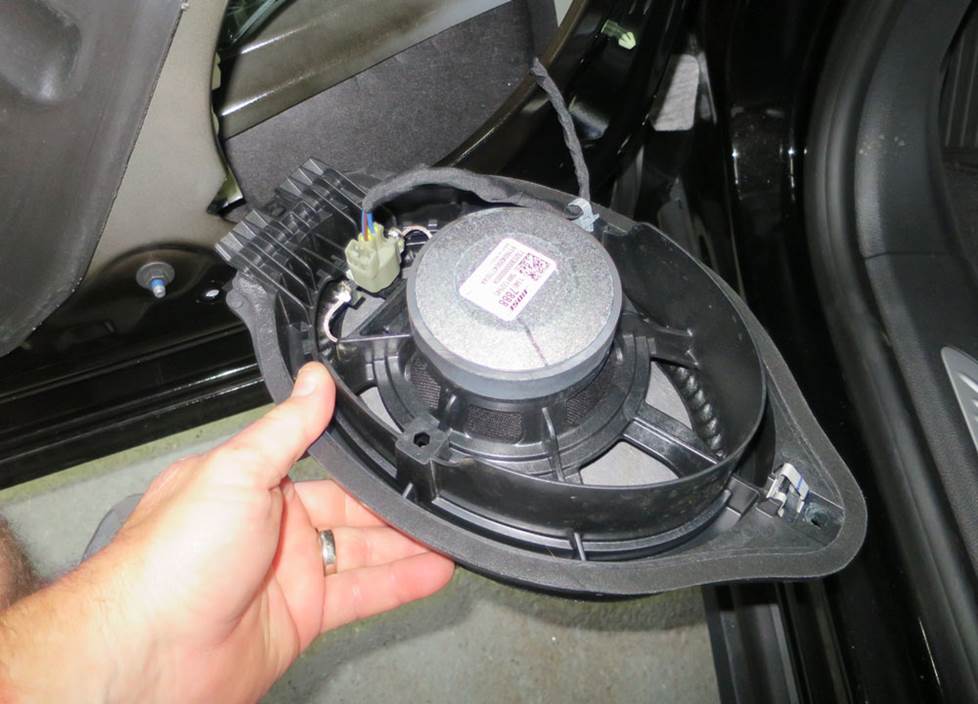
The front door speakers are actually woofers, so shop accordingly. (Crutchfield Research Photo)
Front door woofers
The Envision’s 6"x9" factory front door woofers can be replaced by same-size, 6-3/4", or 6-1/2" aftermarket models. Component speakers are a good choice for this vehicle.
The factory speakers only produce bass, so if you want full-range sound, you'll need bypass the factory amp by splicing together its input and output wires. That amp can be found behind the right rear side panel.
You’ll also need to pay attention to impedance when you’re shopping for new speakers. The stock speakers are low-impedance models (1.3-ohms, to be precise), so we recommend using aftermarket 2-ohm speakers as replacements. If you have questions about any of this (and you very well might), our expert advisors are available by phone or chat.
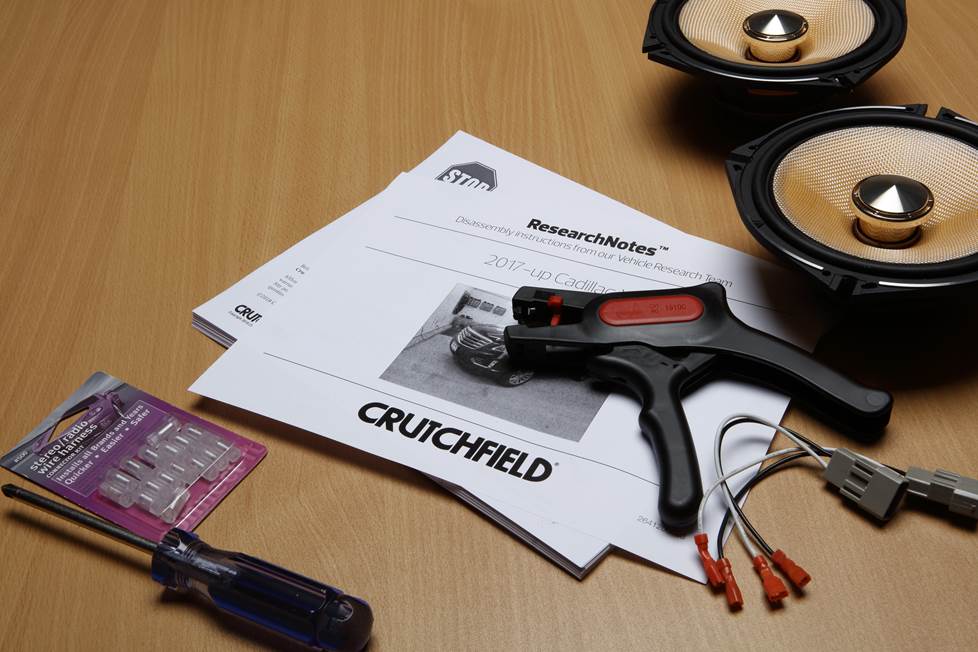
Detailed stereo and speaker removal instructions
The removal process is a much less involved. Starting at top corner, pry out the screw cover behind the door release handle and remove one exposed 7mm screw. Pry up the rubber mat inside the door pull cup and remove two exposed 7mm screws.
Next, pry out all sides of the door panel to release fifteen clips, then disconnect the harness and the door release cable. Remove the door panel and store it someplace safe while you continue working.
Remove the 7mm screw securing the top of speaker, then pry out the top of the speaker to release one clip. Pry up the harness clip, then disconnect the harness and remove the speaker.
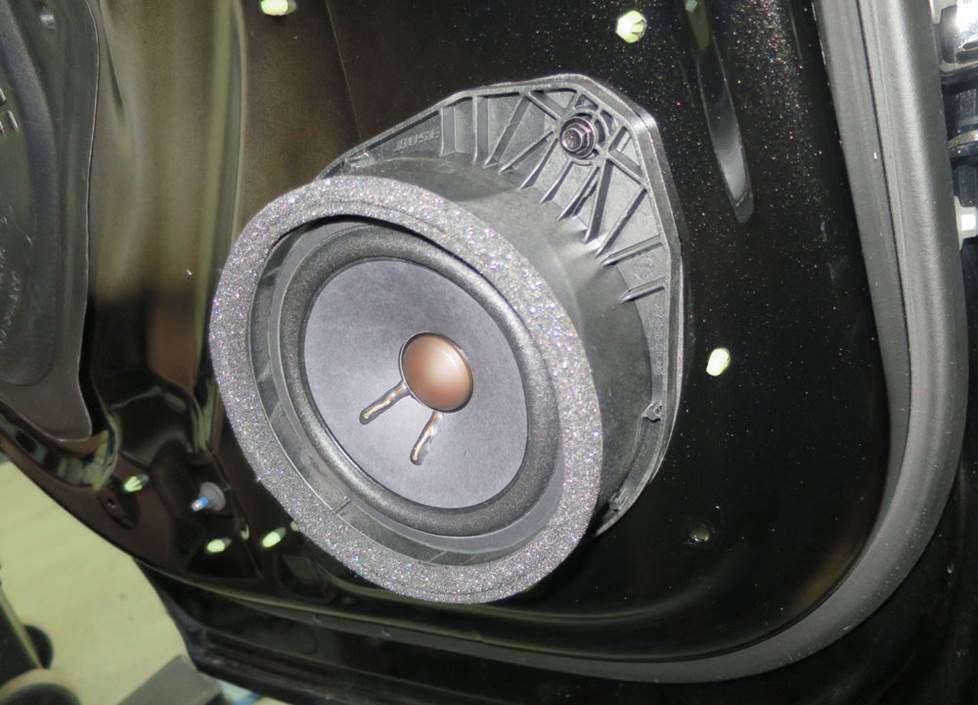
In most cases, you’ll need speaker mounting brackets to install your new speakers. We’ll include them with your Crutchfield speaker purchase.
Tools Required: Panel tool, small flat blade screwdriver, 7mm socket, ratchet and extension
The rear doors house 6-3/4" full-range speakers. (Crutchfield Research Photo)
Rear door speakers
In the rear doors, you’ll find 6-3/4" speakers that can be replaced by same-size or 6-1/2" aftermarket speakers. As with the front doors, the removal/replacement process is pretty uncomplicated and we’ll include mounting brackets if needed.
Starting at top corner, pry out the screw cover behind the door release handle and remove the exposed 7mm screw. Pry up the rubber mat inside the door pull cup and remove two exposed 7mm screws.
You’ll then need to pry out all sides of the door panel to release fifteen clips. Disconnect the harness and the door release cable, then remove the panel and set it aside in a safe place. Remove the 7mm screw securing the top of the speaker, then pry it our and release one retaining clip. Pry up the harness clip, disconnect the harness, and remove the speaker.
Tools Required: Panel tool, small flat blade screwdriver, 7mm socket, ratchet and extension
Read our Car Speakers Buying Guide for more information.
Shop for speakers that fit your Buick Envision
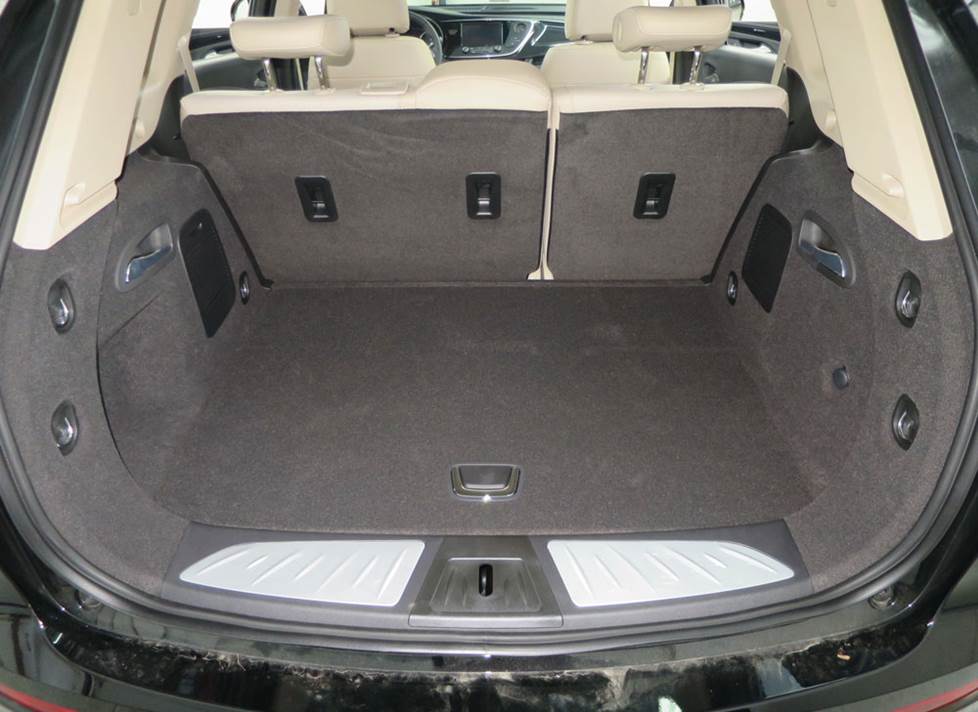
There's plenty of room for a sub enclosure in the Envision's cargo area. (Crutchfield Research Photo)
Bass in your Envision
The Envision is an SUV, so there’s obviously plenty of room in the cargo area for a subwoofer box. The space measures 40" W x 16" H x 28"/22" D, so you can add plenty of boom to your system if you want to. If cargo room still matters, you can choose a smaller sub/enclosure combo or even a more compact powered subwoofer.
Learn more about building a bass system in our Car Subwoofer Buying Guide.
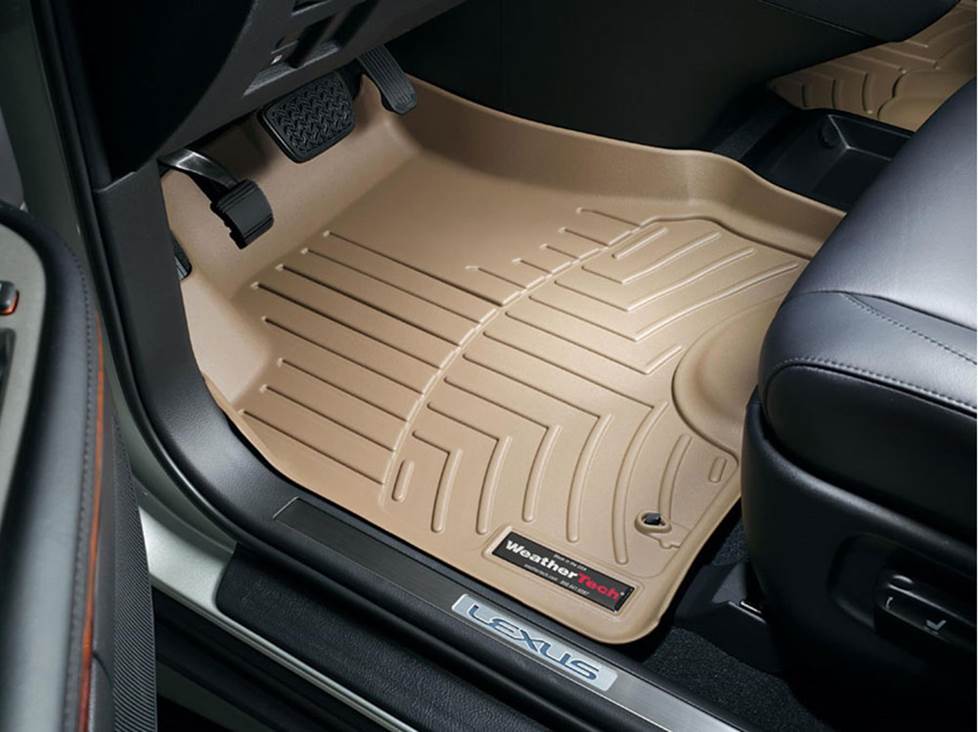
Protect your Envision's carpets with WeatherTech floor liners. (WeatherTech photo)
Other options for your Envision
Here are some other cool upgrade ideas for your Buick Envision.
Protect your carpeting with custom floor liners
Even in a luxurious SUV like the Envision, you'll eventually wind up doing some SUV-type things, and those tasks can take a toll on the factory carpeting. WeatherTech floor mats and liners will help protect your floors from dirt and damage.
Boost the stock radio with a sound processor
Since you don't have much choice about changing the stock radio, you can install a sound processor to send a clear, clean signal to a new amplifier. Sound processors remove any limitations on the signal imposed by the factory radio. The better the signal, the better the sound. Read our article explaining factory sound processors to learn more.
Add a security system
Installing a security system won't be easy (security systems rarely are), but it's definitely a good idea if you tow long distances and stop overnight. A Crutchfield Advisor can help figure out what you need to get the job done, but we usually recommend taking your Envision to a professional installer.
Let's get started!
Ready to shop? Use our vehicle selector to find the gear that will fit your car or truck. If you have questions, give us a shout via chat or phone.


Comments (0)