A hybrid's new sound system
A DIY audio upgrade for a 2010 Toyota Prius


Teri is an event coordinator who takes full advantage of her 2010 Toyota Prius's great fuel efficiency. However, her malfunctioning factory radio and deteriorating sound were driving her crazy. Hitting a radio preset button would sometimes shut off the radio, which obviously wasn't optimal. Teri also knew that the overall sound could be much better. It's muddy and doesn't have the detail and clarity she knows is in her music.
Things a new car stereo and speakers could improve
Teri knew she wanted a radio that didn't shutdown when she pressed a radio preset, but she also wanted to add Bluetooth® connectivity for hands-free calling and wireless audio streaming. She also wanted better audio fidelity from her music, which she wasn't getting from her factory setup. So, Teri decided a new car stereo and new speakers would fit the bill.
What can you do with a hybrid?
Like many hybrid owners, Teri wondered if the sensitive electrical system would limit her upgrade options. In most hybrids, including the Prius, adding a new receiver and speakers is not a problem. Adding an amplifier or powered subwoofer can be a little trickier, since their current draw is higher. Current draw limits vary by vehicle. In the Prius, the overall electrical current draw from new gear can't exceed 30 amps or 350 watts of total power. So, a moderately powered sub or smaller amp could be added to mix. A great example of a nice power bump with little current draw comes in the form of the ultra-compact Alpine KTP-445A Power Pack 4-channel amplifier, that plugs directly into many Alpine car stereos.

Alpine's ultra-compact KTP-445A 4-channel amp works directly with select Alpine car stereos.
Making choices for better sound
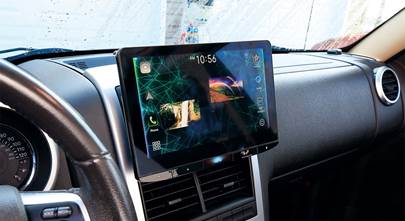
With some assistance from Crutchfield, Teri went with a double-DIN height Alpine CD receiver (you'll find our current CD receivers here), which offered Bluetooth and deep sound-sculpting tools, enabling her to zero in on just the right sound for her Toyota.
For the speaker upgrade, factory fit played a part in her choices. Since her Toyota had dash tweeters, Teri chose a set of great-sounding and efficient Alpine 6-1/2" component speakers (find our component speakers here). She could install the woofers in the factory front door locations, while working the Alpine tweeters into the dash. Unfortunately, a matching Alpine speaker wouldn't fit within the limitations of the rear door locations. So, we recommended that Teri go with a set of Sound Ordnance P-67B 6-3/4" speakers, which would work nicely with the Alpine radio's power to complete her upgrade.

Alpine SPS-610C Type S component speakers
Time to install the new gear
With the gear selected, it was time to get going on the installation. This was Teri's first car audio installation, so she was understandably apprehensive. But with the help of vehicle-specific Crutchfield MasterSheet™ instructions and our knowledgeable Tech Support group, we assured her that she could do this job.
Successful installations begin with a good plan
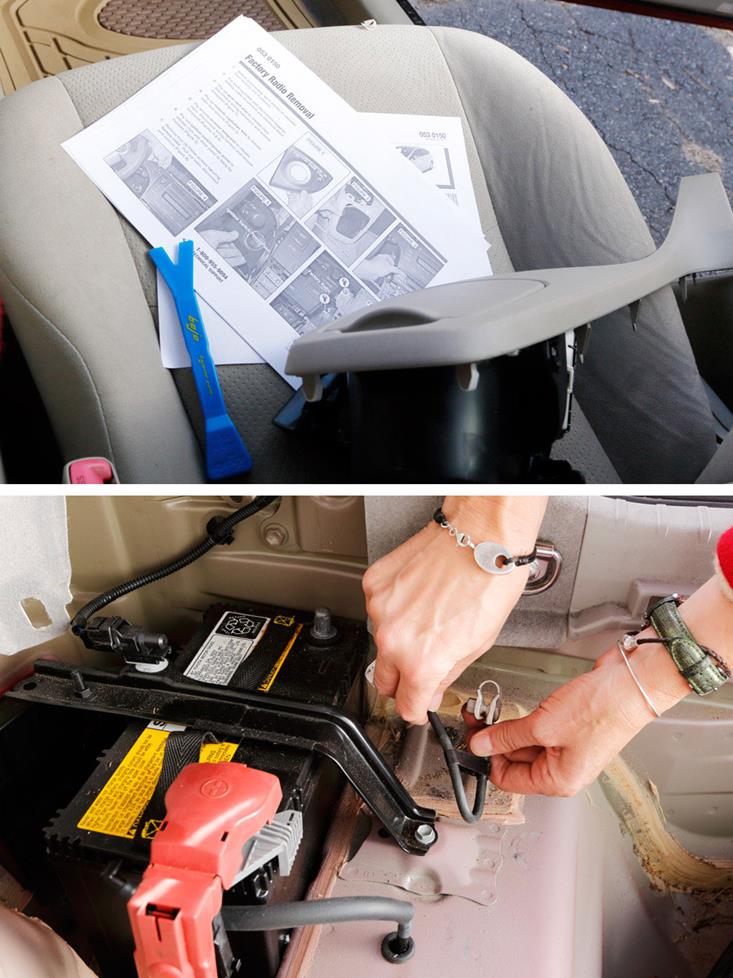
Teri looked at a bunch of gear and wiring, and wondered where to start. The MasterSheet instructions are printed in sequential steps, beginning with the radio and ending with the speakers. And, that's generally a good way to proceed.
The MasterSheet showed Teri what household tools she needed. I helped her out by explaining that she also needed to refer to the instructions for the Alpine radio, speakers, mounting brackets, and wiring harnesses to coordinate her attack. The first step was to remove the negative terminal cable on the Prius's battery in the rear cargo area to protect the vehicle's electrical system.
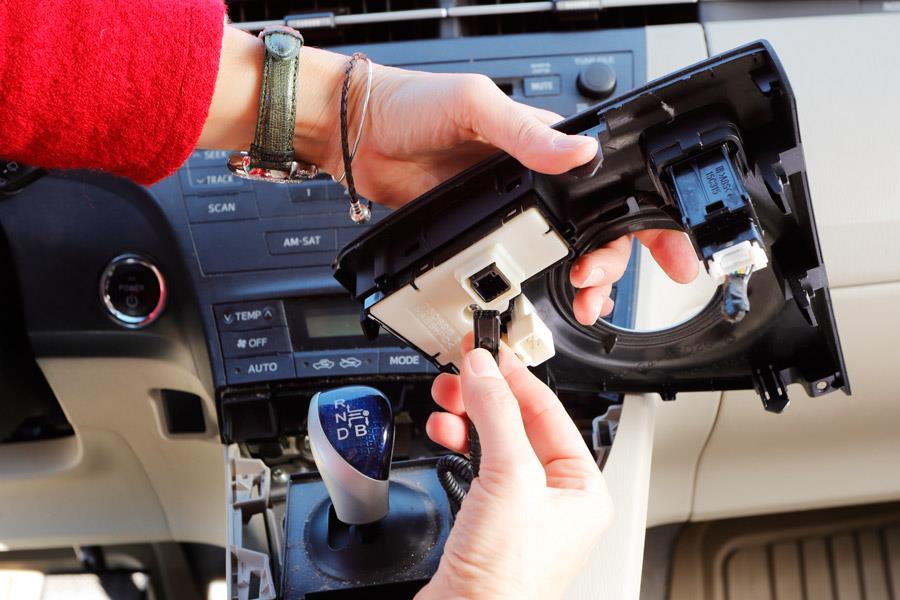
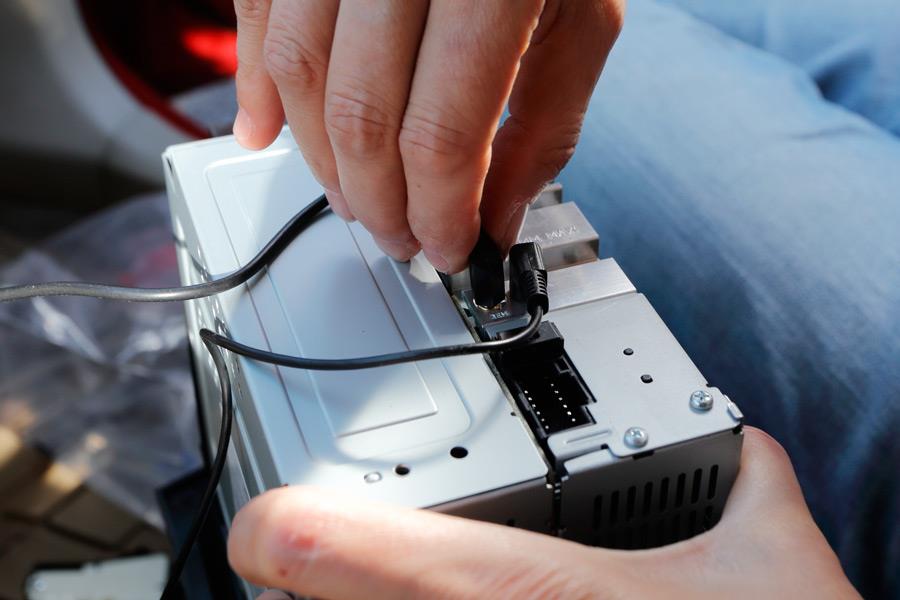
Teri pried off the panel around the gear shift and disconnected the wiring plugs.
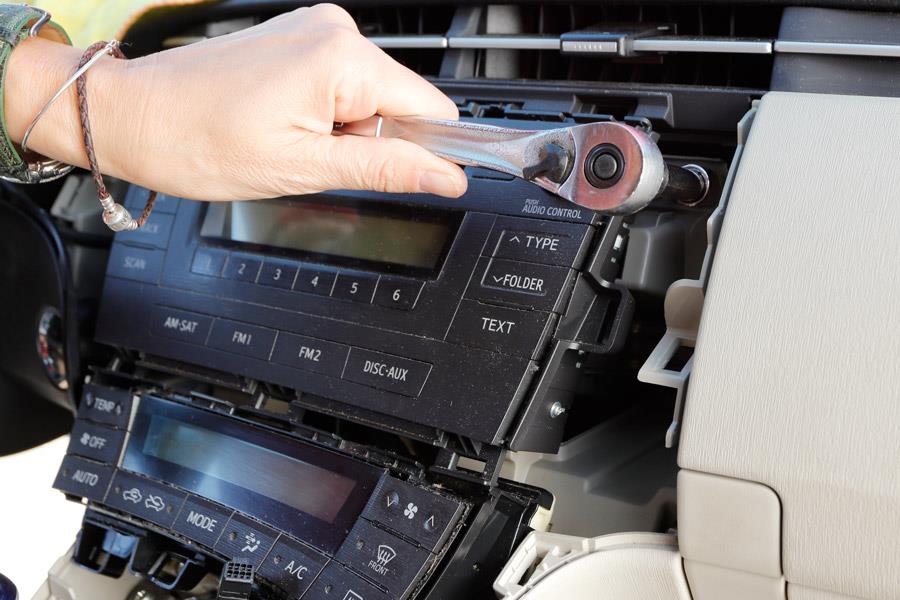
A socket wrench made short of work of the bolts securing the factory radio.
Saying goodbye to the factory radio
By the way she went after the dash panels, I could tell Teri wasn't too sorry to see the factory radio go. To get the radio out, she had to remove various layers of trim to gain access to the bolts securing the radio. As she got the hang of removing the panels using handy Bojo panel tools and unplugging wiring harnesses, I could see her gain confidence.
Radio prep and installation
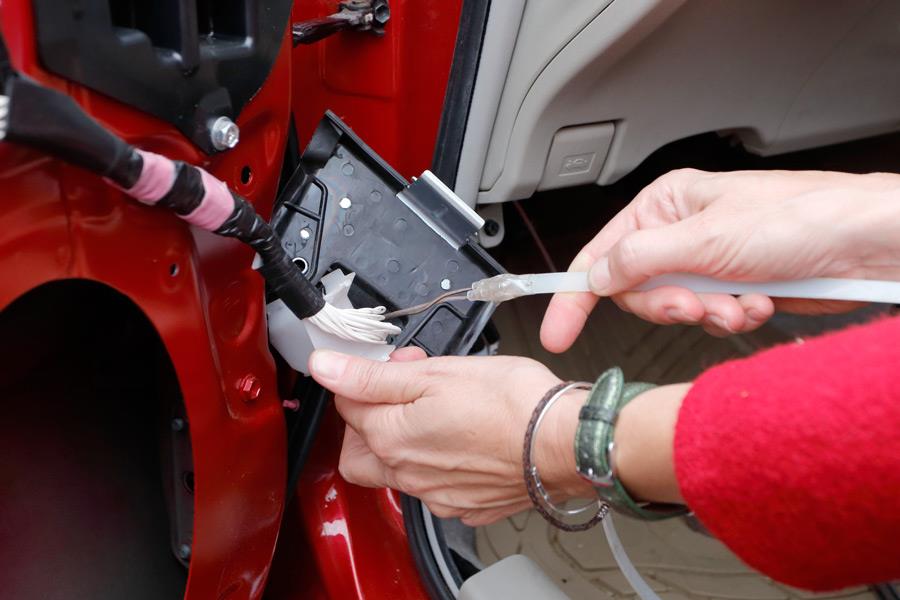
Before the Alpine radio went near the dash, Teri ran the included Bluetooth microphone cable from the dash cavity to the top of the window pillar on the driver's side, so callers would hear her loud and clear.
She also made all wiring connections between the radio and the vehicle-specific harness, wired in the ASWC-1 steering wheel audio control interface, and assembled the kit around the new radio. Teri then plugged everything in and mounted the radio using the attached kit.
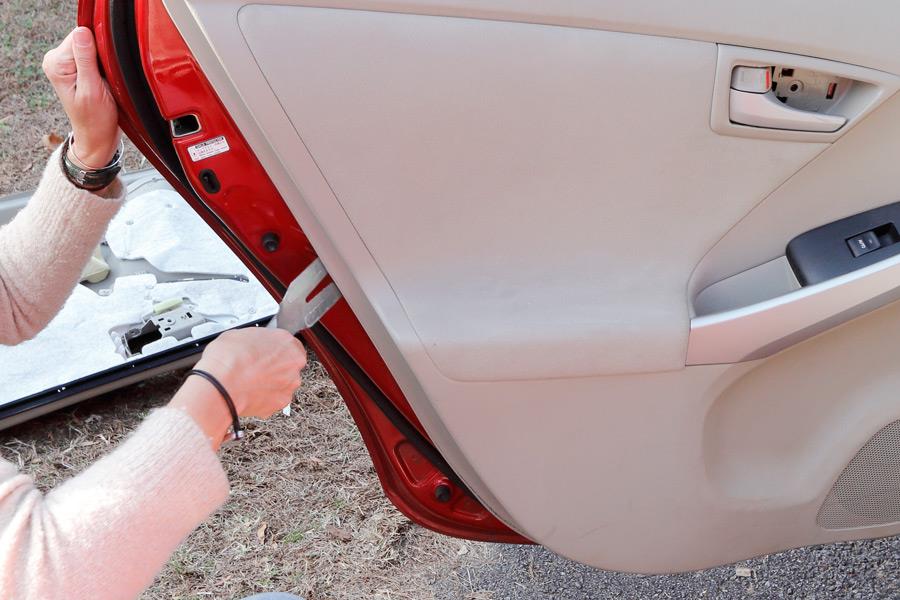
The S&G panel tool worked around plastic snaps to remove the rear door panels.
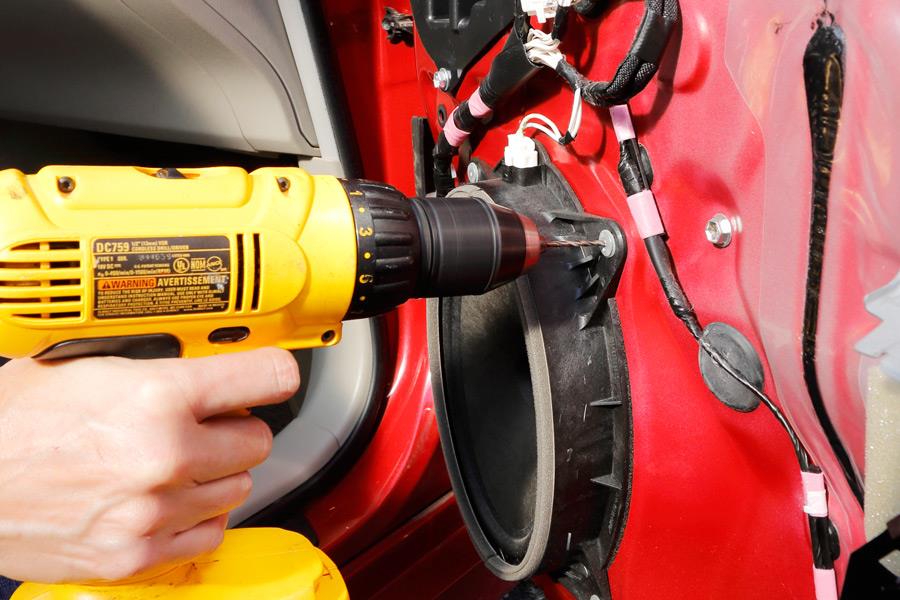
Teri had to drill out the rivets to remove the factory speakers.
Getting at the stock speakers
Removing the stock speakers was similar to removing the factory radio. Some screws had to be removed, and the door panels had to be popped off. However, Teri had to perform some additional steps to get these insufficient speakers out. Staying with her game plan, she went by the numbers in tackling the factory speakers.
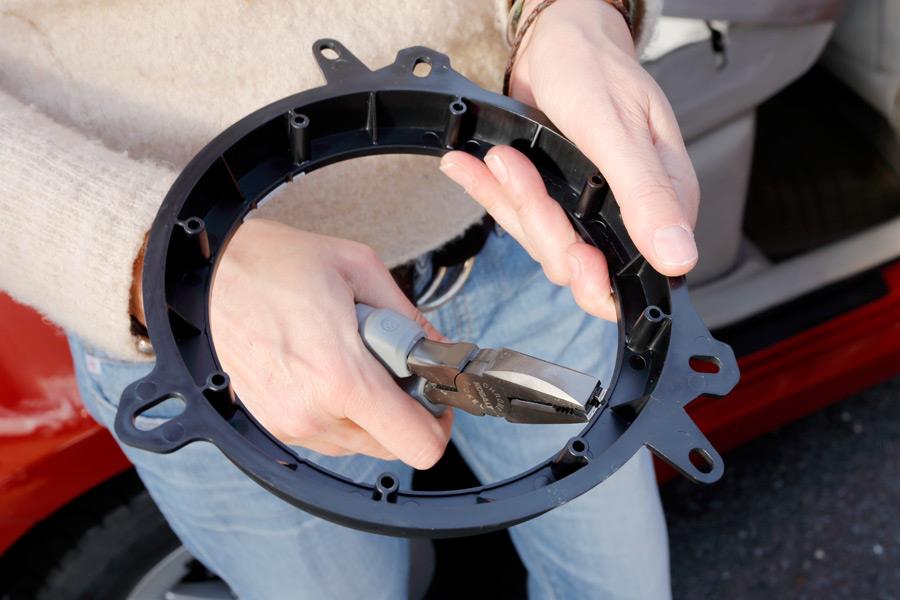
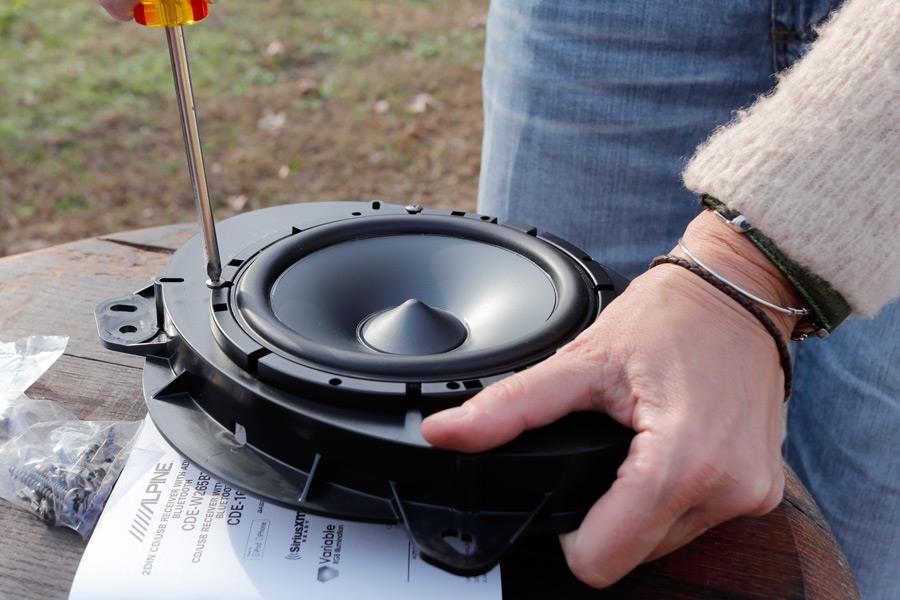
Teri trimmed some of the excess plastic on the bracket before mounting the new speakers to it.
The wires for the tweeters were fed via Wire Worm to the door grommet and into the door to connect to the Alpine woofer.
Some modifications are necessary
Teri had to do some additional work to install the new speakers. Toyota's old speakers were not a standard aftermarket size, so Teri had to use adapter brackets, which Crutchfield included in her purchase, to mount the new speakers into her Prius. She also had to run new wires for the tweeters in the dash to connect to the woofers in doors, because of the way Toyota had wired the factory system.
Teri secured the new Alpine woofer to the bracket made for the front door of her Prius.
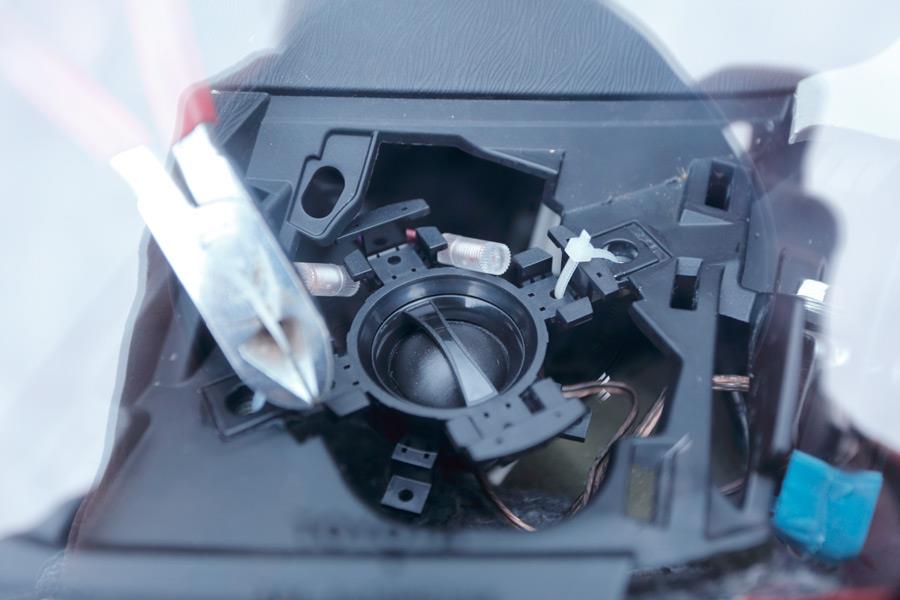
She used wire ties to secure the Alpine tweeter bracket in place of the factory tweeters.
Installing the new Alpine speakers
The instructions had initially mentioned that new holes would have to be drilled to mount the speakers, but with some ingenuity, Teri was able to use the factory holes, along with some bolts and speed clips, to secure the new speakers.
She snipped the factory tweeter connectors and combined the wires she needed at the tweeter locations. With brackets attached to the tweeters, woofers, and the full-range speakers for the rear doors, Teri made sure the wiring was connected, then secured them all in place.
And the results? Better sound!
Before putting all the panels back in place, Teri performed a sound check to make sure all of her hard work would pay off. And boy, did it! It took about five seconds for her to exclaim that the new sound was far superior to the factory system. The music had more clarity and definition, even at lower volumes. After verifying everything was working the way it should, Teri began reinstalling everything in reverse order from the MasterSheet instructions.
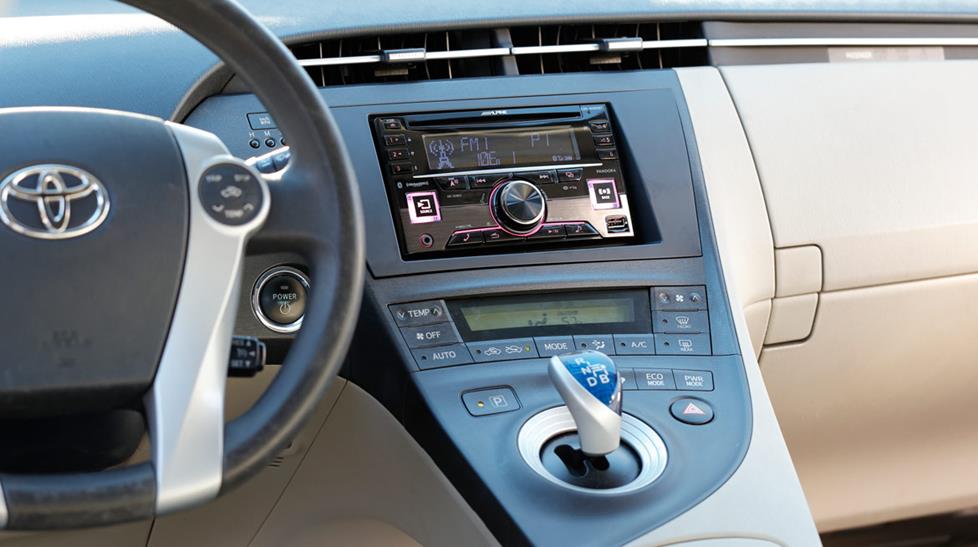
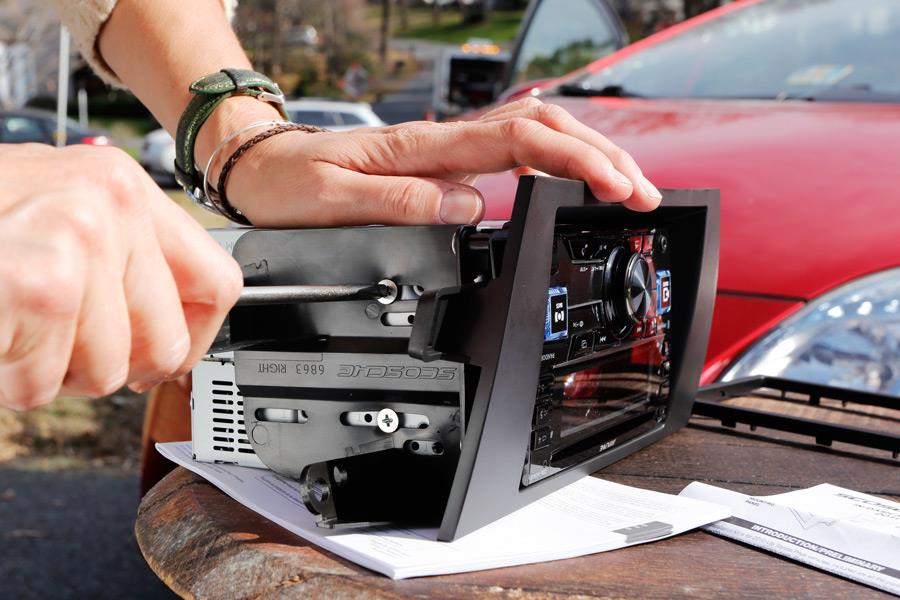
Using the kit for the Prius, the Alpine looks right at home.

The size difference between the factory speaker and the Alpine woofer (right) was staggering. A bigger magnet means more cone movement and bigger sound.
"The installation was easier than I thought it would be. Having the MasterSheet to let me know which tools to have on hand and walking me through the process was great." - Teri
We caught up with Teri a week or so after her installation, and asked how she liked the system after having some more time to listen to it. She told us she hadn't realized exactly how bad the old system was until she heard the new one. The sound was much bolder and cleaner.
She loved the fact she could go wireless with Bluetooth, listen to Pandora® Internet Radio, and change the colors on the Alpine radio to match her interior lighting or her mood. It looked great in the dash.
After thinking about the results she had achieved for the work she'd done, she also let us know that the installation wasn't so bad, especially with Crutchfield's support. Nicely done, Teri!


KAVITA from Chicago
Posted on 1/2/2026
I love your site!!
Christopher
Posted on 10/29/2024
Do you need speaker brackets for the rear also?
stan from Bonanza
Posted on 5/4/2021
I hope you upgrade your seats with Clazzio.
Brandon from saint louis
Posted on 7/9/2019
Is the Alpine power pack specific to Alpine head units? I would love to run that with a Kenwood head unit as they are my favorite and all I have ever owned in all of my vehicles.
Alexander H. from Crutchfield
on 7/9/2019
Andrew
Posted on 4/4/2019
Potentially silly question here, but I'll ask it anyway (because I've never done anything like this previously, and I'm installing a new system in our 2010 Prius this weekend). . . exactly HOW do I disconnect the negative cable from the 12 volt battery?
Alexander H. from Crutchfield
on 4/5/2019
Cody from Kennewick
Posted on 1/19/2019
Is there anyway to get more power out of the Prius? Could I get another battery so I can put bigger better subs into the hatch back without having something go wrong with the electric?
Alexander H. from Crutchfield
on 1/23/2019
Dave from Los Angeles
Posted on 12/11/2018
any reason to disconnect the large batteries when working on a hybrid/PHEV or is it sufficient to simply disconnect the negative terminal on the standard 12v battery
Alexander H. from Crutchfield
on 12/13/2018
Alexander Hrabe from Crutchfield
Posted on 2/26/2018
Colin, that Alpine power pack can plug directly into select Alpine stereos, so in this case, it went in the dash behind the stereo. Turned out there was ample room for that compact amp.
Collin Davis from Birmingham
Posted on 2/26/2018
Hey! I just bought all of these components to install into my own Prius. Where exactly did you guys mount the amp? It isn't shown in the article. Thanks.
Alexander Hrabe from Crutchfield
Posted on 1/31/2018
Nathaniel, with an a steering wheel adapter and compatible stereo, your steering wheel controls will work as they did before (and that was the case for Teri here). It's possible to reprogram your steering wheel controls to control different functions as well. If you have questions regarding the specifics of your vehicle, give us a call.