Sean M's 1994 Toyota Celica ST
First time car stereo installation


Receiver installed:
- JVC KD-R730BT CD receiver
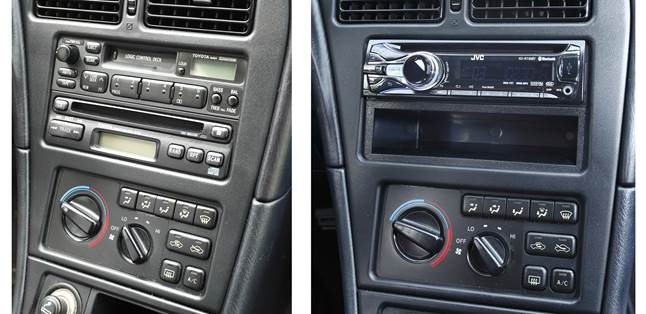
Sean's dash before (left) and after (right)
Having fun in his first car
The moment Sean got his first car, a 1994 Toyota Celica, he knew he wanted to make it his own. His first step: replacing the factory stereo. We, of course, were happy to offer some guidance (not that he needed much).
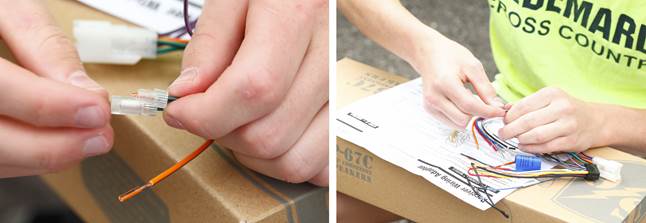
Sean used Posi-Products to make connecting the harnesses easier
Step 1: the wiring harness
The first thing Sean did was connect the wires of the harness we included with his stereo to his new stereo's wires. That way, he'd be ready to go when he got his dash disassembled. The harnesses we provide with most stereo orders make it possible to plug directly into a vehicle's factory wiring harness, eliminating the need for splicing in the dash.
To make connecting the wires easier, Sean used a set of Posi-Products™ car stereo connectors. They're easier than soldering, and more secure than crimp caps or butt connectors.

Sean takes his dash apart and removes the factory stereo
Step 2: dash disassembly
Following his MasterSheet instructions carefully, Sean disassembled his dash, removed his factory radio, and detached the factory mounting brackets (which he would need to use for his new stereo). He found the MasterSheets extremely helpful: "they were clearer than the instructions that came with the stereo."
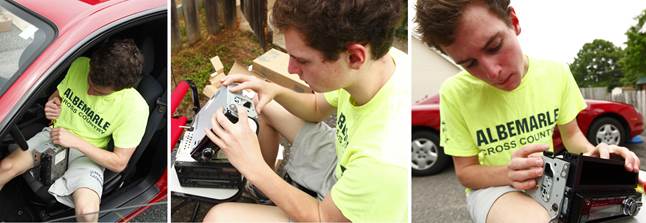
Sean attaches the mounting bracket to the new stereo
Step 3: stereo installation and dash reassembly
With his new stereo prepared in the mounting brackets, Sean was ready for the final stretch. He plugged the new harness into his factory wiring harness, connected the car's antenna, mounted the new stereo in his dash, and reversed the steps listed on his MasterSheet to reassemble the dash. The result: a sweet-sounding stereo and a professional-looking installation.

Sean mounts his new stereo and prepares to reassemble the dash
Vehicles in the Custom Car Showroom are submitted by customers and fans, and edited by Crutchfield writing staff. You can find more of these articles on the Showroom main page.


Comments (0)