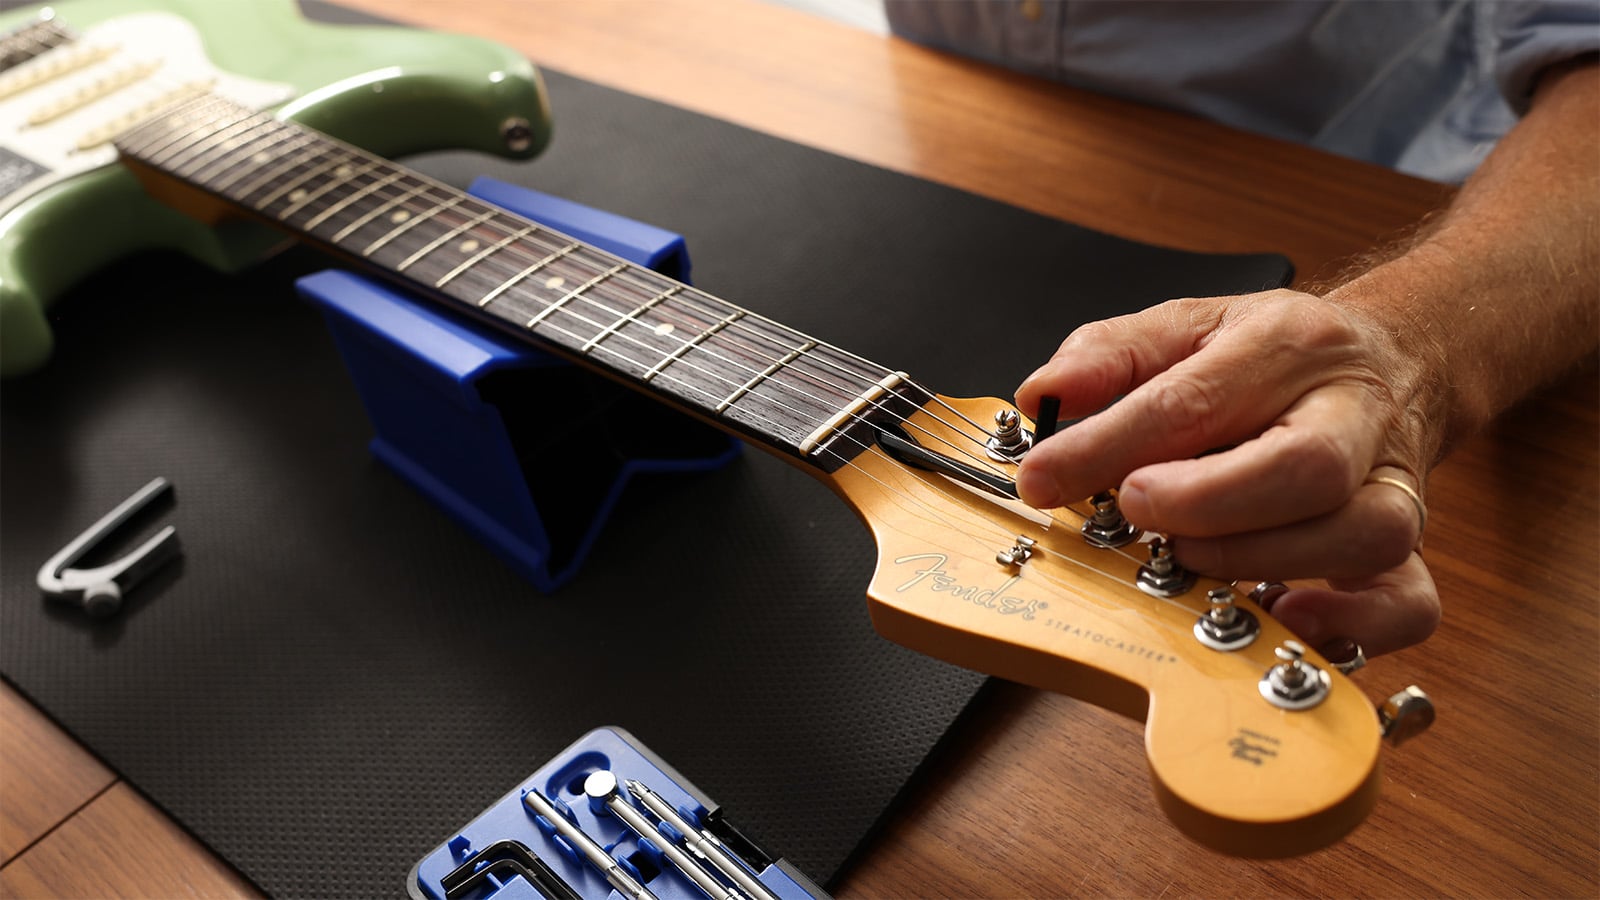
How to adjust your guitar's truss rod
Demystifying the hardware hidden under your fretboard so it plays like a dream

In this article: I’ll discuss when and how to adjust your guitar's truss rod for optimum playability up and down the neck, including:
If your guitar feels hard to play, or if notes are "choking out" instead of ringing out when you fret them, a simple truss rod adjustment might solve your problem.
You can't see the truss rod except for at its adjustment point either at the headstock or on the heel of the neck. It lies beneath the fretboard and adjusts your neck's relief.
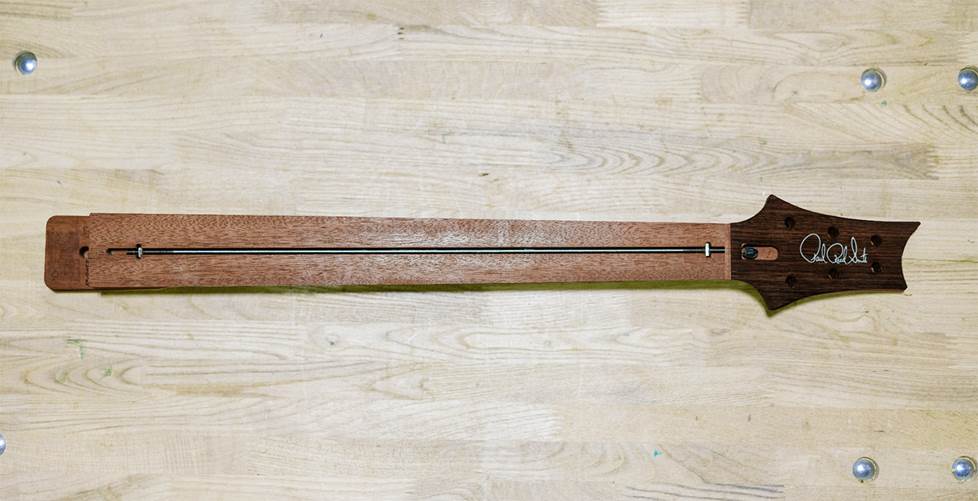
A glimpse of what lies beneath the fretboard. All most of us will ever see is the truss rod's adjustment nut (at the headstock for this PRS model).
Tightening or loosening the truss rod makes the fretboard flatter or more concave from top to bottom. The necessary adjustments are very small, but can make a big difference your guitar neck's playability.
For a lot of guitarists — beginners and experienced players alike — truss rod adjustment is a daunting prospect. Quite simply, it shouldn't be. This article will help you understand how to figure out whether your playability issues might be truss-rod-related, access your adjustment, and make small, incremental corrections that will make you a happier player.
What is guitar neck relief?
Along with string action — the height of the strings above the fretboard — guitar neck relief is one of the most easily tweaked parts of a good guitar setup.
What is “relief”? It’s a slight concave bow in your fretboard. You need a little neck relief so that the strings can vibrate freely without buzzing against the frets further up the neck. Too much relief (too concave), and it feels like you're fighting the strings. Too little relief (too flat), and your fretted notes buzz or stop dead.

This illustration shows a slightly exaggerated view of neck-relief extremes.
If your guitar's action height is set within factory recommended measurements, but your strings feel too high or too low, it's time to check your neck's relief.
What causes guitar neck relief to change?
Why does a guitar neck sometimes require a truss rod adjustment? The main culprit is humidity. When wood absorbs moisture from the air, it can exaggerate neck relief, making your fretboard too concave and feel harder to play. For my guitars here in central Virginia, that tends to happen in the summertime.
In drier conditions — usually in the wintertime when I'm running the heat nonstop — guitar necks tend to flatten out, sometimes to the degree that notes start to "fret out" — buzz against the frets above the note.
It also varies from guitar to guitar. Some guitars rarely if ever need a truss rod adjustment. Others are more sensitive to the change of seasons or environment.
Measuring your guitar's neck relief
Helpful tools you may want to have on-hand:
- a guitar capo — a handy tool for holding all of the strings down on any given fret
- an appropriately sized truss rod wrench (included with most new guitars, also available in a kit)
- feeler gauge like the ones used for measuring spark-plug gaps
You could also get this handy setup gauge kit, which includes all the tools you'll need for measuring neck relief and more.

The right tools help make neck-relief measurement and adjustment easy.
Before you attempt to measure your neck relief, it's a good idea to make sure your guitar's string action height is set within or very close to factory recommendations.
First, set the capo at the first fret. Then hold the low E string down at the 17th fret. Then measure the gap between the bottom of the low E string and the 7th fret. The feeler gauge can tell you the exact thickness of that space — most factory recommendations are between 0.006" - 0.010".
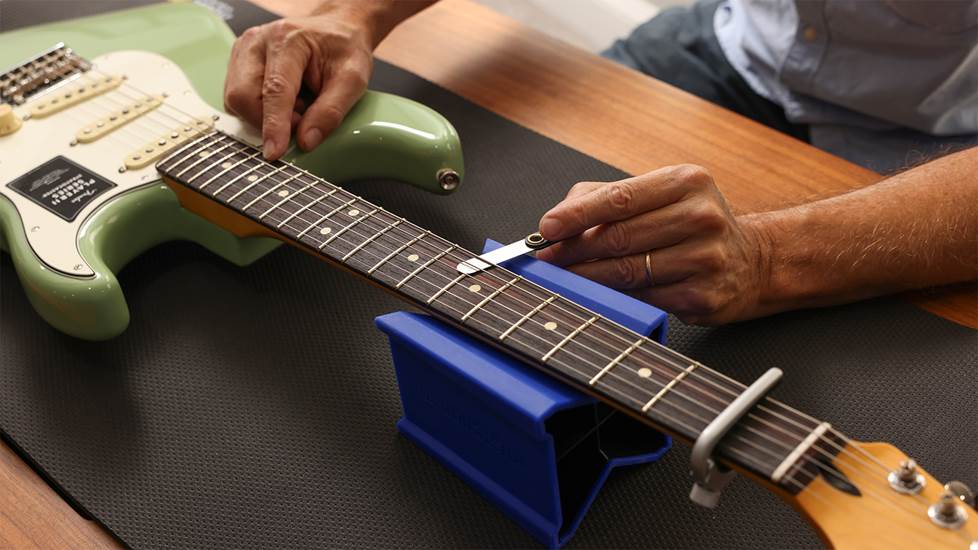
I'm using a 0.010" feeler gauge to measure the relief at the 7th fret with a capo on the first fret and my finger holding the string down at the 17th fret.
If the gap is too narrow, you need to loosen your truss rod. If the gap is too wide, you need to tighten it.
Measuring by feel
A lot of guitarists skip the feeler gauge's exact measurement and assess relief with the naked eye and by feel. That's how I usually do it.
You still start with a capo on the first fret and the low E string fretted at the 17th fret, as pictured above. But instead of using a feeler gauge, tap on the low E string at the 7th fret to see (and feel) how close it is to the top of the fret. If it's resting on the 7th fret with no gap or a gap you can barely discern, odds are strong that you need to loosen your truss rod.
If the gap is large enough to see and you can feel a lot of give when you tap before the string hits the 7th fret, you probably need to tighten the truss rod to flatten the fretboard a little.
Accessing the truss rod adjustment
You adjust the truss rod by tightening or loosening a screw, nut, or spoke wheel, depending on your guitar. Guitars with headstock-access adjustment usually feature a cover that you'll need to remove.


Headstock-access truss rods sometimes have a removable cover like the one on this guitar.
Some neck-heel-adjust (sometimes called "butt-adjust") truss rods feature a spoke wheel that makes it super-easy to tighten and loosen. Just insert a spoke-wheel tool or a screwdriver small enough to fit into the spoke wheel.

Spoke-wheel truss rod adjustment is always accessible and doesn't require a special wrench.
Some vintage-style butt-adjust truss rods can be reached with a right-angle screwdriver. Others require you to remove the neck. If that sounds overwhelming, you should consider taking your guitar to a professional luthier for adjustment.

I'm comfortable removing a 4-bolt neck to access this type of truss rod adjustment. If you're not, take it to a professional.
Adjusting the truss rod
The first thing to remember about making the actual truss rod adjustment is to never tighten or loosen more than 1/8 of a turn before reassessing the relief, and never force it. Overtightening especially can strip the threads and damage the truss rod. But there's little danger of that if you stick to 1/8 turns.
Check your guitar's specs to learn what size and type you need — you might already have the wrenches you need in your tool collection. You could also get this truss rod wrench set. It has Allen keys, socket wrenches, screwdrivers, and a spoke-wheel tool to fit pretty much any guitar, all in a convenient portable case.
Loosen or tighten your truss rod 1/8 of a turn, then repeat the measurement at the 7th fret with the capo on the first fret, low E string held down against the 17th fret. You should also simply play the guitar to see if and how it feels different.

Make adjustments in no bigger than 1/8 turns before re-checking the relief.
If your first 1/8 turn didn't produce the results you were hoping for, try another 1/8 turn. In my experience, most guitars don't need more than a couple of 1/8 turns to correct the relief.
A lot of players and luthiers like to make one 1/8-turn adjustment and let it settle overnight or longer before assessing relief again. If you get to where you've made three or four 1/8 turns with no apparent change, you may want to have your guitar looked at by a professional.
Still have questions?
Crutchfield has a long history of employing and supporting musicians who approach truss adjustments without fear. If you have questions, give one of our Advisors a call at 1-800-315-0443 or contact us online. Free lifetime tech support is included with your Crutchfield purchase.



Comments (0)