How to change a turntable cartridge
An easy how-to guide for changing out and adjusting a standard turntable cartridge

T
o keep your vinyl setup sounding top notch, you’ll likely need to swap or upgrade the cartridge from time to time. But no worries — it’s way easier than it sounds.
Just follow these simple steps, and you’ll be back to spinning records in no time.
Glossary of terms
A turntable cartridge mounted on a standard headshell consists of several key components and connections. Here is what we'll be talking about:
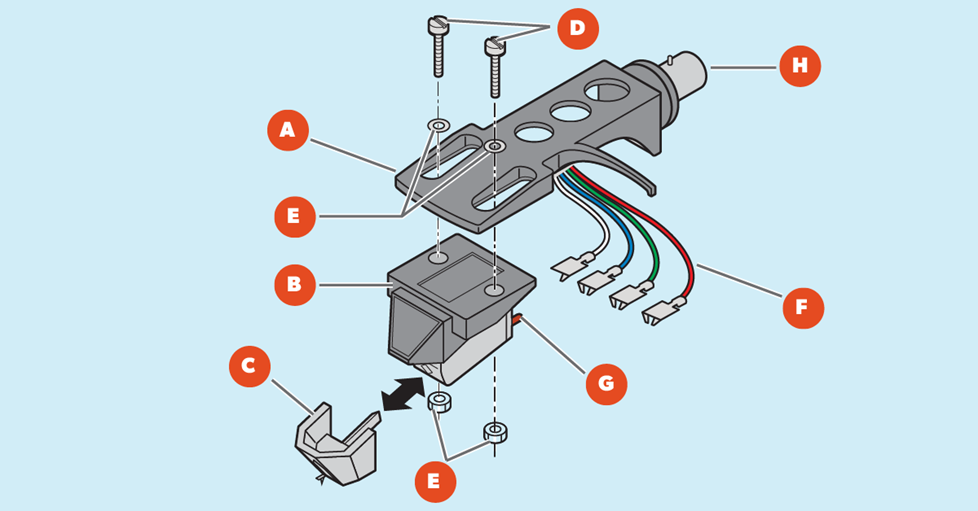
Headshell (A): This is the part that connects to the tonearm of the turntable and holds the cartridge. It's usually a lightweight metal or plastic piece that has a mounting area for the cartridge.
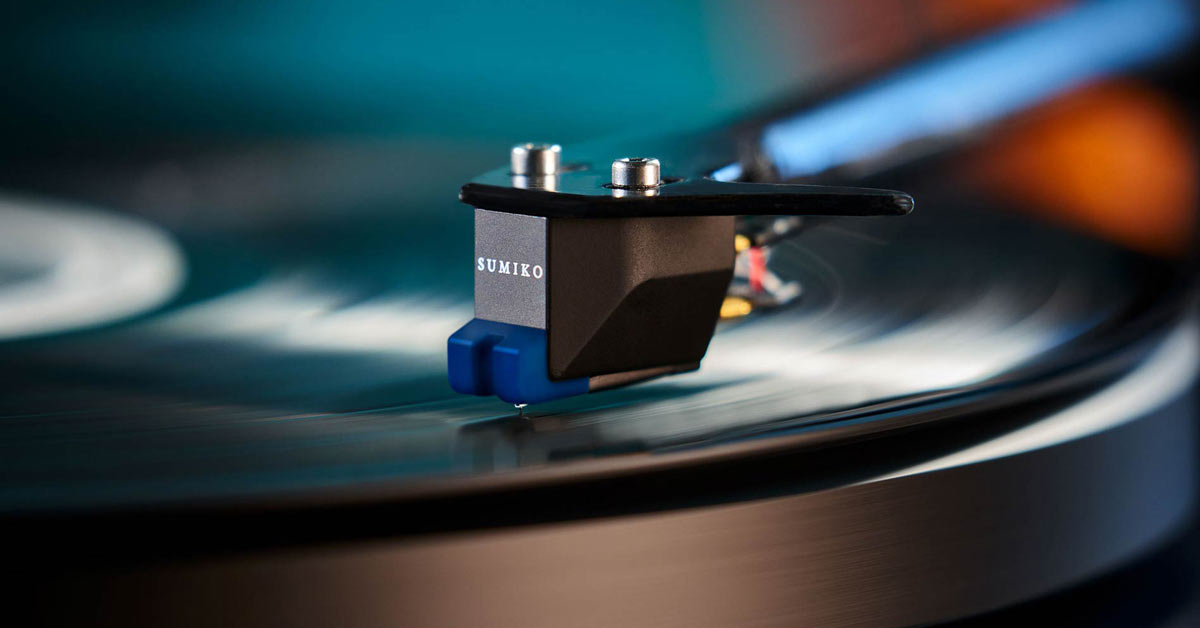
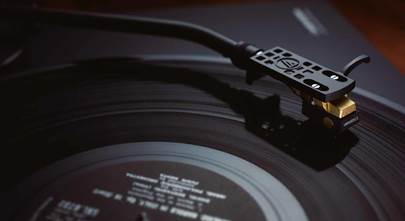
Cartridge (B): The cartridge is attached to the headshell. It houses the stylus (C) (needle), which reads the record's groove.
Mounting Screws (D): The cartridge is attached with two small screws, spaced ½" apart, that fit neatly into the mounting slots on the headshell. These screws ensure the cartridge is properly aligned and secured. Depending on the cartridge, small washers and nuts (E) might also be used.
Wiring (F): Four small, color-coded tinsel wires connect the cartridge to the headshell’s electrical pins (G). The standard colors and their connections are:
Each of these wires has a small connector at the end that slips onto corresponding pins at the back of the cartridge.
- White: Left channel positive (+)
- Blue: Left channel ground (-)
- Red: Right channel positive (+)
- Green: Right channel ground (-)
Tonearm Connection (H): The headshell itself screws into the tonearm. The wires inside the tonearm carry the signals from the cartridge to the turntable’s audio outputs.
Getting started
Before you get started, you'll need to grab a turntable-specific alignment tool, which is typically included with your turntable. This tool can be made of paper or plastic and is designed to sit over the center spindle on the platter, helping you achieve the perfect cartridge alignment.

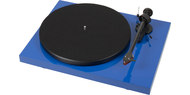
A 2-point cartridge alignment protractor, like the Pro-Ject model shown here, is a simple yet invaluable tool for precise setup.
If you can't find your original tool, don’t worry. Most manufacturers offer printable versions on their websites — just be sure to print it at actual size. Alternatively, you can purchase a dedicated alignment tool, which is always a handy accessory to have on hand.
I also recommend grabbing a few additional tools to make things smoother. You’ll need a small flathead screwdriver, a pair of tweezers, a tidy workspace and some good lighting. And if you're like me, don’t forget your glasses — now where did I put those?
Making the swap
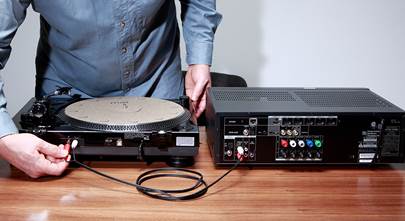
First things first — power off and unplug your turntable. Safety's key when you’re dealing with electronics, and we don’t want any surprises while you work.
Next, if the turntable offers a removeable headshell, we’ll need to remove it. Mind you, some tables don’t accommodate this, so some of these next steps may not apply.
Remove the headshell
Gently unscrew the headshell from the tonearm. Some models may have a twist-lock mechanism — simply twist to detach it smoothly, as illustrated below.

Once removed, simply place the headshell on your workspace — needle side up. I find it's much easier to continue the process if the headshell is upside down.
Disconnect the wiring
Carefully disconnect the small, color-coded wires attached to the back of the old cartridge. Use tweezers if needed, since they tend to fit snugly, and make sure to hold the metal connectors, not the wires themselves, to avoid any damage.
Most tinsel leads and posts on the back of the cartridge are color-coded. If yours aren’t, refer to the manual for your turntable or cartridge to determine the correct orientation. The steps below follow the most common setup.

Remove the old cartridge
Loosen the screws that hold the old cartridge to the headshell using a small flathead screwdriver. Once the screws are out, the cartridge should come right off. Be sure to keep the screws and any washers or nuts handy. We will be reusing them.
Prepping the new cartridge
As a precaution, I prefer to remove the stylus from the new cartridge to minimize the risk of damage. To do this, gently grab the stylus housing — often a different color than the cartridge — and pull it down and away to release.

The stylus housing should come off without much resistance. Set it aside with the needle facing up. We'll return to it later
Attaching the new cartridge
Position the new cartridge on the headshell and align it with the mounting holes. Insert the screws from either the top or bottom, depending on which orientation your cartridge accommodates. Tighten the screws carefully, but don’t overtighten — just snug enough to hold the cartridge in place. Don't worry, we'll tighten them properly in a bit after a few adjustments. By the way, you may need to use the washers and bolts — it just depends on whether the new cartridge has threaded inserts or not.
Reconnecting the wires
Reconnect the color-coded wires to the corresponding pins on the back of the new cartridge. Be sure to match the colors, and as before, handle the connections gently.

Reattaching the headshell
Screw the headshell back onto the tonearm, or lock it into place if it has a twist-lock mechanism, and place it back on the tonearm rest. You'll need to snap the stylus back in place at this point as well.
Aligning the cartridge
This step might sound a bit daunting, but don’t worry, it's not as hard as it sounds. It is, however, a crucial step to getting the best results from your new cartridge, while also protecting your stylus and your records from damage. When everything is lined up just right, the stylus tracks the record grooves accurately, cutting down on distortion, and wear, and giving you a clearer, more faithful reproduction of your favorite tunes.
So, what are we aligning?
For this specific how-to, we’re focusing on these two adjustments:
Offset angle: This is the angle in which the cartridge is mounted to the headshell.
Overhang: This is the position of the stylus in relation to the headshell. This measurement can be found in many ways, and some 'tables even offer a specific tool for the job. We'll keep it simple though by using the cartridge alignment protractor.
Some turntables offer advanced adjustments like Vertical Tracking Angle (VTA) and azimuth, but for now, we’re sticking to the basics. These adjustments are only needed if the height of your new cartridge differs from the old one or if the new cartridge sits unevenly. Since this is just a simple cartridge swap, those advanced tweaks aren’t necessary.
Using the calibration tool
Before we dive into using the tool, we need to make sure the tonearm is balanced and ready to go. If you’re not sure how to balance a tonearm, here is an easy-to-follow, step-by-step guide to assist you.
Next, grab your alignment protractor and place it on the turntable platter, using the spindle hole on the tool. It’s also a good idea to keep the felt mat on the platter during this process.
Carefully move the tonearm over the protractor, turning the platter if needed, and position the stylus tip on the center of the first measuring point — usually the one closest to the spindle.
Now, this is where it can get a bit tricky. Adjust the cartridge so it lines up perfectly with the grid. This is why we left the screws a little loose — you’ll likely need to slide the cartridge up, back, or side to side to align it within the guidelines. Take your time and check your adjustments at both points to ensure accuracy.
Remember, we’re not just adjusting the angle of the cartridge; we’re also positioning the stylus tip. Properly positioning the tip within the guidelines ensures the overhang is correct.
Double-check your adjustments by moving the tonearm back over the protractor to make sure the stylus hits the same spot. If it’s not quite there, tweak the headshell angle until it’s spot-on with the grid lines. Make sure to avoid any tilting or floating of the cartridge.

In the end, the stylus should be positioned on the correct alignment spot, and the cartridge should be parallel to the protractor’s grid lines, sitting evenly in the headshell — not askew, as illustrated in the diagram below.

Finishing up
Once you’re satisfied with your adjustments, return the tonearm to its rest and lock it down. Use the screwdriver to tighten the screws, ensuring you don’t disturb the position of the cartridge. And that’s it. You are ready to enjoy your new cartridge.
Final thoughts
Not every cartridge needs to be swapped. Sometimes, a simple stylus replacement is all you need. However, if you’re like me and enjoy testing out different cartridges to get the most from your system, I recommend purchasing a secondary headshell to keep on hand. Some headshells even come pre-loaded with a properly adjusted cartridge, so all you’ll need to do is balance the arm after the swap. Be sure to get the right headshell for your tonearm style, though.
For more info on different cartridge styles and configurations, check out our phono cartridge guide.
Need a little help?
Picking out a new cartridge or making the swap feel a bit daunting? We’ve got your back! Whether you have questions or just need some guidance to find your perfect match, our friendly Advisors can help. And remember, if you get hung up on something — your Crutchfield purchase comes with free lifetime tech support.


Comments (0)