
12 tips for car stereo DIY-ing like a pro
Car audio installation tips from Crutchfield tech support

In this article, three of our Tech Support experts share their top tips for installing car audio gear. From prep to running wires, these techs have ideas for making your big installation day go a little smoother.
If you've never purchased from us or haven't spent much time on our site, you may not know about one of the big benefits of shopping with Crutchfield — free lifetime tech support.
We know that setting up and tweaking your gear can get complicated. Sometimes it's the wiring that can feel daunting. Sometimes you just can't figure out how to turn the power on — yep, it has happened to the best of us. For those problems and every DIY snag in between, we have a team of tech support specialists on hand, seven days a week, to help you.
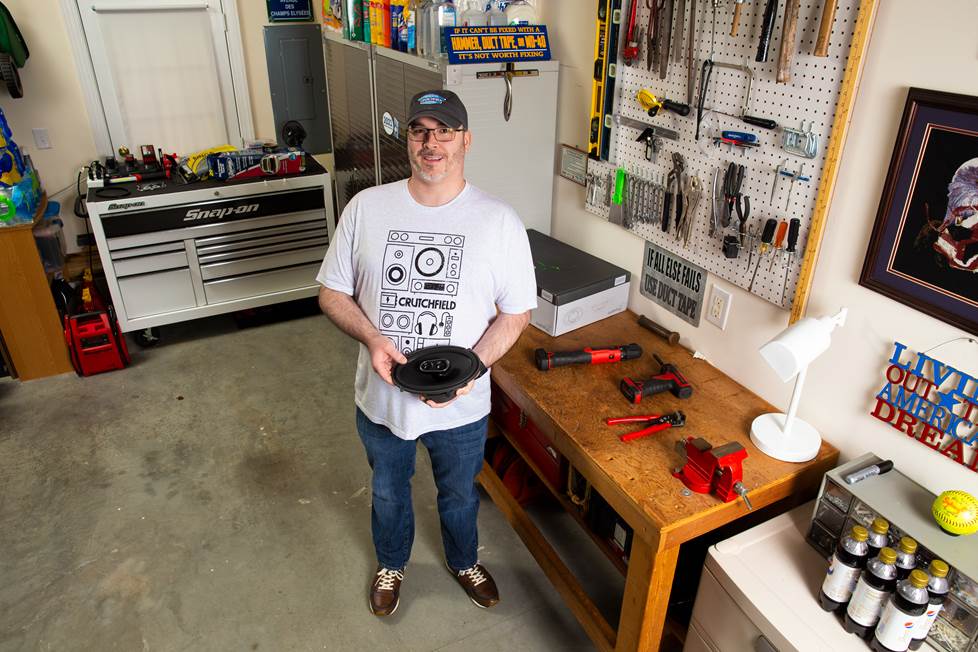
Meet three of our techs — specialists in car audio
Shay, Casey, and Evan, three of our star tech support specialists, help customers with all sorts of questions about car audio gear and installations. They agree that it always helps to have some solid tips before diving into a DIY project. Here are some of the most common topics and problems they troubleshoot, and some of their best advice to help you prep for installation success.
Twelve questions about easier car audio installations
Q1: When I start shopping for a car stereo, what features should I think about that could make my installation go a little smoother?
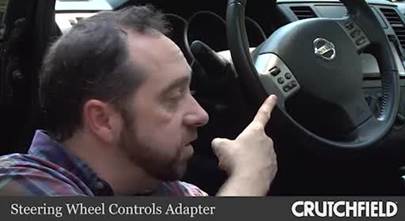
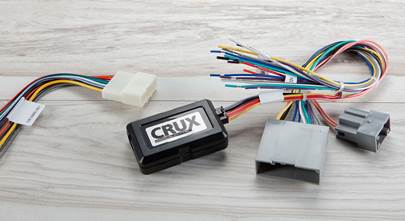
Casey: There are a few things actually! One of the first big considerations to make when shopping for car stereos is if you’ll be playing CDs or not. If CDs aren’t important, I’ll always recommend going for a digital multimedia receiver because those stereos tend to have shallow-depth chassis or a single-DIN chassis for extra room. Also, integrating a new stereo and keeping factory features like steering wheel controls require integration modules like the iDatalink Maestro, vehicle-specific harnesses, maybe a satellite radio tuner, and more. That’s a lot of extra stuff that needs to fit into your vehicle’s dash cavity, along with your new stereo.
Q2: Follow-up question! Which accessories should I make sure to get while I'm shopping?
Casey: We have a solid selections of tools to round out your toolkit if you're missing anything, but something I'll always recommend are Posi-Products™. I'm a big fan. They're an affordable and quick alternative to soldering wires. And when using their tap connectors, make sure the needle is lined up in the center of the wire you’re about to pierce to ensure contact.
And if you don't have any trim panel tools, which are specially designed not to scuff your vehicle’s interior when popping panels loose, they're a great investment.”
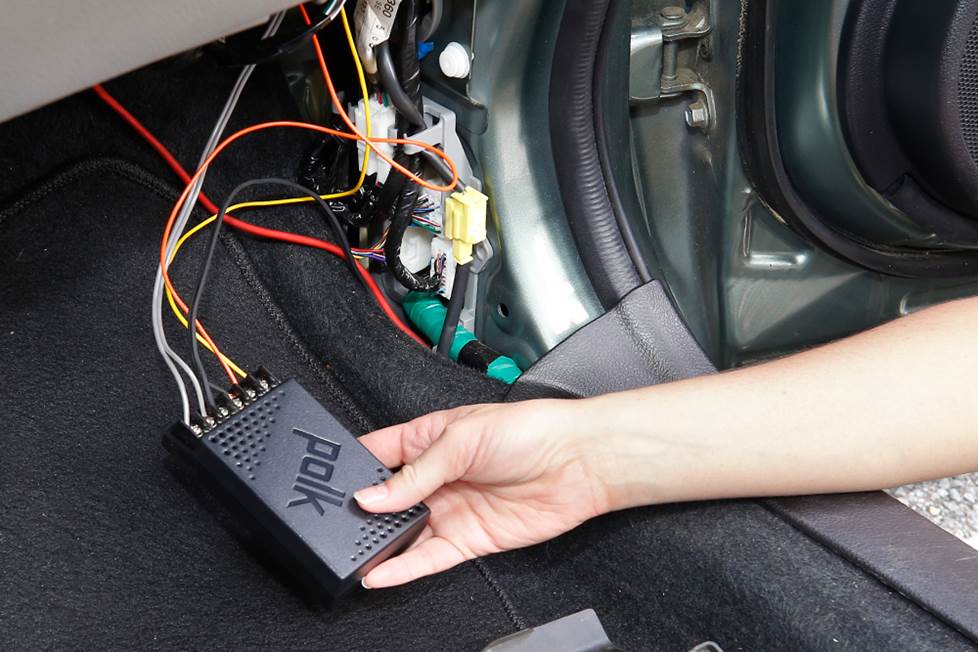
Q3: The tweeters of my component speaker set are going in my dash, so where should I put the crossovers?
Shay: If the factory locations of your tweeters are in the dash, look for component speaker systems with inline crossovers on the tweeters. That makes life a lot easier. But if you have your heart set on a system with external crossover boxes, I recommend mounting them near or above the kick panels. That way, you can connect to the factory woofer wiring before it goes into the doors, then run wire straight up to the tweeters in the dash. If you need help identifying wires, you can always call us!
Q4: What should I expect when installing remote start or car security system?
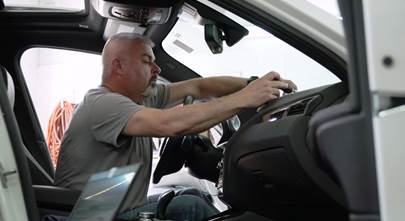
Evan: Set aside plenty of time. Some vehicles may be a breeze to get through, but in the case of the 2011 Ford Taurus I was recently working on, I had to remove the factory radio to access the ignition switch. That's where the T-harness needed to go for the iDatastart remote start system.
Another consideration is where to place any module that's part of the system. For the Taurus, I needed to fit it somewhere underneath the dash where it wouldn't interfere with any essential vehicle controls like the steering column or the brake pedal.
Oh, and FYI, before you test your new remote start system, the vehicle's hood and doors will need to be closed.
Q5: How much time should I set aside for a car stereo installation?
Casey: If I think an installation will take two or three hours, I’ll automatically double it. You just never know what you’re going to run into. Here's an example — one time I was doing an installation in a pickup and I was having the hardest time disassembling one part of the dash. Turns out a factory fluke had pinned one piece into place in such a way that it took me an hour to remove it. Nothing in our disassembly instructions could have predicted it because it was a problem with how that specific truck had been put together at the plant. So, I guess the lesson is that if you manage your expectations, you’ll be in a better headspace to tackle problems as they pop up.
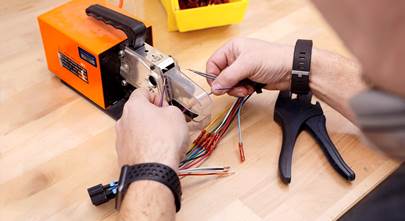
However, to save on time, here's a tip to remember. I always recommend doing your wiring first because that tends to be the most time-consuming part. And it can spark the most questions, if a call to tech support is needed. If a customer is planning on a weekend installation, I’ll even recommend they tackle the wiring on a weeknight, just to get that piece out of the way. And then I’ll say go ahead and prep the dash kit and flash the Maestro at the same time. Then, boom! You’re ready to dive in fresh on Saturday.
I still remember the day I figured this out for myself. I was 15 and sitting in the car with my buddy, doing the wiring, and we were soaking wet with sweat. Finally, I said, ‘I have an idea! Let’s go inside and do this at the kitchen table!’ Ha!
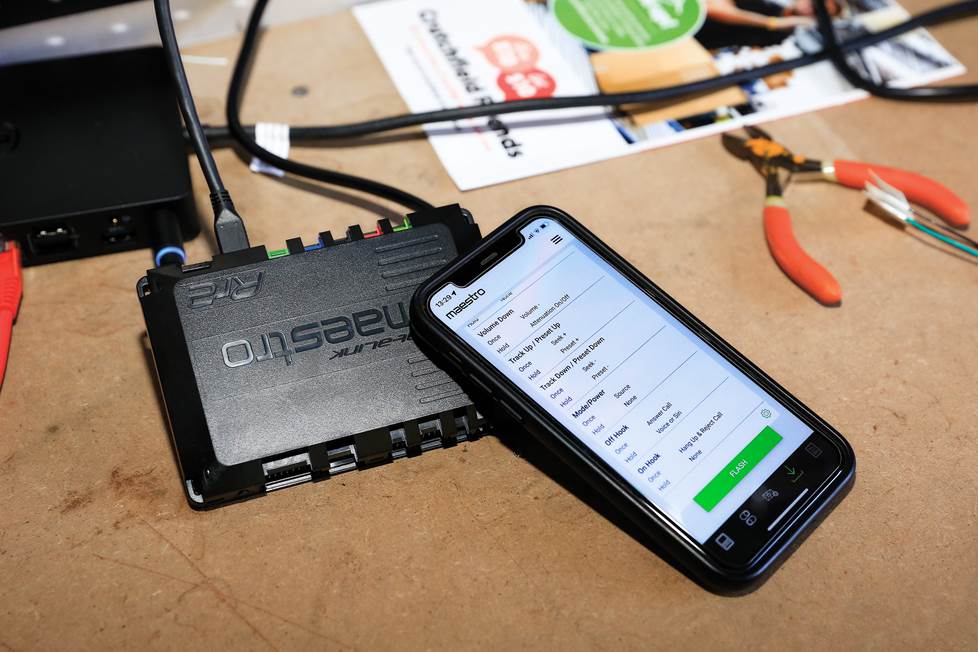
Q6: Have any insider tips for installing a stereo and an iDatalink interface?
Evan: iDatalink Maestro modules are awesome — they let you retain factory features when you install a new stereo. Be sure to program these things with a computer or mobile device before you install them to ensure they work with your exact vehicle. When you do, iDatalink makes a lot of essential info available to you, like wiring guides and custom settings cards. Be sure to download all of that information for future reference.
Check out our article and video highlighting the iDatalink Maestro.
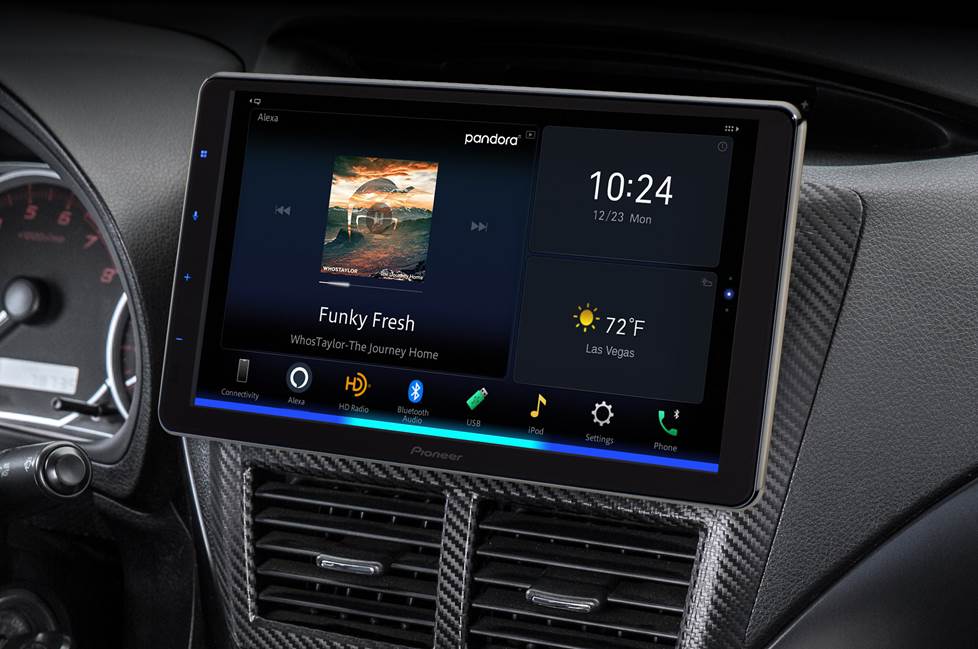
Q7: What's the best approach to installing a "floating screen" car stereo?
Shay: The displays on these stereos are BIG, and not every dash is the same, so aftermarket manufacturers tend to make these as adjustable as possible to ensure universal fit. Some use a swivel-mount, while most allow for up/down and forward/back adjustment. Typically, you need to make your adjustments before you install the stereo, so whenever possible I recommend dry-fitting it. That will give you a sense of how to avoid blocking vents and buttons you use every day.
For more info, see our article about floating screen stereos.
Q8: What are your pro tips for any installation?
Casey: When you’re ready to start popping panels and removing screws, I recommend a methodical approach. If you have the space, lay things out in the order of how you took them out and stay organized. If space is limited, the backseat and trunk can work just as well.
Also, during disassembly, cover delicate dash and console areas with a clean towel to protect them from scratches as you remove your factory radio.
Evan: Cris, my trainer here at Crutchfield, gave me two standout tips that are so simple yet essential. Ready? Don't keep any sharp tools on your seat while you're working. It might be convenient, but if you rest anything heavy on them, there's a good chance you'll damage the upholstery, and that's a goof that's not fun to fix. The other tip I loved is if you don't have extra-large zip-ties, just daisy-chain two (or more) together and they work great!
Casey: Yeah, I love cable ties. I tend to recommend them, because if a customer needs to undo any work to troubleshoot a problem, it’s easier to cut a tie than to unravel a whole lot of tape.
Q9: What's the best way to prep for an installation?
Shay: Read any directions we provide before you start. For stereos and speakers, we tell you everything you need to know, including which tools you'll need for a smoother install. For other installations, like backup cams and amplifiers, we have how-to overviews and videos.
Q10: What's a discovery you'll never forget?
Evan: Well, I had a speaker in my own car that I was sure had blown, because I kept hearing a buzzing sound. When I removed it for replacement, I discovered there was nothing wrong with the speaker. After some investigation, I discovered that the sound was being made by the car door's vapor seal — sound made it vibrate. That was an easy fix! So, the lesson there, I think, is to keep a cool head and don't always assume the worst first.
Q11: Any tips for running all the cables and wiring antennas for a car stereo? And for where to place them?
Shay: If you're installing a stereo, chances are good you'll want to run a USB cable to your phone to use features like Android Auto, Apple CarPlay, charging, and more. A handy way to find a clean path inside your dash is to shine a light up from under the glove box toward the back of the stereo. Then, aim for the light and route your cable through. From there you have lots of options on where to stash that cable for easy connection.
Casey: If your stereo has built-in GPS or even wireless CarPlay, you’ll need to find a mounting location for an included GPS antenna. You can keep your dash clean by mounting it on top of your radio inside the dash, as long as there’s no metal above it.
When it comes to installing a stereo’s Bluetooth mic, I have mine mounted on the steering column. It’s a great spot because I’m speaking directly into it, and it’s shielded from road and rain noise, which can be problematic if you mount a mic near the windshield.”
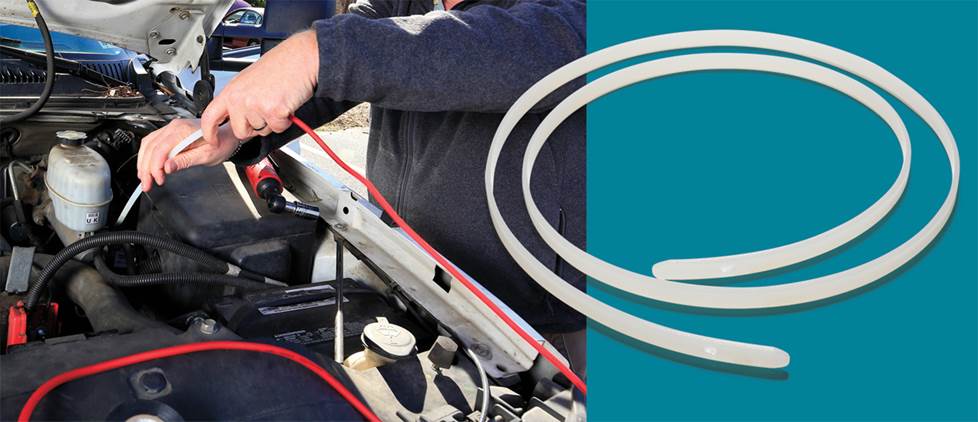
Another tip for running wires and cables through the dash is to get the Pro.Fit wire worm. It’ll go where your hands can’t, and save you time, effort...and sanity. Check out our Toolbox Tip for more information.
Q12: Once I have my car stereo connected, can I reinstall trim panels?
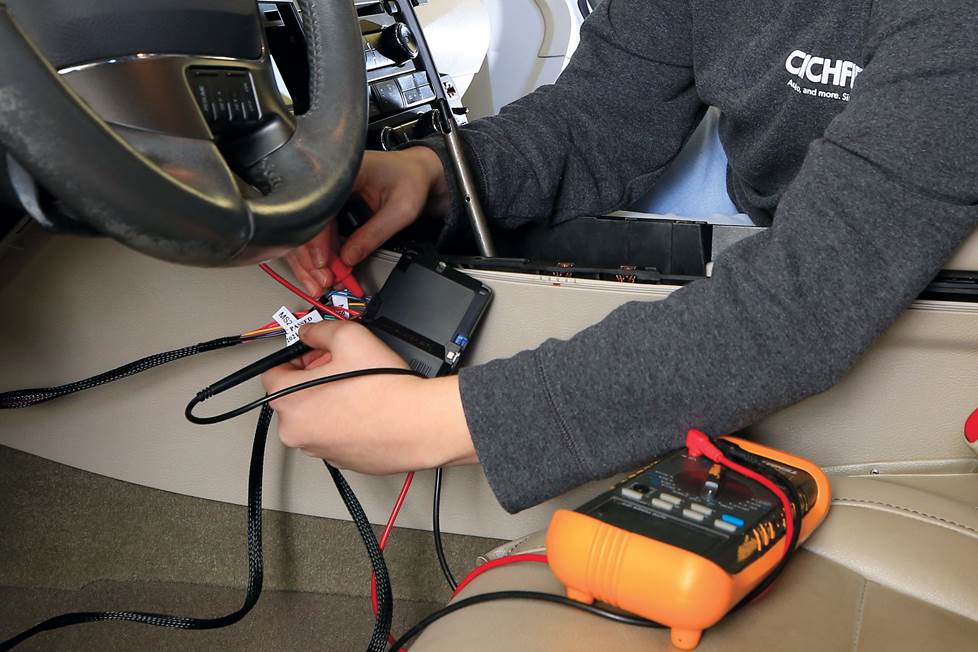
Casey: Getting everything into the dash can feel like a big moment, but don't be too hasty about reinstalling all your removed trim panels. Before buttoning everything up, turn the radio on and make sure you’re getting sound from each speaker. If there’s a backup cam, make sure it’s working. Check that your steering wheel controls are working. Check all your A/V sources, and that includes your phone as well. You should even make a call to ensure that you can be heard and sound good on the other end.
Have more questions? Explore our articles and videos.
If your first instinct isn't to call tech support for help, we totally get it — you're a tried and true DIYer. Check out our vast library of how-to guides, FAQs, videos, and more for the answers you need in your installation adventures.


Howard from Longview
Posted on 12/27/2025
Purchased speakers and was floored when I saw the instructions. Five star review. You guys are awesome to deal with.