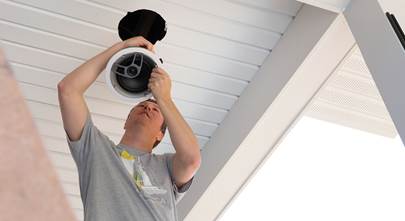
10 tips for installing outdoor speakers
Our expert shares his favorite tricks

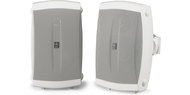
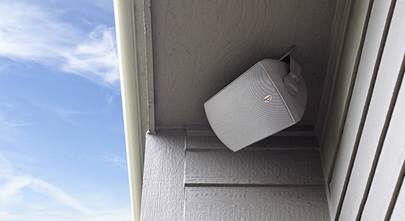
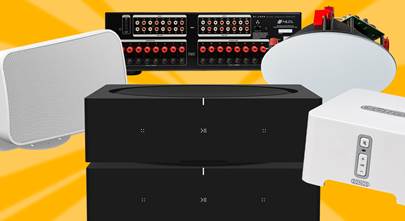
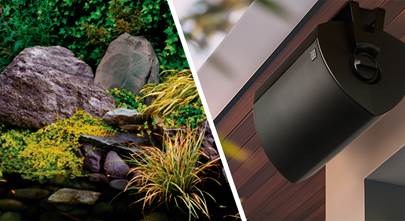
Time spent in the yard is more enjoyable if you install outdoor speakers and bring your favorite tunes along.
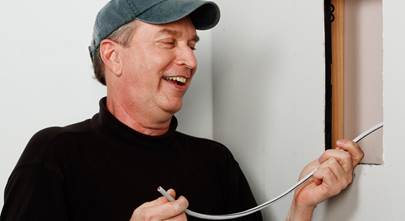
Our A/V specialist Norm has more than 12 years of experience as a Crutchfield Advisor and certified installer. Here are ten techniques he’s learned that make do-it-yourself outdoor speaker installation run a little bit more smoothly.
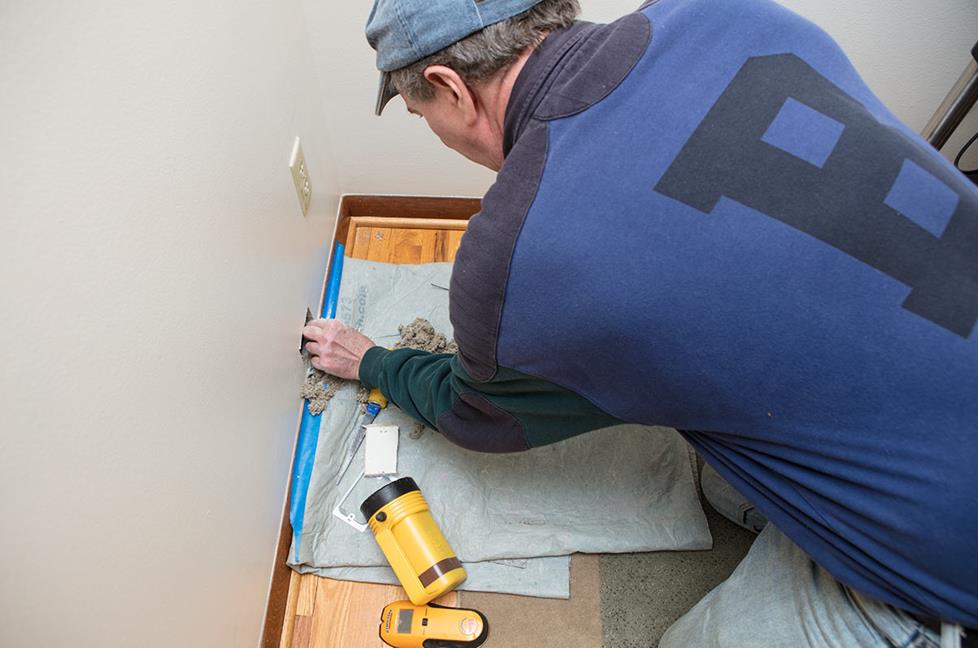
Tip #1: Use a drop cloth
Tape down a drop cloth before drilling or sawing access holes. It will catch all the dust and debris so you can keep the floor clean and reduce tidying time after the installation. You’ll be in a hurry to try out your new system when you’re done, and you’ll be glad you’re not using that time to clean up instead.
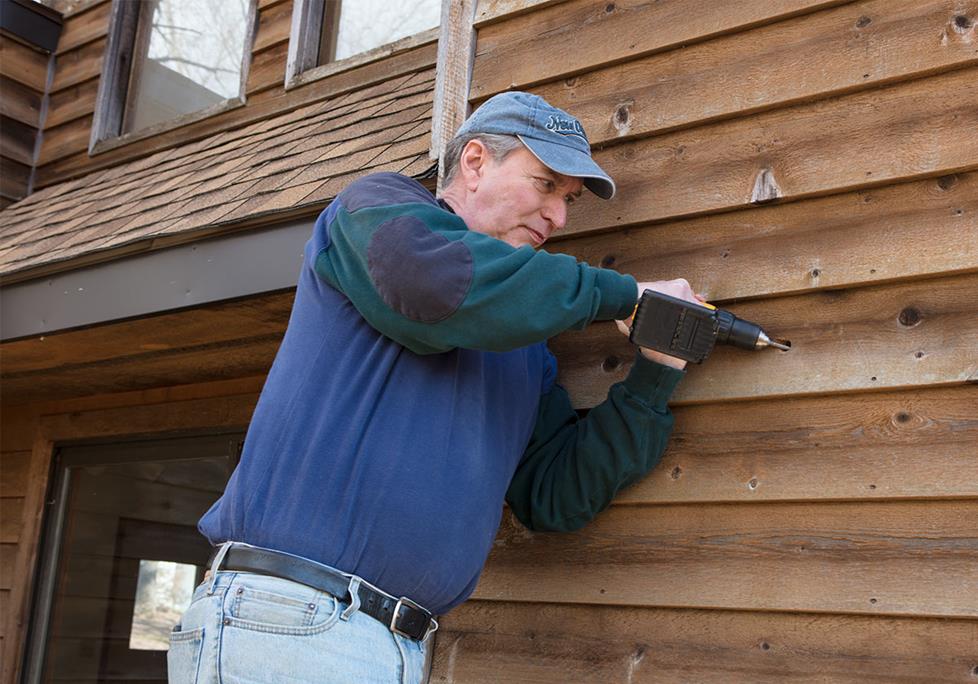
Tip #2: Angle your drill
If the wire needs to go straight down, angle your drill holes to guide it in the right direction. You may want the wire to pass horizontally through the wall space, so you’d drill at that angle. Every little bit helps.
Tip #3: Line up your drilling holes
In this video tip, Norm shows us how to take the guesswork out of drilling precise holes in interior and exterior walls.
Tip #4: Go fish
Here, Norm demonstrates a cost-effective tool that helps pull wire through spaces where our hands can't fit and our eyes can't see.
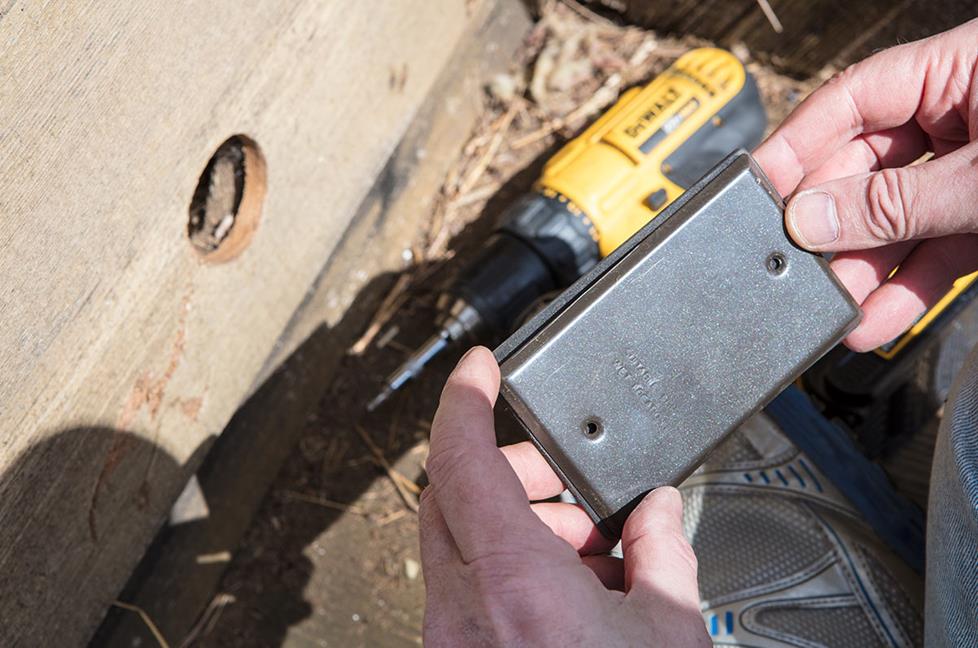
Tip #5: Cover up access holes
Sometimes, you have to drill an access hole to pull wire through. Norm uses inexpensive metal or plastic blanks to cover any drilling holes that don’t directly terminate in a speaker. This makes them weathertight on the outside and more visually appealing on the inside of the house.
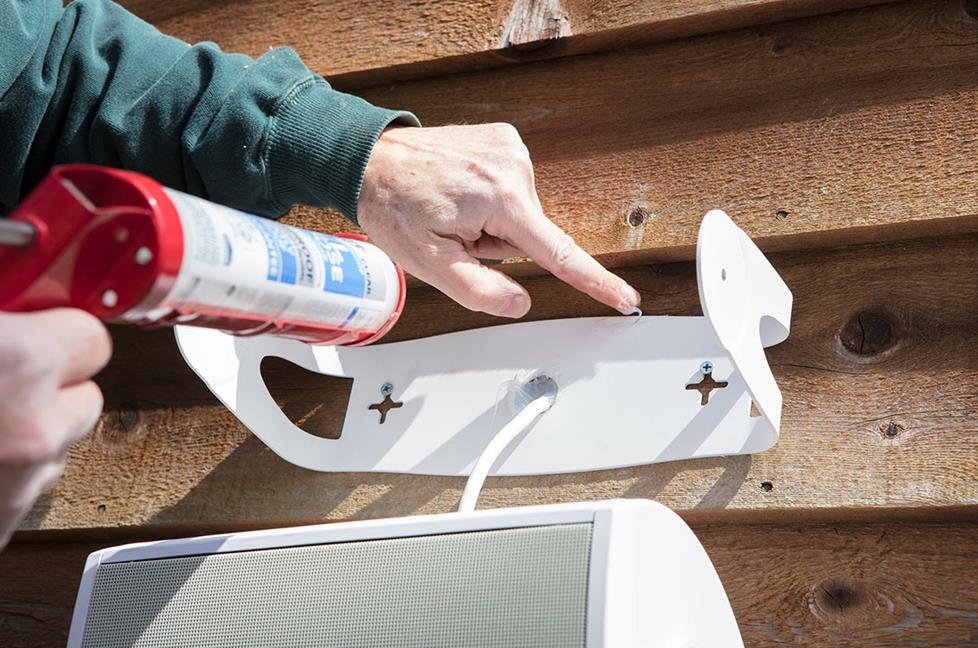
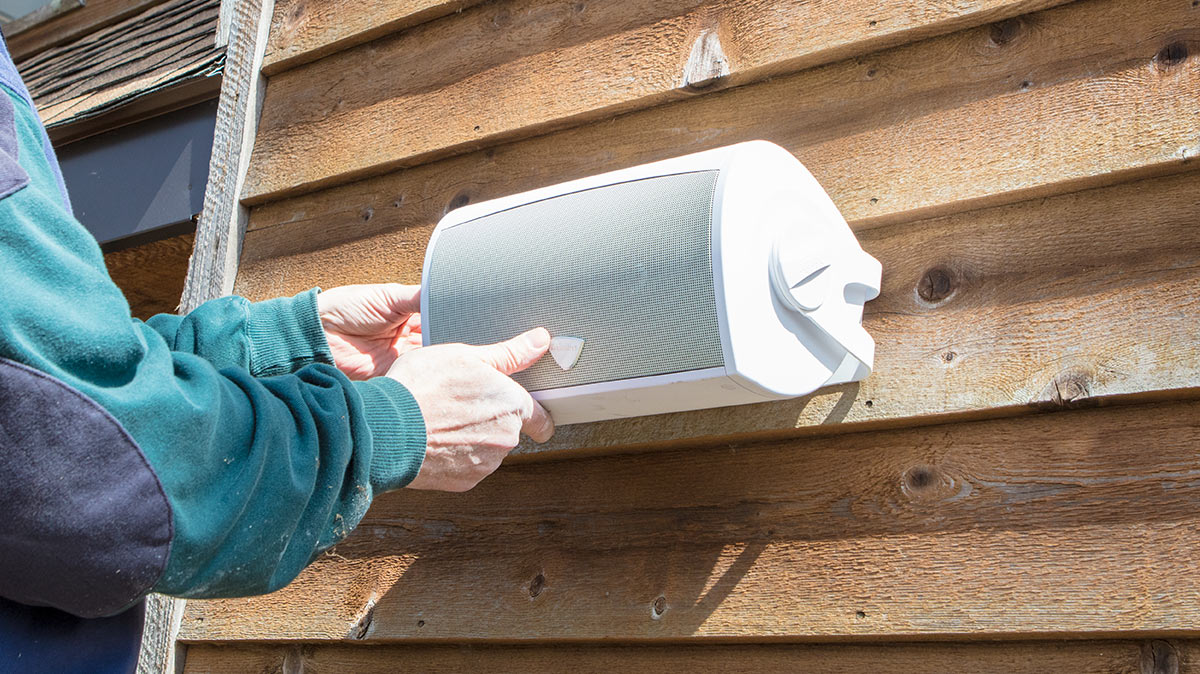
Tip #6: Don’t skimp on caulk
Norm always uses plenty of silicone-based caulk to seal outdoor installations. He recommends filling the hole around the speaker wire, wiggling the wire around to expose any gaps, and then hitting it with a second layer. He also runs a bead along the top seam of the bracket, to further eliminate any route for moisture to get into the installation. “You can’t ‘goop’ too much,” Norm jokes.
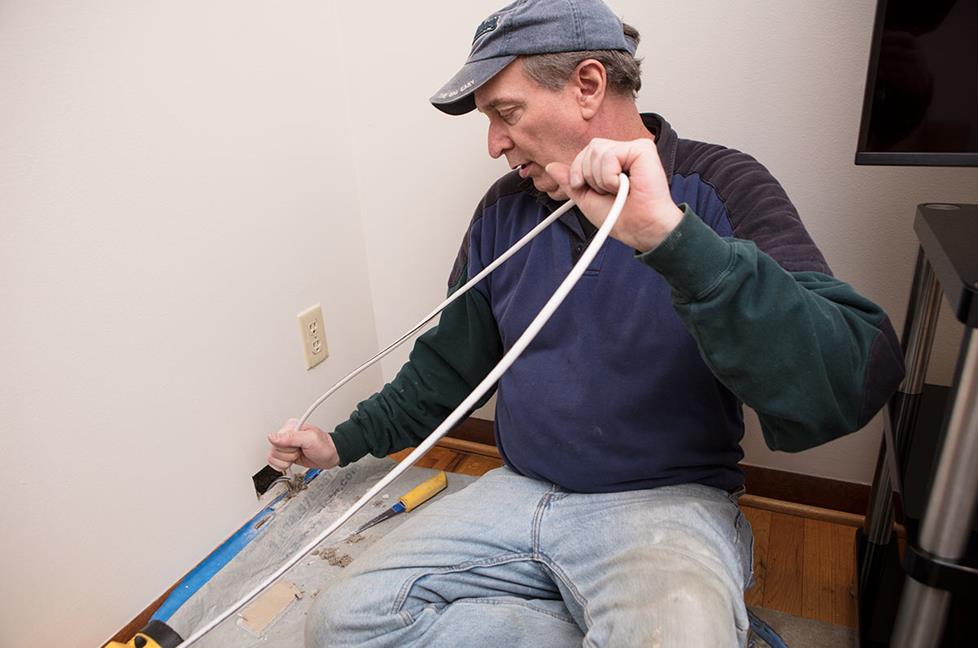
Tip #7: Give yourself some slack
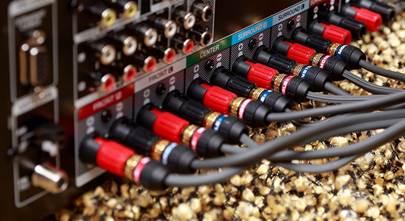
Don’t cut speaker wire until you absolutely have to. When you run wire from the speaker to the receiver location, leave plenty of slack on either end, so you can adjust as needed. You don’t want to come up short and have to start over. “Wire’s cheap,” Norm warns. “Labor is not.” Once you have everything where you want it, you can cut off excess wire and make terminal connections.
Tip #8: Norm’s handy wire stripping method
Here, Norm uses a common tool to strip insulation off of speaker wire without damaging the delicate copper strands inside.
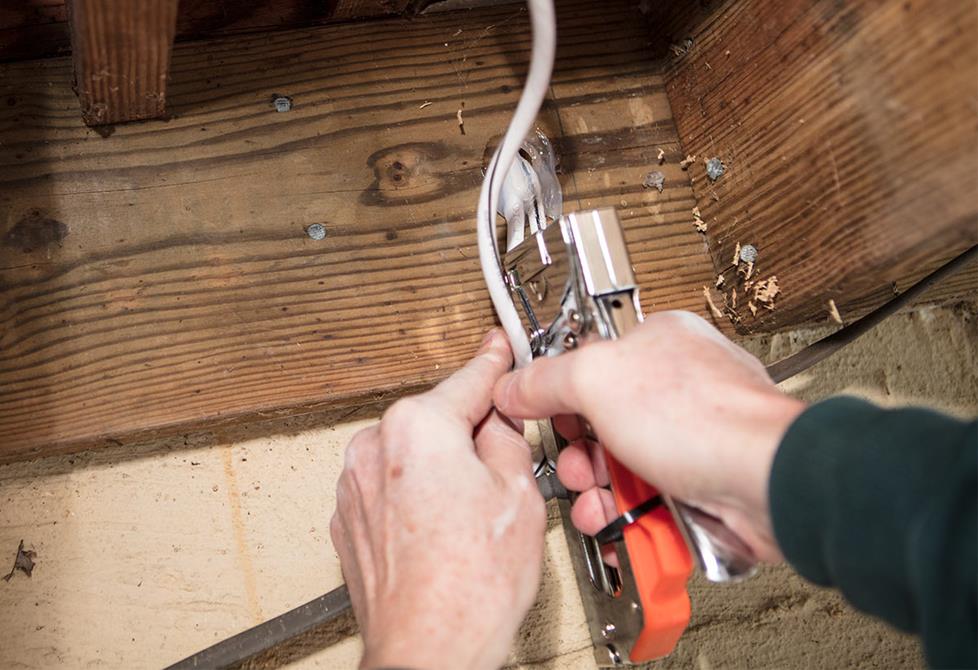
Tip #9: Staple down the wire run
Don’t leave long wire runs tangled or hanging loose from basement rafters. Norm uses a heavy duty staple gun to “square off” each installation, making it nice and neat, and keeping strain off of the wire throughout the finished installation.
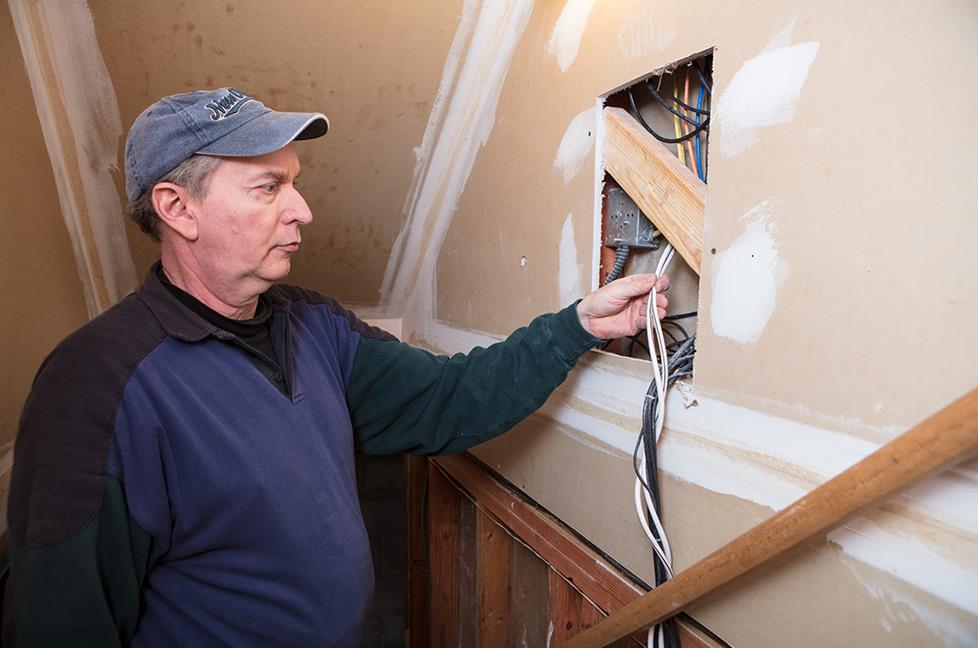
Tip #10: Go with the flow
Whenever possible, Norm likes to work with the existing structure of the house. During one recent installation, he found a location where a hole had been cut in drywall to accommodate a previously installed cable modem. He ran his wire alongside it, rather than drill a new hole.
Norm makes it look easy, but we understand you might be reluctant to take on an outdoor speaker installation on your own. Call one of our Advisors at 1-888-955-6000 to get some expert advice before you take the plunge.


Greg from Cumberland
Posted on 8/10/2023
Crutchfiled is amazing! And never wrong - OK just once... "In-wall speaker wire is identified in shorthand that indicates its gauge (thickness) and its number of strands (or conductors, as they're known in the trade)" is not quite right. In stranded 2 conductor speaker wire for example, each of the two conductor is made up of multiple strands (individual pieces of wire). Only in solid copper wiring like some house 110v wiring is the number of strands the same as the number of conductors. Speaker wire may have 50 strands but just two conductors.
Deia Z. from Crutchfield
on 8/24/2023
Darrell from Portland
Posted on 7/31/2023
Great advice .
Kenton Duncan from SCHERERVILLE
Posted on 7/7/2022
When adding a bracket to vinyl siding, just make sure the vinyl siding can expand and contract on each side of bracket, and you will be fine.
Steve from Springfield
Posted on 5/26/2022
Thanks. Good advice. Use most of them last weekend running outside speaker wire to front and rear of house. I also used a 1" price of white pvc pipe to conceal the speaker wires in my white entertainment center. Will be hooking up the reciever and speakers this weekend.
Eric A. from Crutchfield
on 5/26/2022
Stafford from Port Neches, TX
Posted on 3/14/2022
Tip #4 says use a simple tool to fish wire... but doesn't mention the tools name or mfg. Can you expound on that? Thanks!
James Samson from Alberta
Posted on 2/14/2022
Sometimes a hole will take more caulk than you expect, in those cases, don't be shy to go back in for round two. Definitely a pro tip. I can attest to that.
Joe from Chicago
Posted on 5/10/2021
In regard to the question about mounting on vinyl siding, there is actually a simple method to allow for the movement of the siding. When you drill through the siding, make an slightly oversized hole and make one that is oval shaped in the siding. If you take a look at the siding itself, the holes where the installers nail the siding up is more of a long oval to allow for the movement of the siding. Mimic the same thing and you'll be fine; 1/2"- 1" wide should be plenty.
Jerry from Wilder
Posted on 4/23/2021
We are having our home resided with new vinyl siding. While the contractor was here giving me an estimate, he saw that I had outdoor speakers mounted up high on the wall with the existing vinyl siding. He mentioned that vinyl siding is meant to move in place slightly, and recommended that I do not reinstall the speakers on the wall so that the new siding could move as intended. Do you have any recommendations on how a situation like this by chance?
Eric Angevine from Crutchfield
on 4/26/2021
Hal from lynchburg
Posted on 3/25/2021
Do the speaker wires have to be equal length so as to not have an imbalance in sound, resistance, etc?
Eric Angevine from Crutchfield
on 3/26/2021
Nathan Altimari from Glenmont, NY
Posted on 3/24/2021
I am installing two great DENON outdoor speakers next week. They are under an eve, so in theory they will with have limited exposure, but my question is - they need to be tilted down a little toward the yard... which positions the Red/Black connectors facing slightly upwards... do I need to wrap the connections with rubber tubing or electrical tape to prevent the wires and connectors from coming into contact with water? Or perhaps they are designed to withstand that sort of thing....
Eric Angevine from Crutchfield
on 3/25/2021