Pro tips from our marine audio experts
Every boat installation is an education

Artwork by Dick Everitt
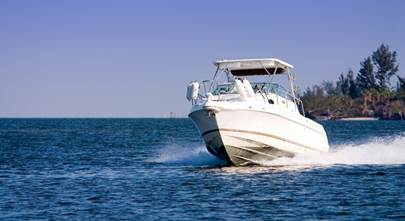
Virginia is full of natural wonders, but Smith Mountain Lake is one of our man-made marvels. Located about two hours southwest of our Charlottesville headquarters, this 20,600 acre lake is a popular getaway destination for people in Central and Southwest Virginia.
Created when the Blackwater and Roanoke Rivers were dammed to generate electricity, the lake is home to a large and diverse boating community. You'll see speedboats, sailboats, pontoon boats and more here, and if you can name a water-related activity, chances are someone's out there enjoying it.
Our friend Tim, for example, is an avid sportsman who enjoys water skiing, wakeboarding, and fishing on the lake. He purchased this 25 year-old MasterCraft ProStar 190 a year or so ago, and while the boat was in nice shape overall, the stereo system really needed an upgrade. We were happy to help, and not just because we wanted to squeeze in a day at the lake before winter!
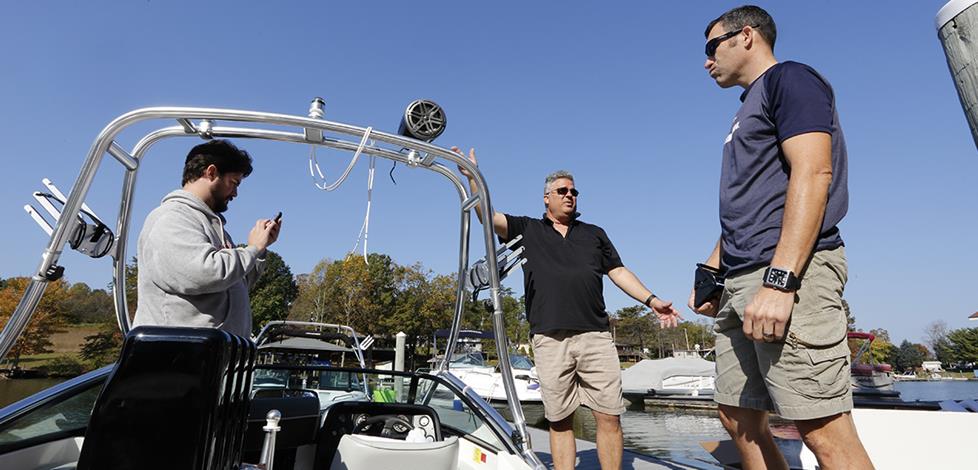
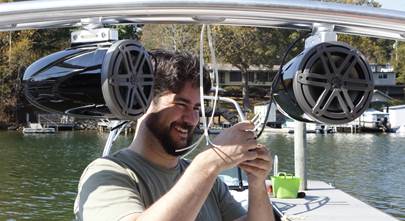
The team (Matt, Peter, and boat owner Tim) pauses to discuss the tower speaker installation. (Crutchfield Photo)
Experience really is the best teacher
We’ve learned a lot about marine audio installations over the years. We’ve noticed that one 6-1/2” speaker doesn’t necessarily fit an opening vacated by another. We’ve gotten smarter about looking into the old receiver cavity to see what’s in there. And we’ve bonked our heads on more tower speakers than we care to (can?) remember. We're still trying to not do that, actually. The most important thing we’ve learned is that the more you know about the boat you’re working on, the less it seems like work.
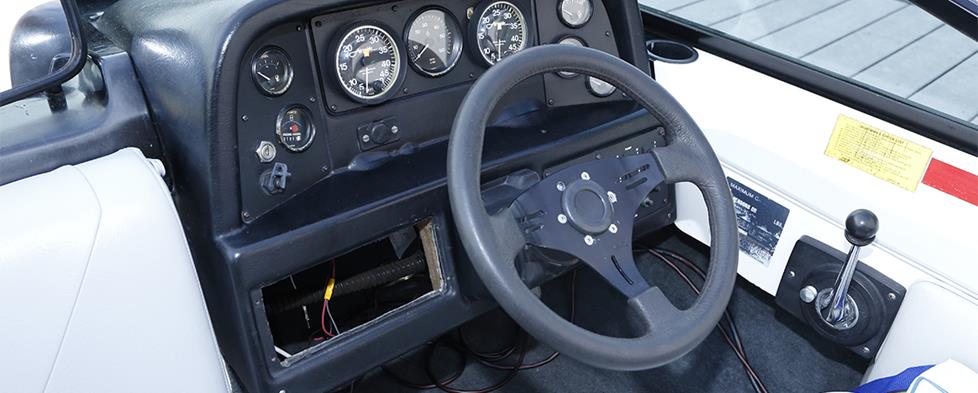
Here's a look at the cavity we needed to fill to install the new receiver. (Crutchfield Photo)
Installing the new receiver
The existing receiver was an automotive unit that, unsurprisingly, was corroded, mildewy, and non-functional. It was also installed in a huge opening that had been (literally) hacked into the dash. Before we installed the Fusion MS-UD650 digital media receiver, we cut a mounting plate out of a 12" x 12" ABS plastic panel, then attached an adapter plate to secure the stereo within the bracket.
Tip: We've seen some rather creative marine receiver installations, and while they worked well enough, some of the methods and materials used created some challenges when it came time to install something new. Be sure to measure the receiver and the cavity depth to make sure you're getting something that will fit. And if you have to work around something "creative," make your plan before you head down to the boat to start work.
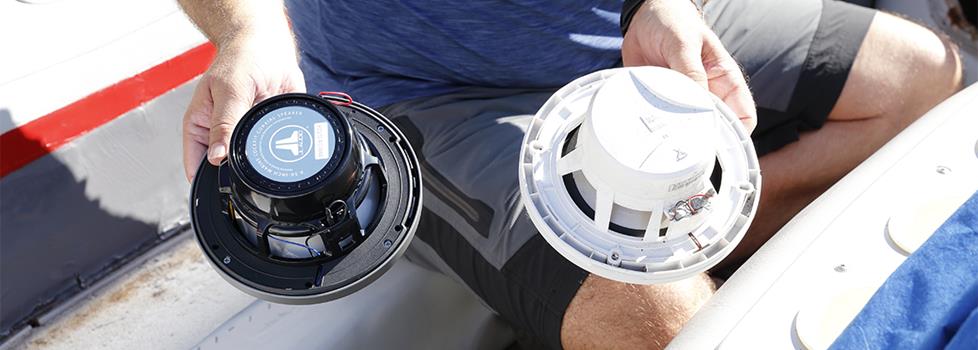
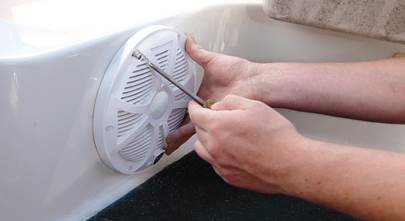
Before we installed the new speakers (left), we had to modify the boat's existing speaker cavities. (Crutchfield Photo)
Upgrading the old speakers
With four old (but functional) speakers on board, the MasterCraft was in better shape there, but improvements were certainly necessary. We installed two pairs of 6-1/2" JL Audio marine speakers, which combine outstanding sound with built-in LED lighting.
Tip: With marine speakers, one size doesn't necessarily fit all. When you're choosing new speakers, outside dimensions are one thing, but it's also important to make sure the cutout dimensions match up. On Tim's boat, the old speakers were standard 6-1/2" models. The new JL Audio models, on the other hand, are listed as 6-1/2", but feature larger baskets and much wider flanges. As a result, they didn't fit until we used a saw to enlarge the old opening.
All boats are different, so before you order new speakers, remove one of the old ones, measure the cutout diameter, the depth of the cavity, and the space around the cavity. With that info in hand, you'll know that you're getting speakers that will fit the space you have in mind.
A set of neoprene covers will protect the tower speakers when the boat is not in use. (Crutchfield Photo)
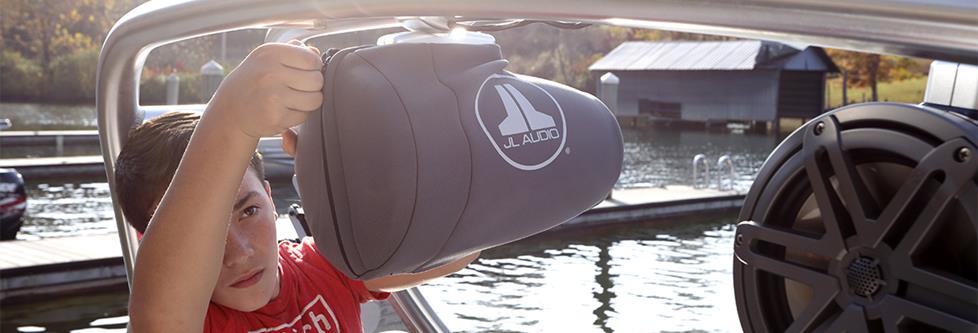
Adding to the experience with tower speakers
On an open boat that spends time at speed, tower speakers are essential, so we installed a pair of JL Audio 7.7" wakeboard tower speakers. They send plenty of sound to skiiers or wakeboarders, and they're built tough to withstand sunlight, water, and the occasional knock. The shiny black finish and titanium grilles tie into the boat's overall look.
Tip: Tim's boat stays in the water most of the season, so we added a pair of JL Audio’s custom neoprene speaker covers to protect the speakers when the boat's not being used.
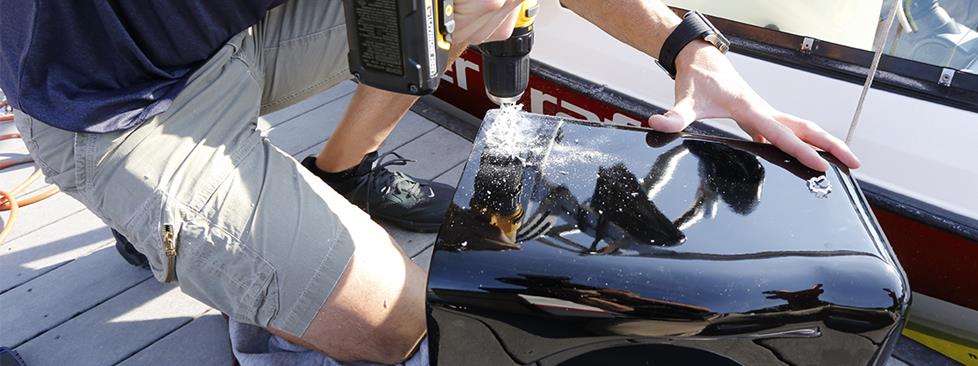
Tim drills a hole for the sub's speaker wire. (Crutchfield Photo)
The right amount of bass in a compact space
There was no shortage of bass on this boat. In fact, with two 12" subs in an enclosure, there was entirely too much. We removed that monster and replaced it with a more reasonable (but very powerful) JL Audio marine subwoofer. This marine-rated subwoofer and fiberglass enclosure fit neatly into the storage compartment, so the result is better bass, plus more cargo space.
Tip: A little bass goes a long way, so when you're building a system for a smaller boat, don't go overboard (sorry). Carefully measure the space you have for a subwoofer, and if you're dealing with weird angles that might create wasted space, make sure you factor them into your planning. Take time to think about what else the sub area will need to be used for (storing gear, life jackets, etc.) and plan accordingly.
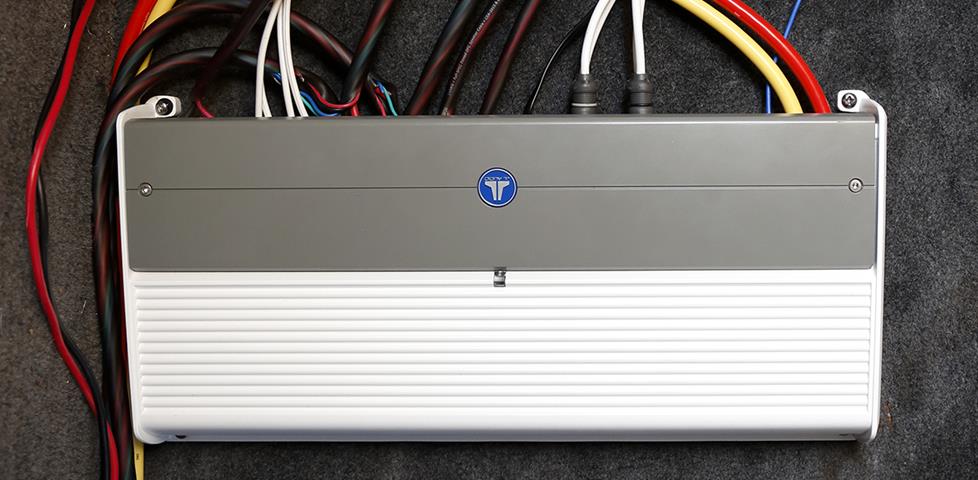
The JL Audio marine amp fits neatly against the bulkhead. (Crutchfield Photo)
Adding power and control
If you're going to install 6 speakers and a sub on a small boat, you need a compact amp with plenty of juice. We installed a JL Audio marine amp — in this case, an 8-channel, Class-D powerhouse that fits against the bulkhead in the cargo hold. We also added a JL Audio HD-RLC remote level control so Tim can adjust levels from the cockpit.
Tip: As impressive as this system looks, it would all turn to ballast in a hurry without quality wire that's built to survive on the water. We made sure to use marine-rated power and speaker wires to connect everything, plus a JL Audio marine amp wiring kit.
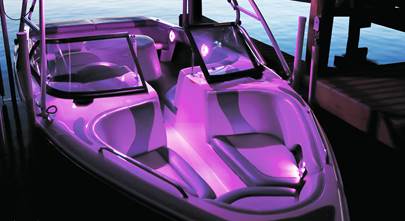
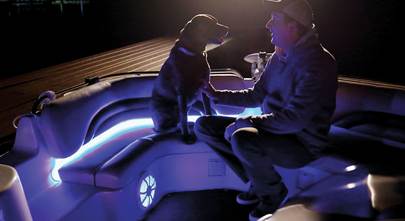
That little something extra
As a finishing touch, we ran Wet Sounds LED lighting along the gunwales. These ultra-efficient blue lights run on standard 12-volt power and they're great for night running.
Tip: We used a rugged 80-amp circuit breaker to control the radio, amp, and LED lighting in this boat.
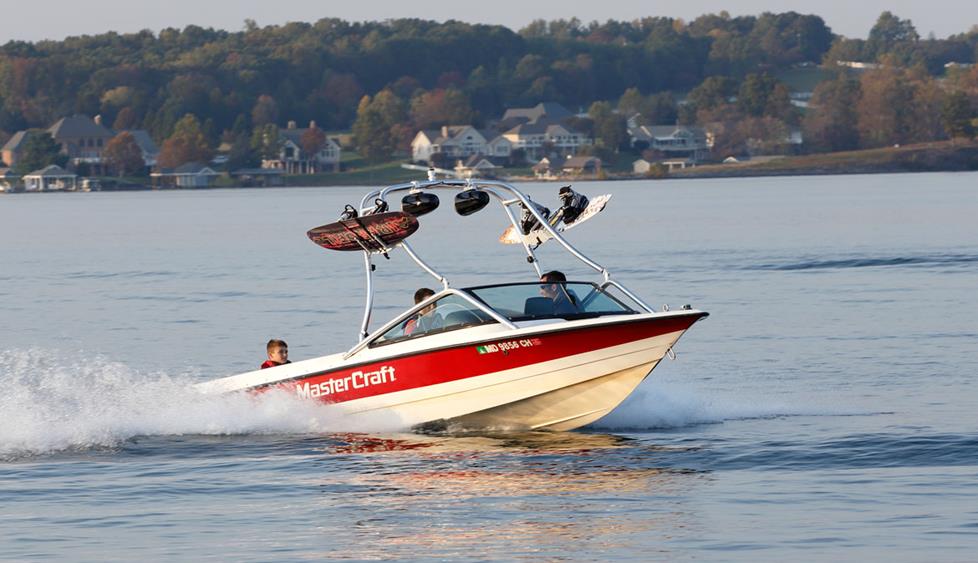
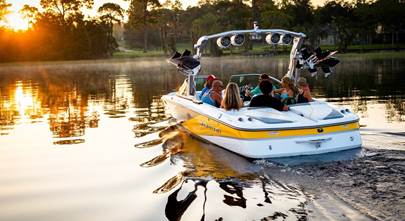
With the installation finished, it's time for some fun. (Crutchfield Photo)
Expert advice for your boat
Ready to upgrade the audio on your boat? Let Crutchfield help. If you basically know what you want, you can start browsing our extensive selection of marine audio gear. If you're just starting the all-important planning process, check out our growing collection of marine audio articles, including our popular "Marine audio for the first-time buyer" piece.
Of course, at any point in the process, you can contact our Crutchfield Advisors. There are a lot of choices out there, and we're here to help you create the marine stereo of your dreams. Just give us a call.


Marc from Quebec, Canada
Posted on 1/17/2022
I have purchased a PMX-3 Rockford system with speakers. Installed the unit in a commander pro can am side by side. Everything fine except for the FM reception. Used so far 2 antennas one with a signal booster that did nothing and a a very poor reception. the second one is a rubberized 18 antenna that provided a slightly better reception bunt still very poor. My. Cars have great reception (parked at the same location as the side by side, my traction as a very low end radio with a 4 inches rubberized antenna and the reception is outstanding. Can you guide me in this issues. Very deceived with this issue after buying a top quality product.
Jon Paul from Crutchfield
on 1/18/2022
Matt Anderson
Posted on 3/31/2021
You used an 80 amp circuit breaker for LEDs? I find it hard to believe you could be using anywhere near 80 amps for just LEDs, especially since you mentioned they were ultra-efficient. If you used such a large breaker, then you probably have grossly oversized wiring running to it, meaning you have to convert down several gauges for the most likely tiny wire the LEDs run on leaving them completely unprotected and making their wires a fusible link and a potential cause for a boat fire. The wire and protection device should be sized for the load to ensure not only is the load protected, but the wire at the load is protected. Large trunks going to a junction box - great. Large wire going to a low amperage load - bad idea.
Crutchfield Writing Team from Crutchfield
on 3/31/2021
James Ream from Fort Worth
Posted on 12/28/2020
Ordered, received and installed Kikker speakers on the INSIDE of a RV. Took off one speaker from the OUTSIDE of the RV and found that the hole is one inch in diameter just big enough for 4 wires to come out. (2 for typical speaker connection and 2 extra that looks like 110 volt?) the existing speaker is entirely on the OUTSIDE of the RV and I do not have a clue about the 2 extra (110v) wires. I would like to install 2 new speakers but I am at a stand still.
Jon Paul from Crutchfield
on 12/29/2020
Logan
Posted on 5/12/2020
By chance do you have the amplifier adjustment settings you used for the 6.1 setup? I am installing the exact same speaker and sub set up and would like more clarification on the settings to use on the amplifier.
Jon Paul from Crutchfield
on 5/13/2020
Dave Sobczak from Eagle River, WI
Posted on 7/1/2018
Be careful promoting external LED lighting for boats. Here is Wisconsin you cannot use blue, red or white while parked out in the lake or under power. DNR rules!
Jon Paulette from Crutchfield
on 7/2/2018