Adding new speakers and an amp to a 2007 Ford Explorer Sport Trac
A gear-head builds his dream system

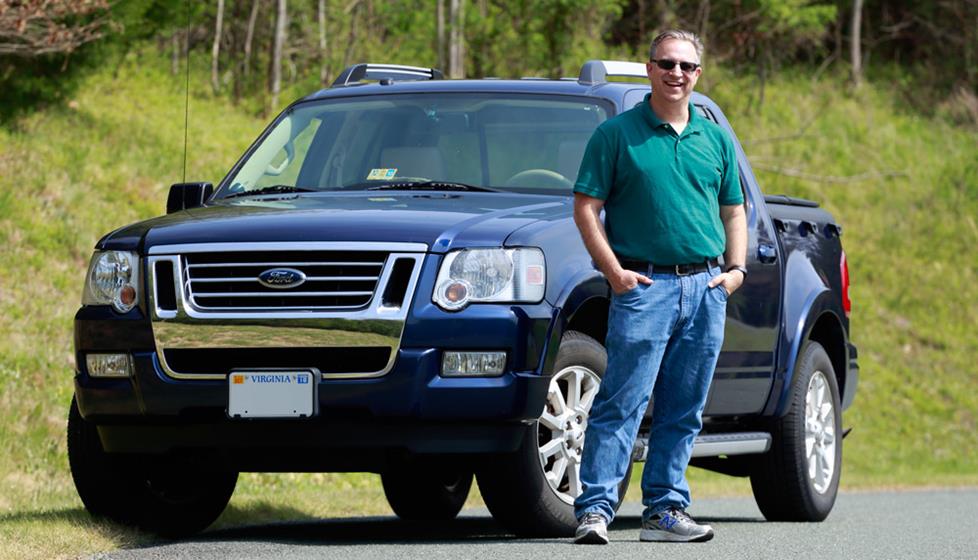
Travis, a graphic designer at Crutchfield, co-heads our weekly, in-house Demo Days, staging the latest and greatest audio gear we carry for Crutchfield employees to try out. So, to put it lightly — he knows great sound, and he wanted to bring it to his 2007 Ford Explorer Sport Trac.
Upgrading in stages
"My truck's sound system lacked the luster I'm used to hearing on my home stereo."Drawing on the wisdom of Crutchfield's car audio proving ground series, Travis knew that the first and best way to upgrade his subpar factory sound was to replace the head unit. With a little more power from his Kenwood Excelon navigation receiver, he was able to make the most of his factory speakers. Like a lot of folks, who take on their installations in stages, that was a satisfying jump up...for a while.
Eventually, Travis found himself hankering for an upgrade. While his system sounded pretty good, he knew that it could sound exponentially better with a little more investment: "My truck’s sound system lacked the luster I’m used to hearing on my home stereo. Some of the midrange was muffled and I wasn’t getting clear treble."
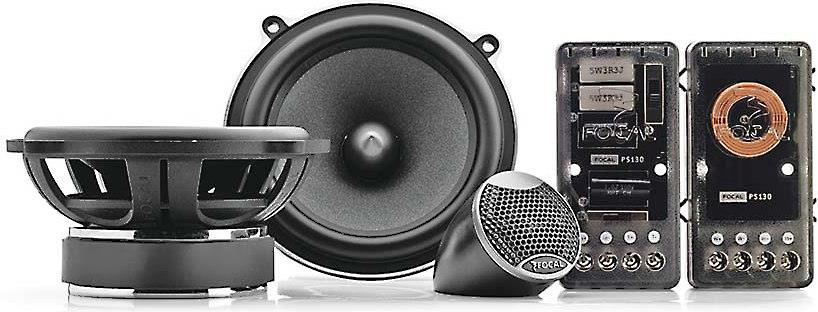
Adding dream speakers from Focal
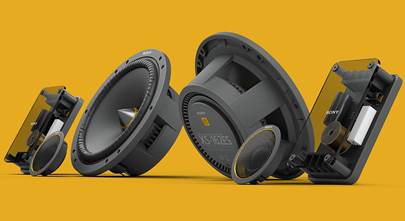
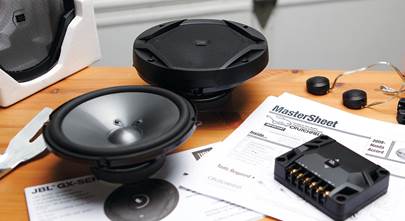
"I'd heard the Focals before in demos and was always impressed with how much control and detail they have in the higher frequencies."Travis's Explorer came factory-equipped with full-range speakers, but a lack of factory tweeter locations didn't stop him from setting his sights on installing some of the best component speakers we carry – Focal's PS 130 V 5-1/4" component set: "I’d heard the Focals before in demos and was always impressed with how much control and detail they have in the higher frequencies. The build quality is really good and they come with impressive magnets on the woofer cones."
Selecting tweeter locations
When it comes to installation, especially tweeter installation, it never hurts to overprepare — you never know what curveballs a vehicle will throw at you. So, Travis armed himself with handy mounting materials like backstraps and adhesive-backed Velcro® squares. And like many component systems, Focal provided a variety of mounting hardware for the tweeters.
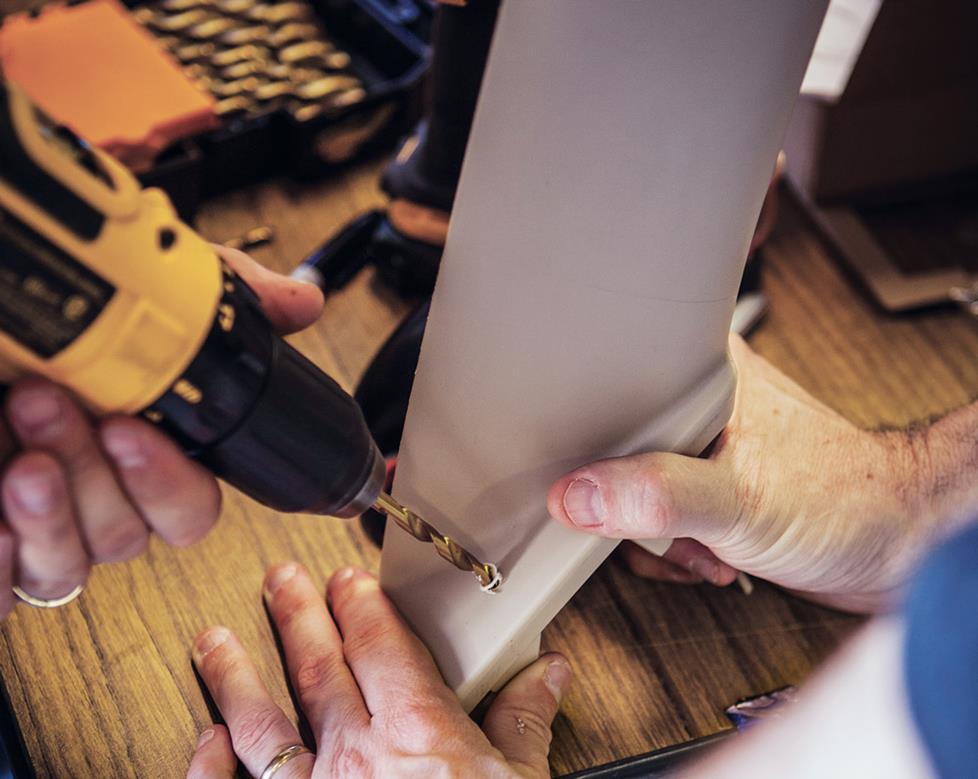
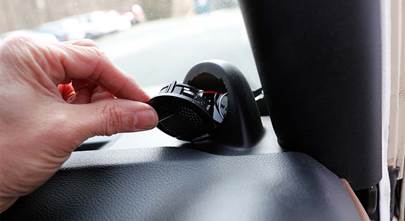
Initially, Travis had hoped to flush-mount the tweeters in the sail panels of the doors for a streamlined look, but after taking off the door panels, he discovered that depth was a problem. So, he inspected his dash for the next best location. What he found, in the end, might have actually been the best location.
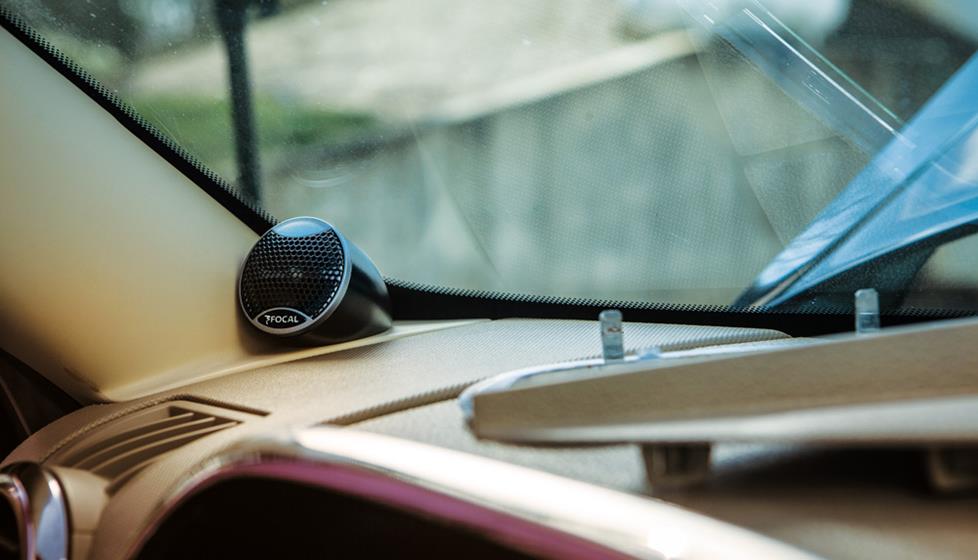
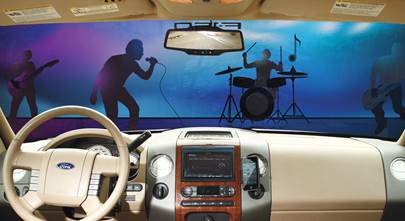
The Explorer's A-panels on either side of the windshield were housed in plastic trim. The base of each trim panel extended out about 3" — the perfect place to mount the angled surface-mount housing that Focal provides. After a little bit of easy drilling, Travis had his tweeters in place, perfectly aimed at the front seat for ideal listening. It was a stroke of luck that made what could have been a challenging installation, frankly… easy.
Tweeter crossover locations
With most component speaker sets, you'll need to find a place to mount the included external crossover systems. This Focal set actually features two crossover systems for each side – one for the woofer and one for the tweeter – which means… you'll have to find twice as many nooks or crannys in which to hide these not-so-tiny boxes. Good thing Travis's Ford Explorer Sport Trac was roomy.
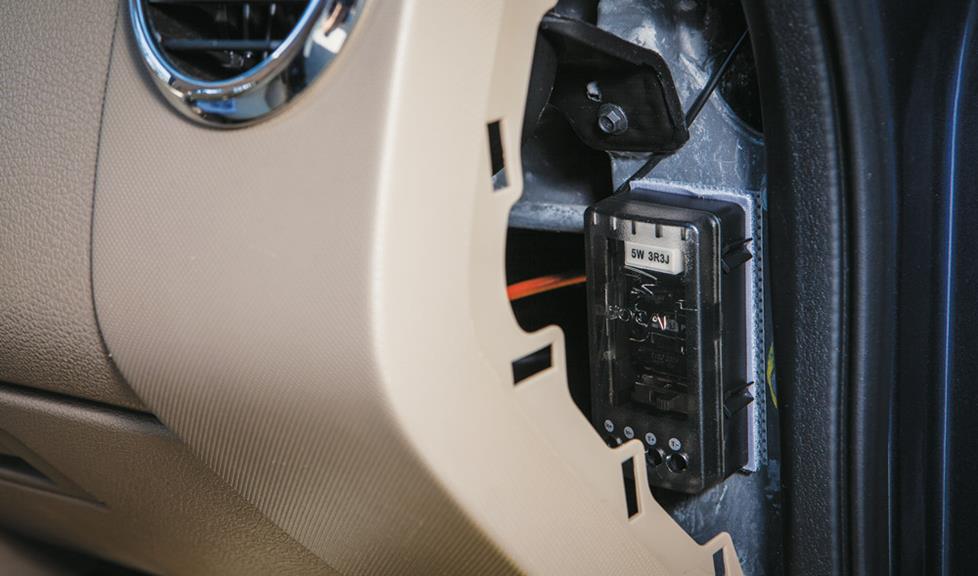
Travis discovered a perfect spot for his tweeter crossovers next to his fuse panel on the driver side and behind his glovebox on the passenger side. Both cavities were easy to access by popping off the small panels on either side of the dash, and Travis used the Velcro squares he'd set aside for mounting. Not only were these locations a breeze for wiring the crossovers to the newly placed tweeters, but they were also easy to reach if Travis needed to change the selectable crossover settings.
Woofers and their crossovers
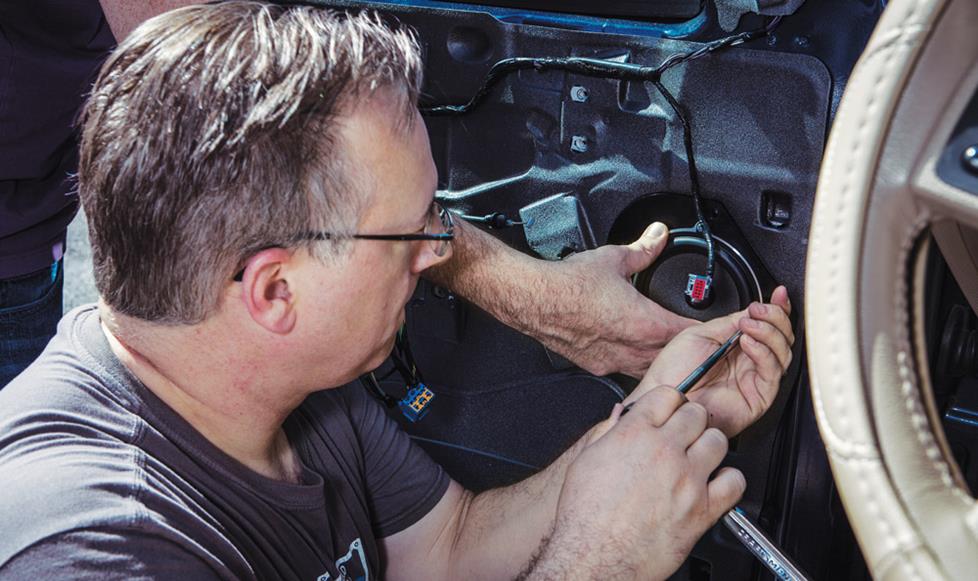
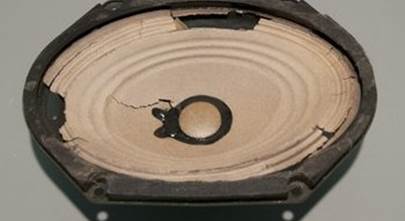
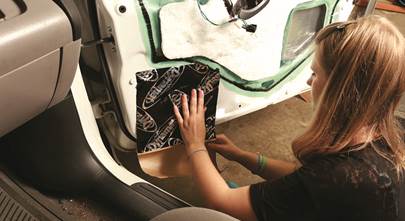
The Ford factory 6"x8" speakers were easy to remove thanks to Crutchfield's MasterSheet instructions. Travis mounted the Focal 5-1/4" woofers in 5x7" speaker brackets and lined those brackets with Dynamat to minimize vibration. He also added Hushmat Wave Breaker pads behind the woofers to deaden any spurious sonic reflections.
Before placing the woofers back in the doors, Travis wired them to their respective crossovers and then spliced the crossovers into the factory wiring so that he didn't have to run new wire to the doors. Mounting the woofers in their location took only a couple minutes and there was plenty of room in the door cavity for the crossovers.
Installing the rear door speakers
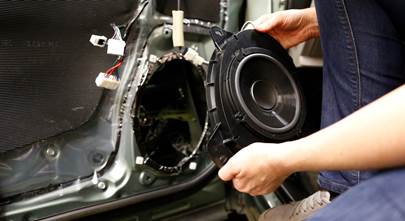
To round out the sound in his truck, Travis installed 5"x7" Focal Performance 570AC coaxial speakers in the factory locations of his rear doors, using Crutchfield-supplied wiring harnesses. Thanks to Focal's innovative design, he was able to rotate the tweeters to fire upwards at the listener. These rear speakers went in even more easily than the woofers in the front thanks to the MasterSheet.
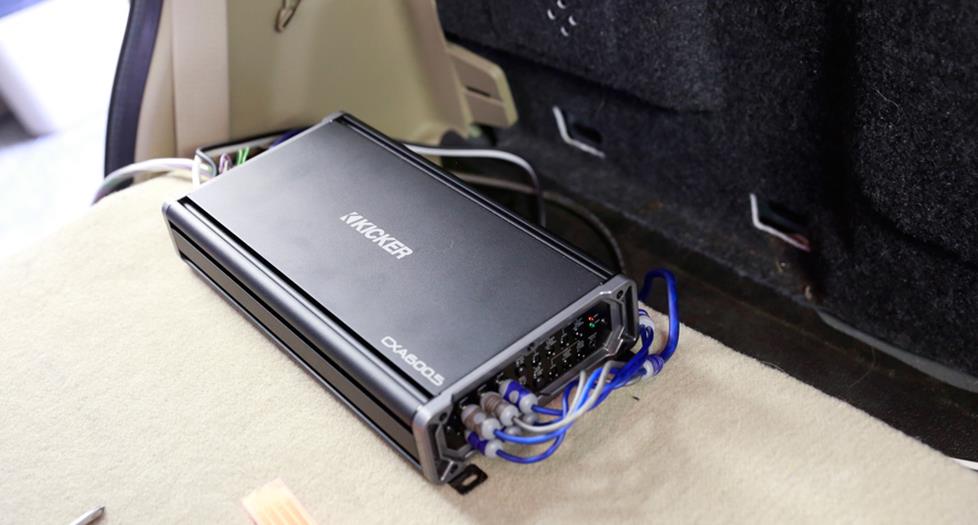
Giving his system some Kicker muscle
Now, to power a set of components, a pair of 2-way speakers, and a sub (we'll get into that in a moment), you need a beast of an amplifier. Travis thought of Kicker for their raw-power reputation, and the Kicker 43CXA600.5 amp was no exception, delivering up to 40 watts RMS to each speaker and up to 300 watts RMS to his new Kicker sub.

Running cables for the amplifier
Travis found the perfect location for his new Kicker amp behind the back seat of his 4-door cab. With any amplifier you need to give some thought to how you're going to wire your vehicle for sound and just where all that wire is going to go. Thankfully, Ford had already done most of the work for Travis by giving him clear, plentiful passages for cable.
Running the length of the truck on either side, Ford had factory-installed, easily accessible tubing that housed tail light wiring, etc. Both tubes had room for company, and Travis ran power wire down the driver side and speaker wire and RCA cables down the passenger side. A sizeable grommet in the bulkhead was his way through the vehicle's firewall to connect the power wire to the vehicle's battery. He grounded the amp on a bolt under the seat (after sanding the paint off the bolt to ensure a solid ground).
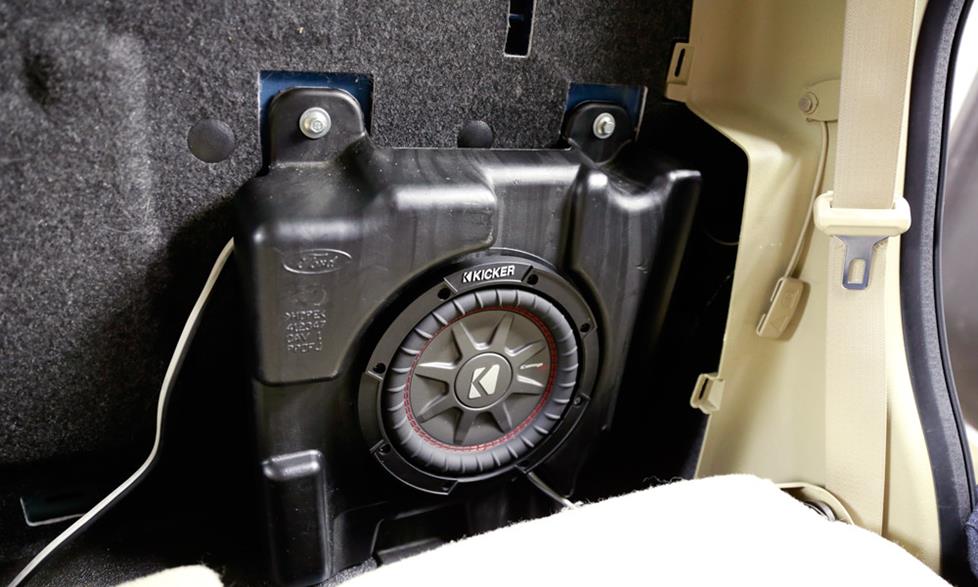
Installing the Kicker subwoofer — using more of what Ford gave him
Travis's Explorer featured a factory sub, and while he was happy to see it go, he wasn't so quick to toss out the removable, wall-mounted enclosure that housed it. With just enough depth, it was a perfect match with Kicker's shallow mount CompRT 43CWRT81 8" dual voice coil sub which handles up to 300 watts RMS at 2 ohms. Another plus — the enclosure location was side-by-side with the new amp location behind the rear seat. Mounting and wiring the sub was, like everything else with this installation, a breeze.
Making connections
With the sub and the amp wired, Travis's last step was integrating his new wiring with the connections he'd already made when he'd first installed his Kenwood head unit. Because he'd already done that work, things were as simple as undoing Posi-Products connectors and rewiring them so that the full-range signal went out to the amplifier and the amplifier's outgoing signal was directed to the woofers and separate tweeters in the front and full-range speakers in the rear.

So how does it all sound?
Travis has clocked a few miles since his installation, so we checked in with him to find out how this new system sits with him: "Putting the tweeters on the dash lifted the soundstage and also made it a bit wider, so I was able to discern more stereo separation. The Dynamat dampened a lot of road noise and allowed the details in the music to come through. I’m getting full dynamic range and it just makes me want to take the long way home!"
Sounds like the next Crutchfield Demo Day should be cruising in Travis' Explorer.
If an installation like this sounds like something you'd like to do, just contact us via phone, chat, or email using the links at the top of our website. Our advisors will help you pick out the gear that's right for you and your vehicle and make sure you get everything you need to do it yourself.


John H. from La Mesa, CA 91942
Posted on 8/24/2020
What causes the "POP" in the factory amp when you start the engine up?
William Byrd from Centerville
Posted on 4/19/2020
Can you show a picture of where you ran the power wire for the amp through the firewall? And how did you get the door speakers wired to the amp? Mine run to a harness plug in the pillars with no other openings for speaker wire?
Alexander H. from Crutchfield
on 4/20/2020
Todd W Sawyer from Fallbrook
Posted on 12/8/2019
Are the dual voice coils in the sub wired in parallel or series? 1 ohm seems like a very low impedance.
Alexander Hrabe from Crutchfield
Posted on 8/15/2016
Michael, we ran cable (both incoming and outgoing signal) from the amplifier at the rear of the cab to the console behind the receiver. We spliced the amplified signal into the factory speaker wire behind the receiver.
Michael Davis from Mobile
Posted on 8/4/2016
Quick question about this install. How did he use wiring harnesses for the speakers since they were being powered by the kicker amp? Wouldn't he have had to run fresh speaker wire directly from the amp to the speakers in the doors? Or is there a way to pump the output of the amp back through the factory speaker wires?